Relative Clock
Assignment⌗
For this project I was asked to make a clock with the following requirements:
- Make the controls for a desk or bedside clock or timer
- Your controls should be clear enough that the user can figure out how to set the time without a manual
- At minimum this should include controls to set the hour and minute
- Automated time setting is not permitted for this assignment.
- You should add at least one extra feature to your clock.
- Your clock’s display should be as simple as possible (serial output to a computer, p5.js, LED or LED screen)
Think⌗
When I first sat down to think about this project the first thought to come to my head was a relative clock. I didn’t have a specific idea in mind, but I liked the concept of a clock thats shows time relative to something.
Researching relative clock didn’t yield much, but I did find Jonathan Chomko’s “Relative Clock”:
The Relative Clocks are a set of clocks which show how far various spacecraft have travelled in time, relative to earth.
I spent some more time thinking about concepts for a relative clock but didn’t come up with much. It wasn’t until I was watching “The Office” later that night that I figured it out. In this episode two of the main characters (Pam and Jim) were discussing how one of them has to travel half the week for work and that it was straining the relationship. I started to think about a way for the characters to have a moment where they remembered each other throughout their respective days.
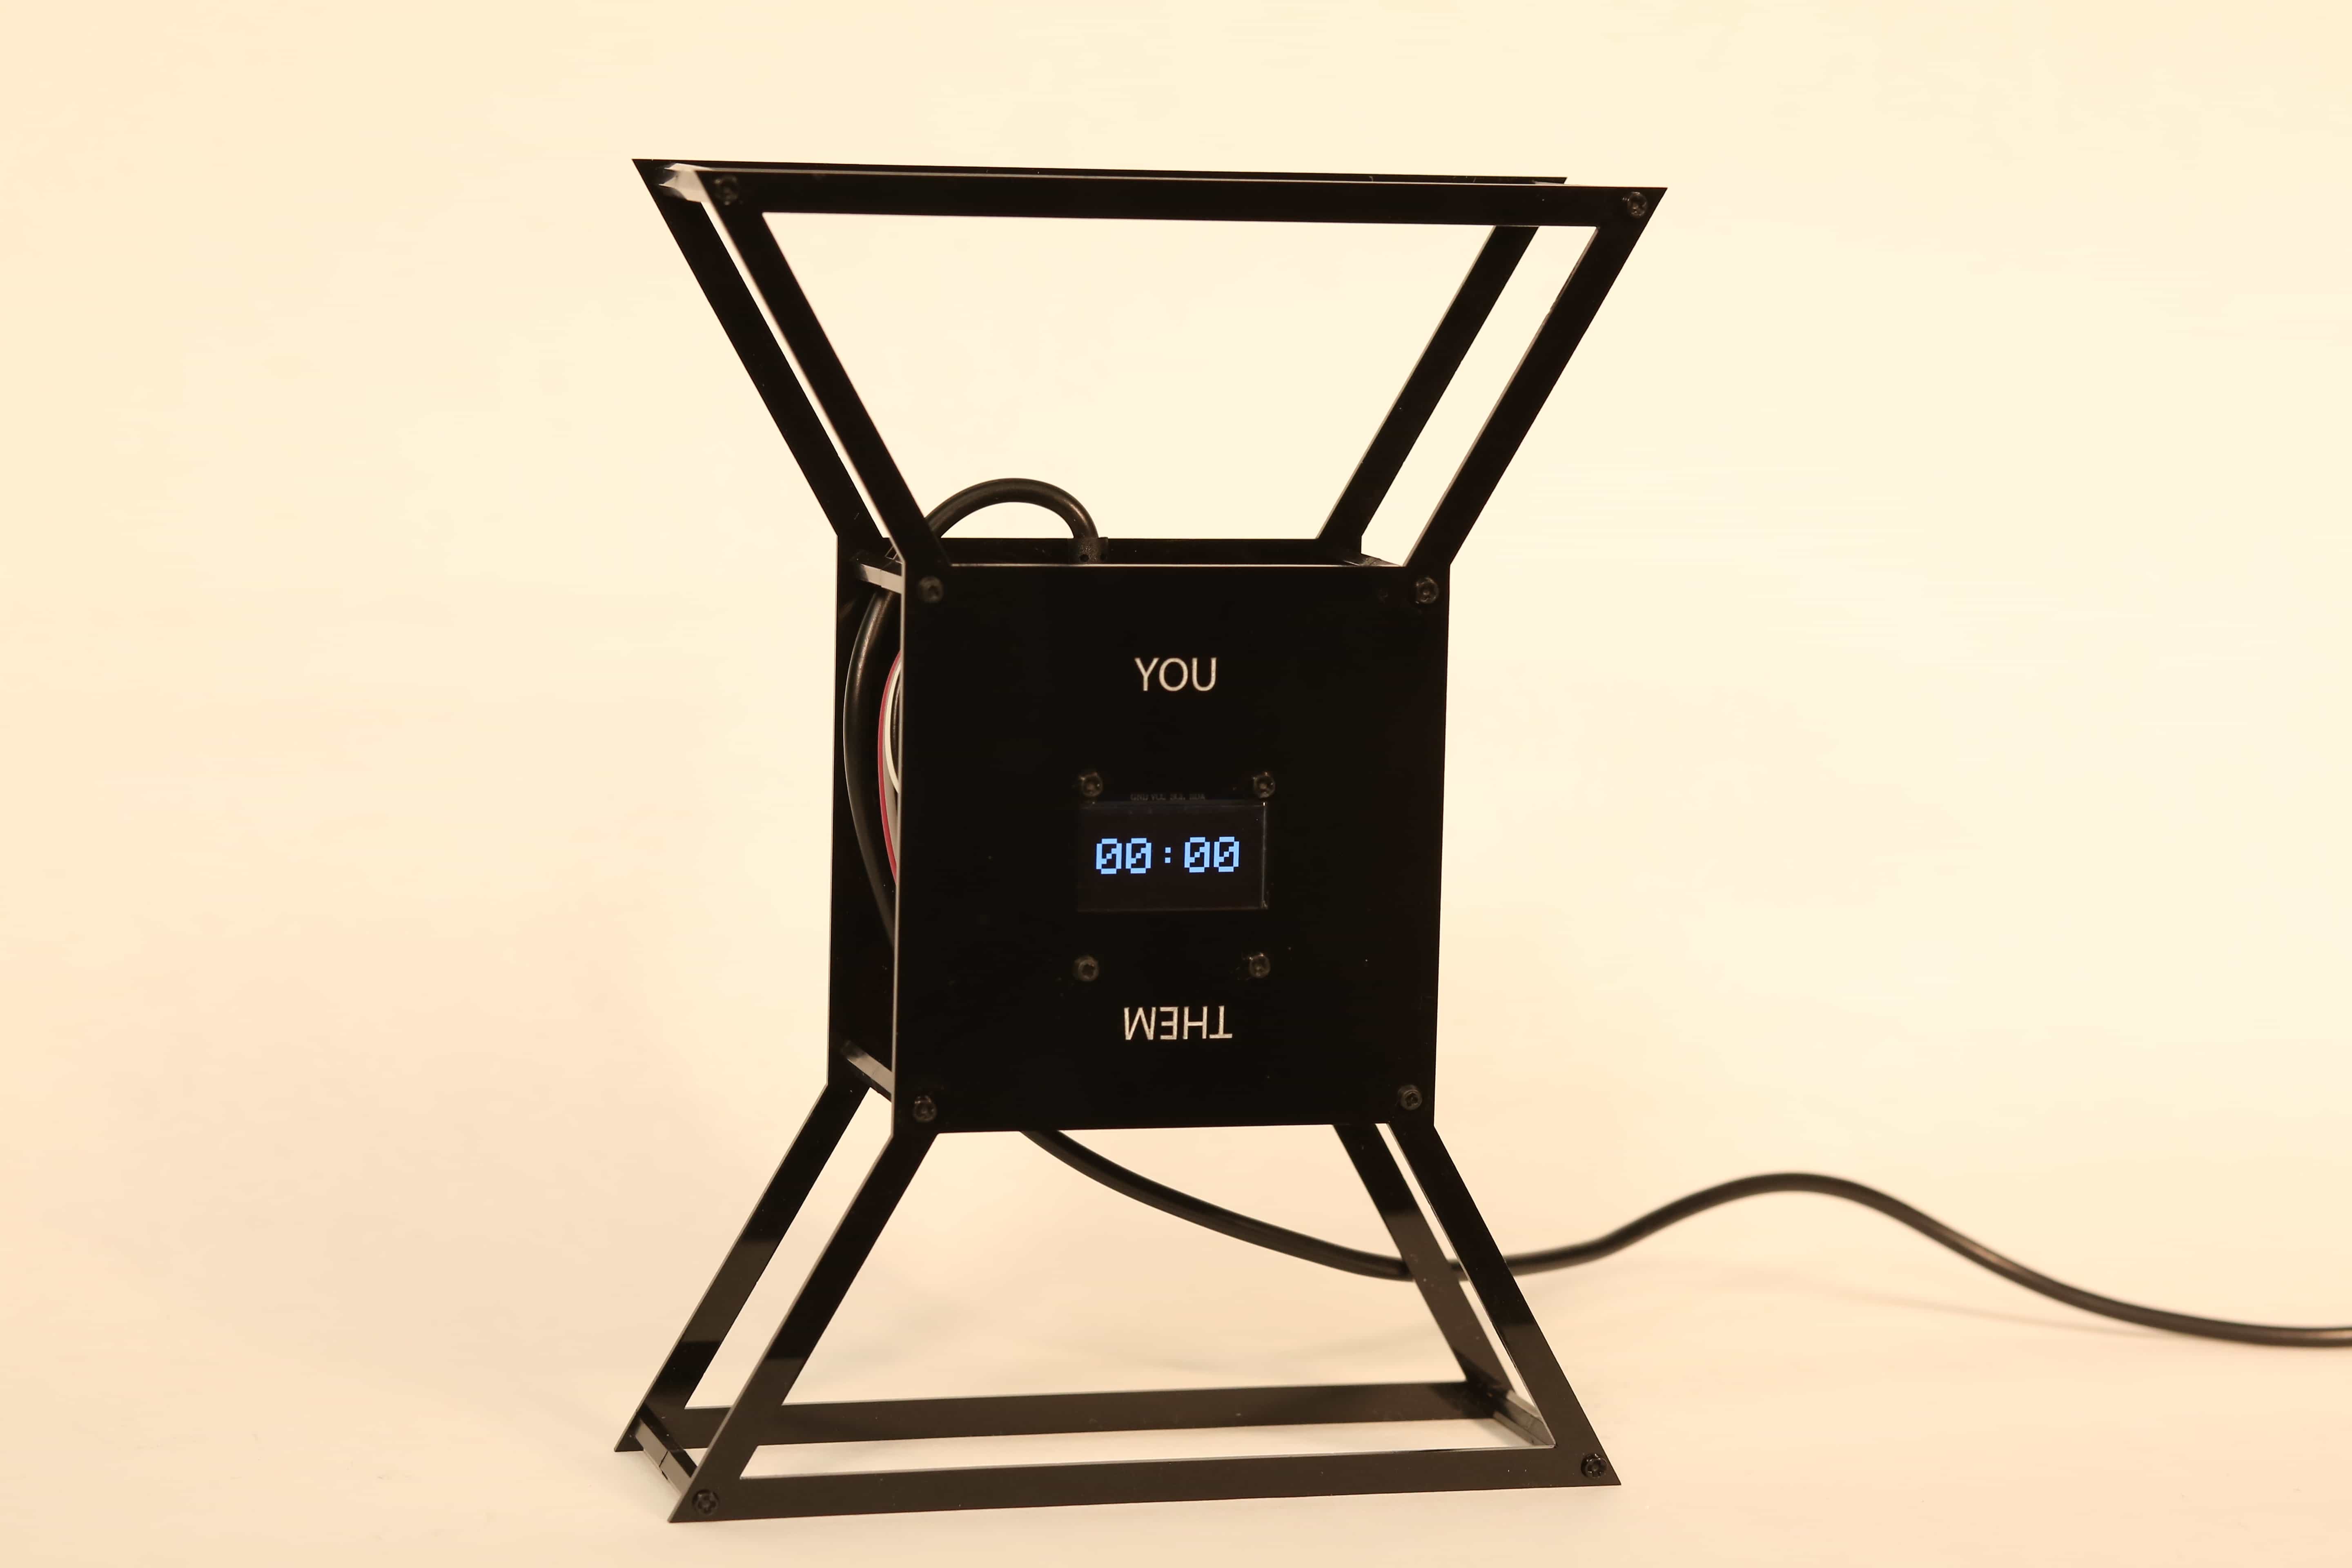
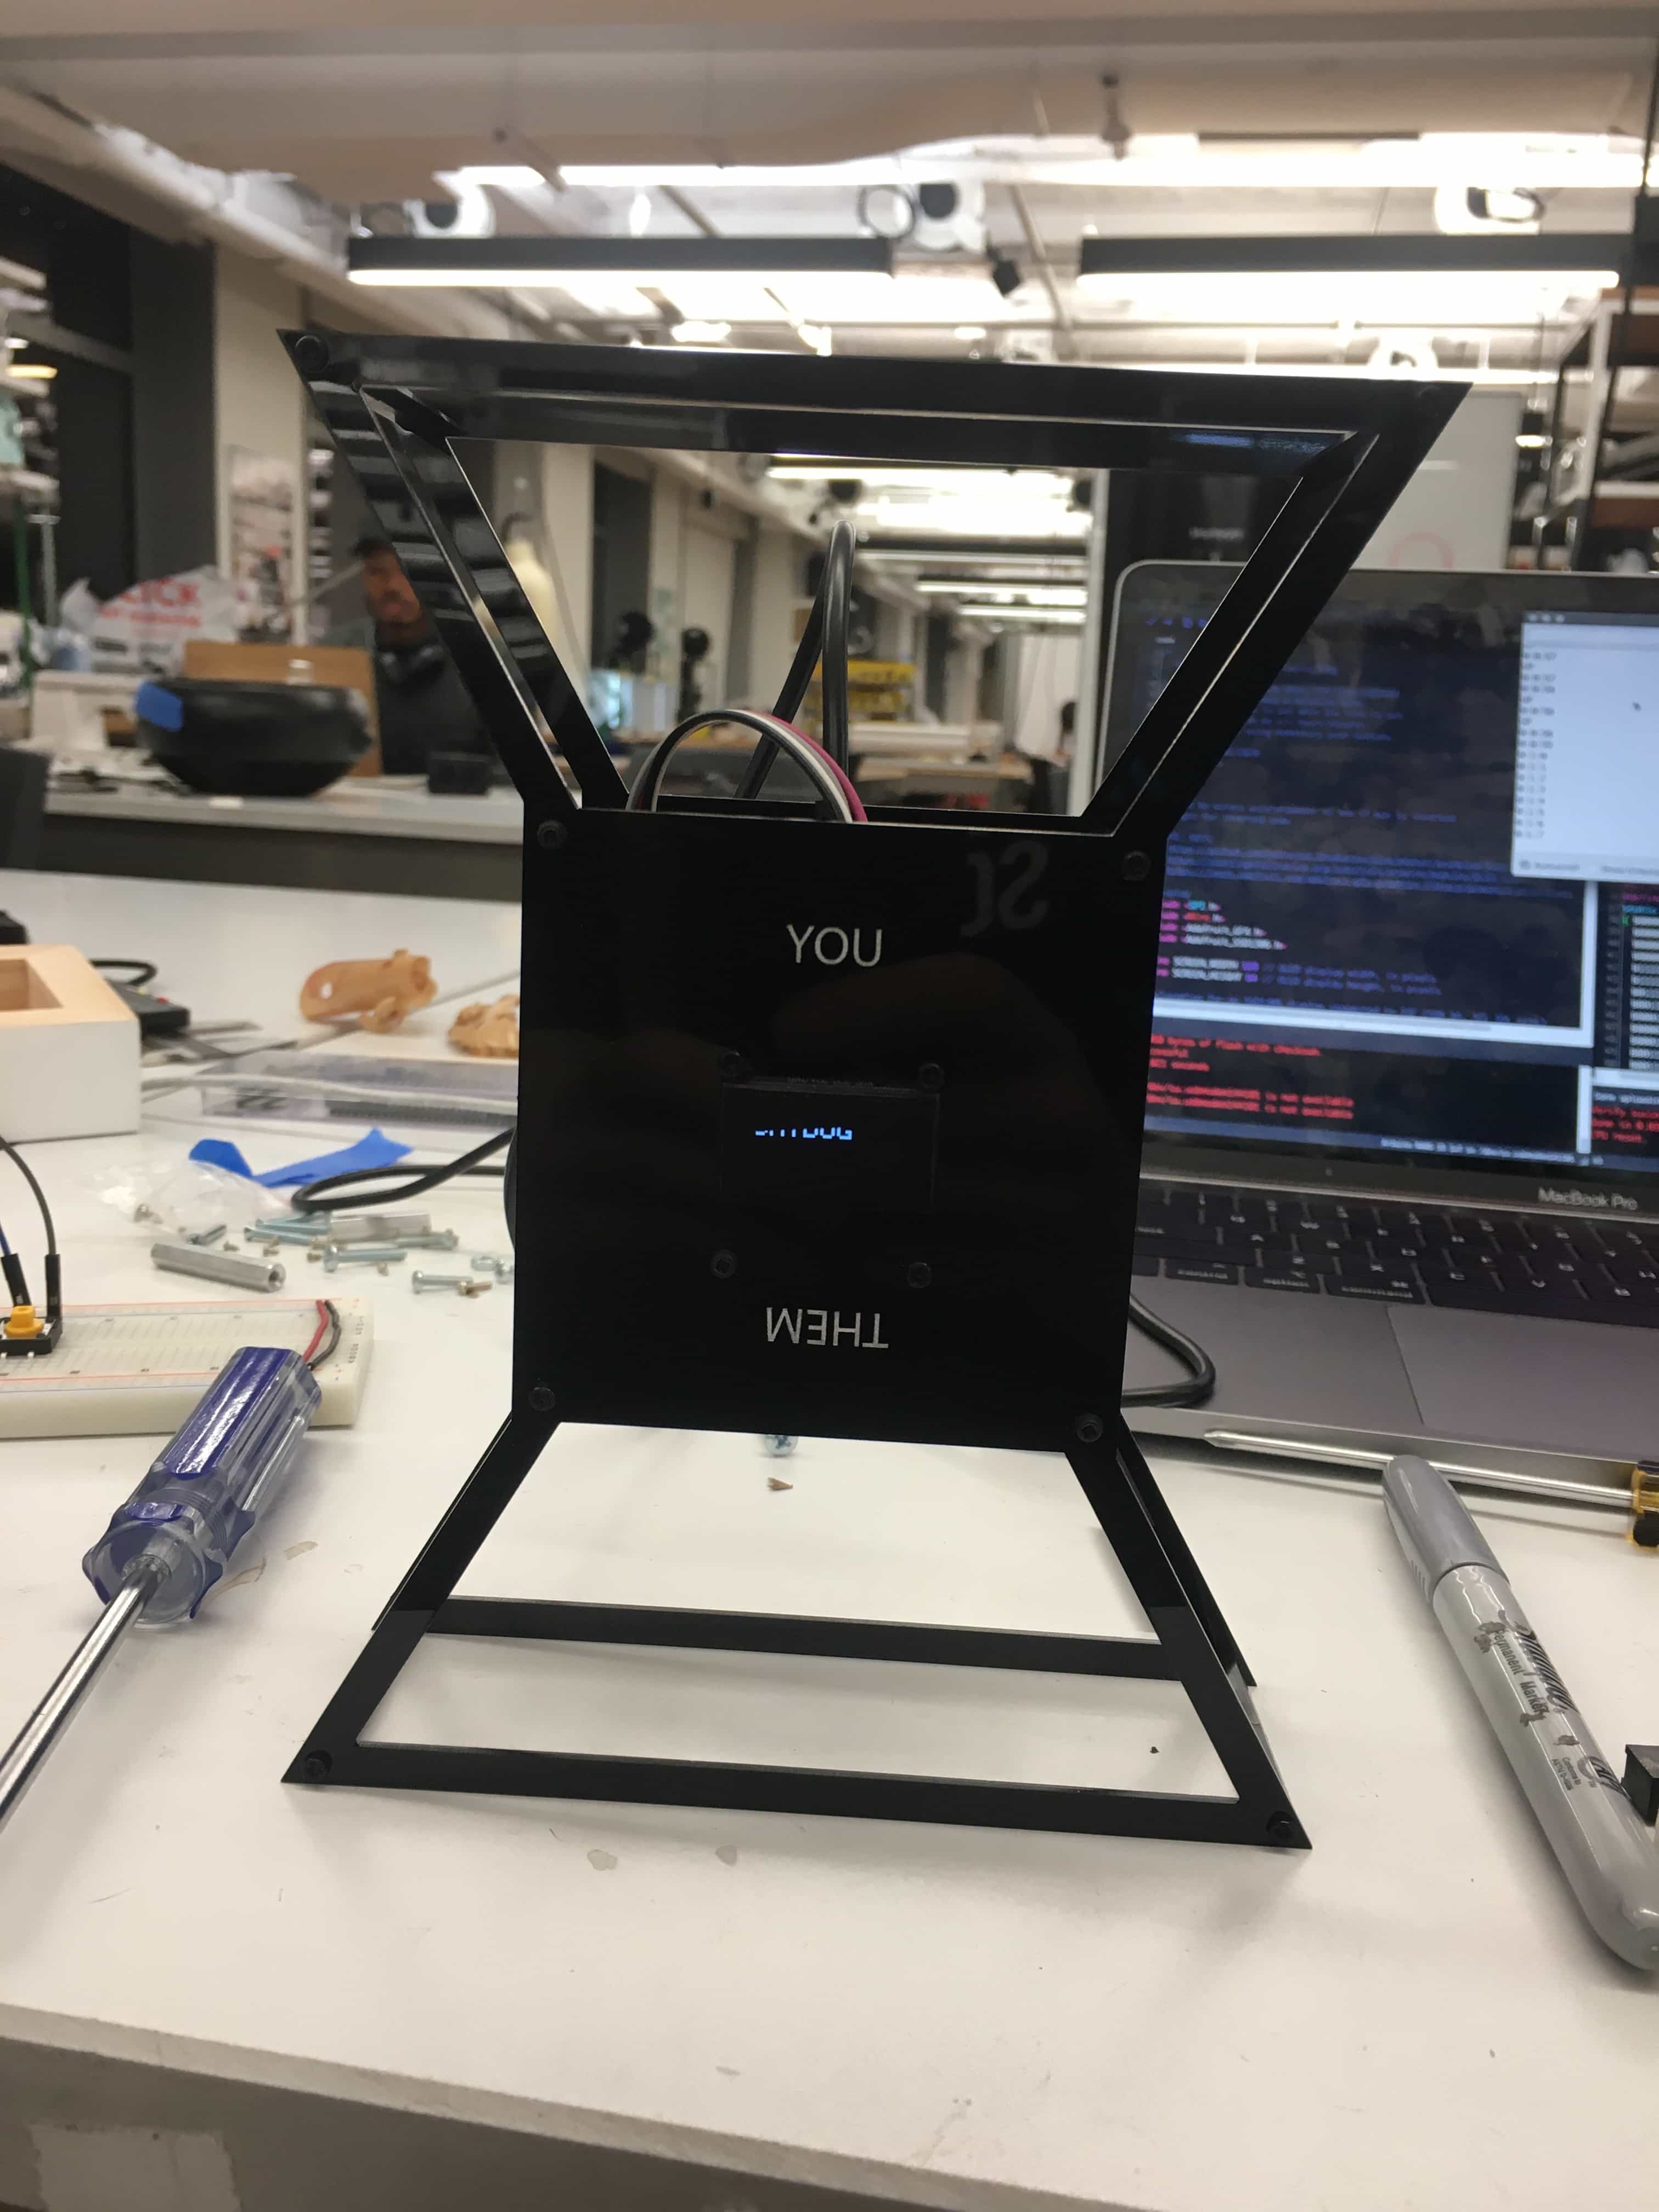
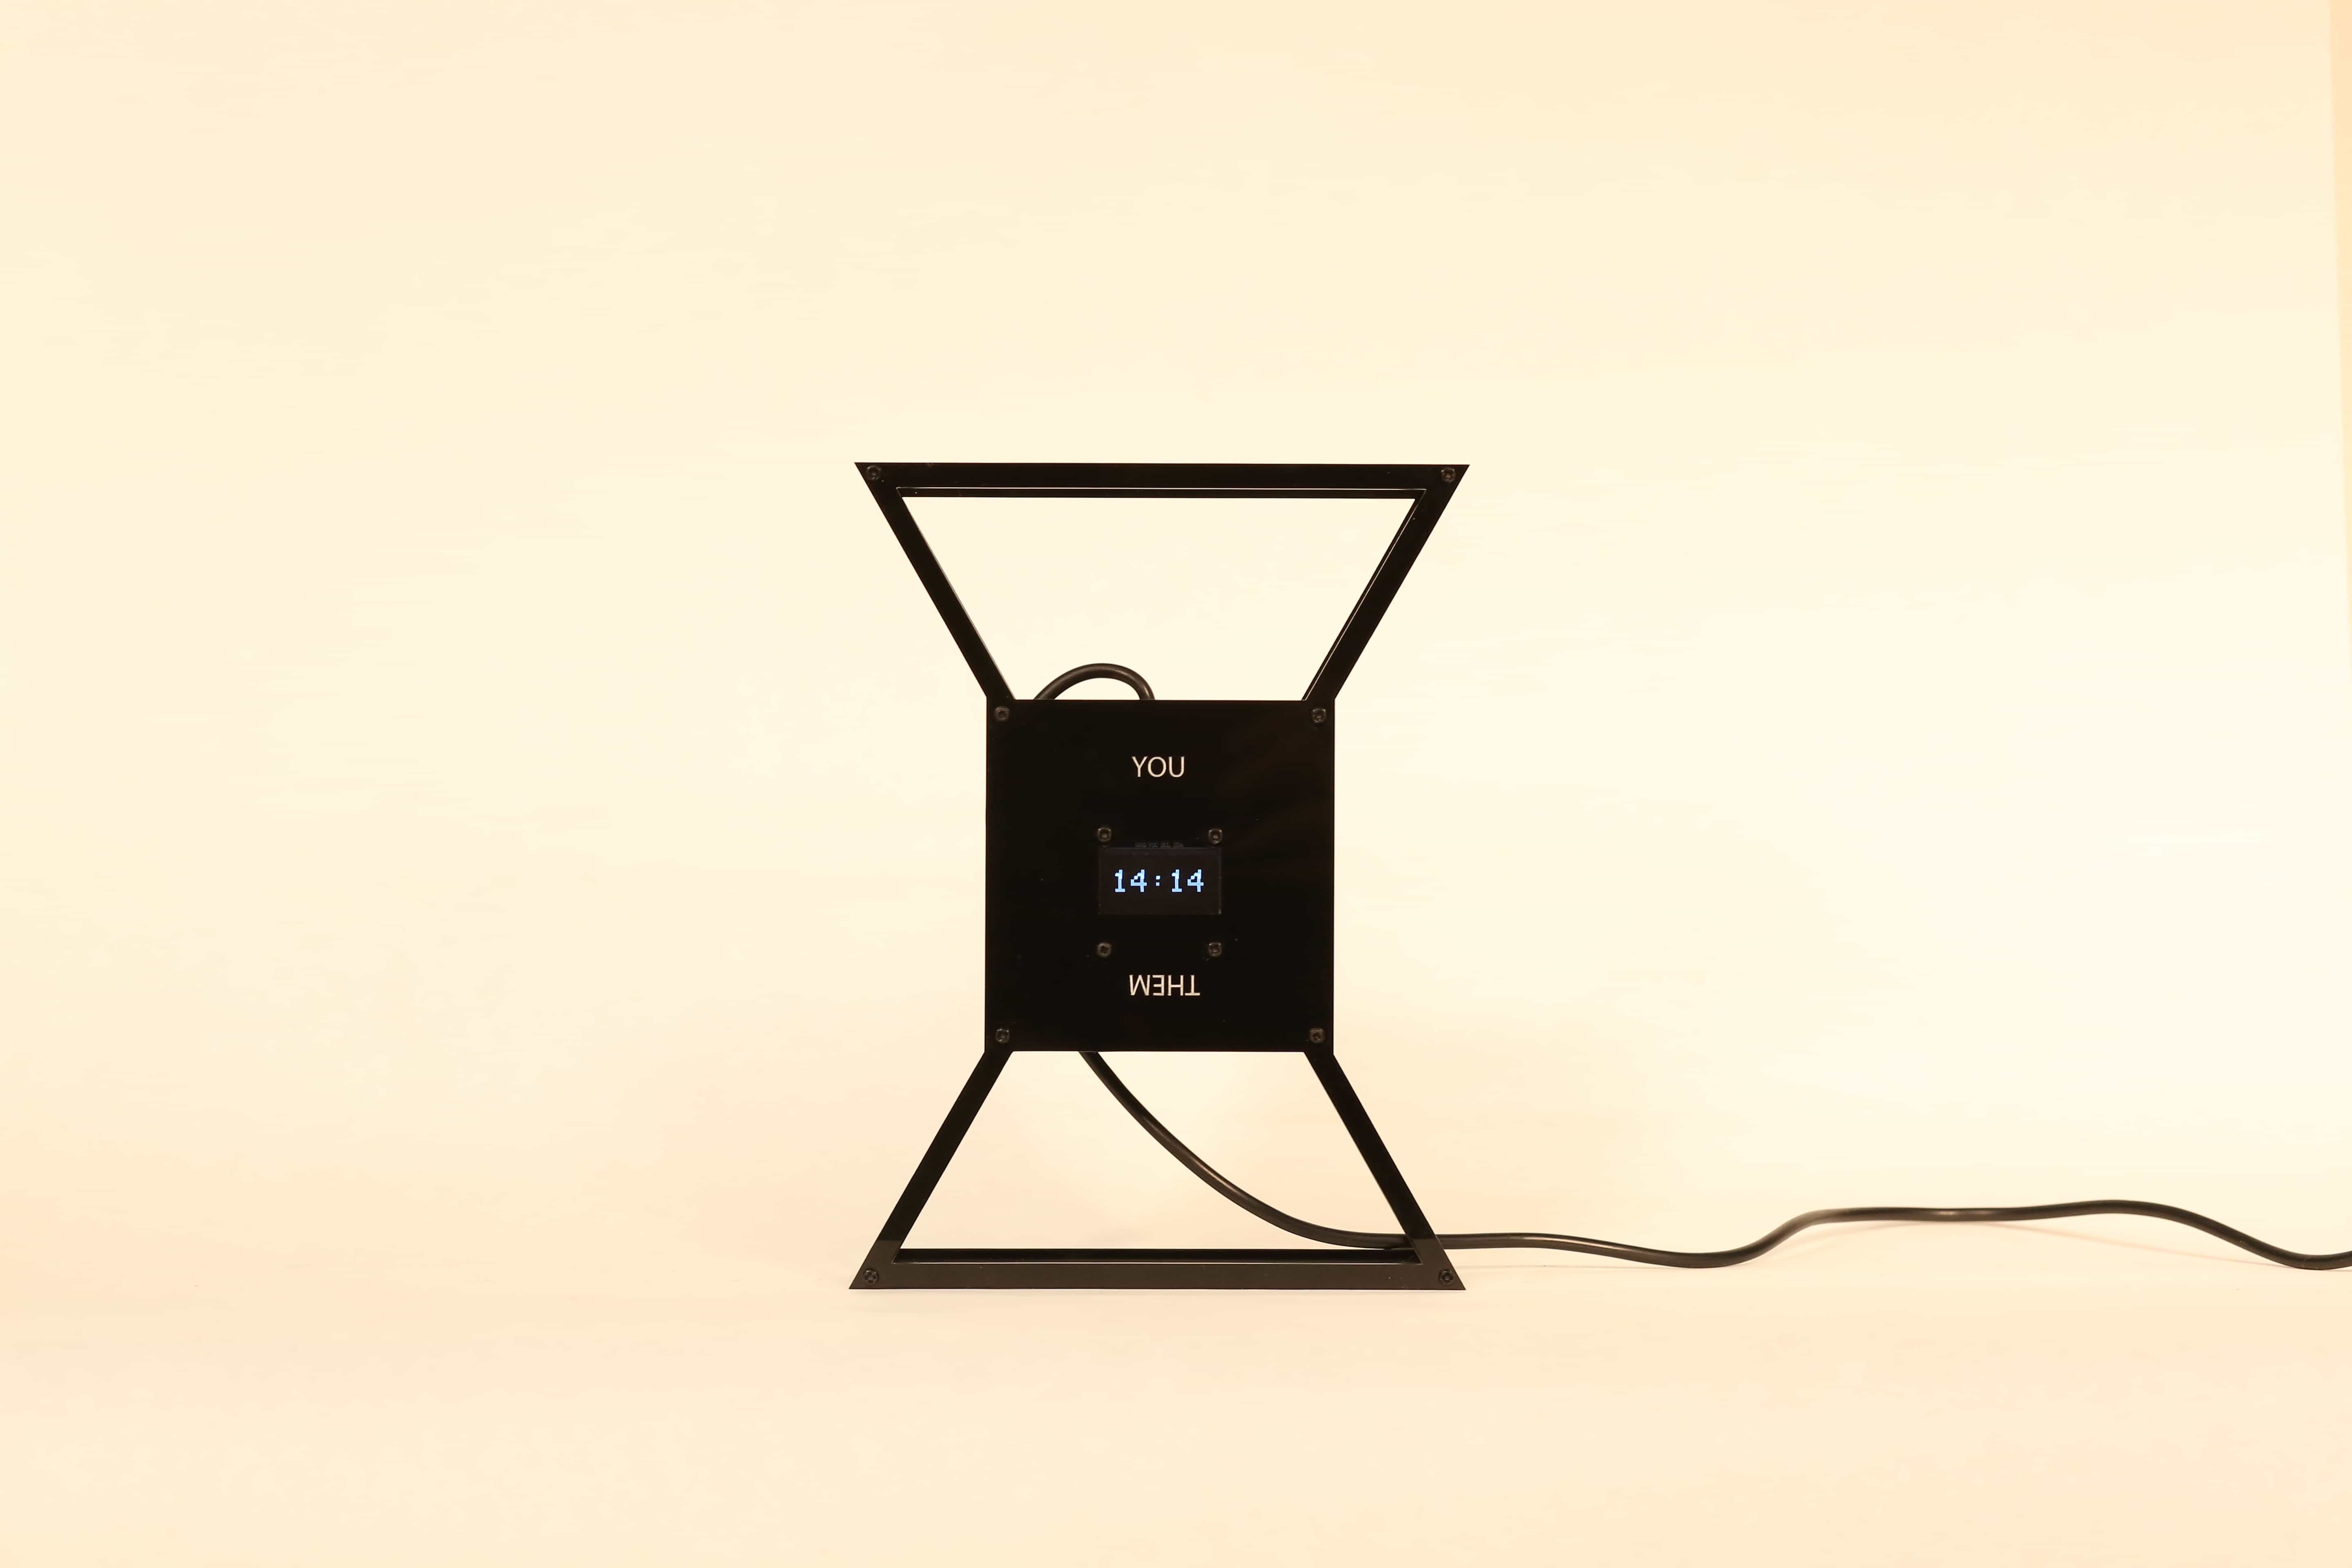
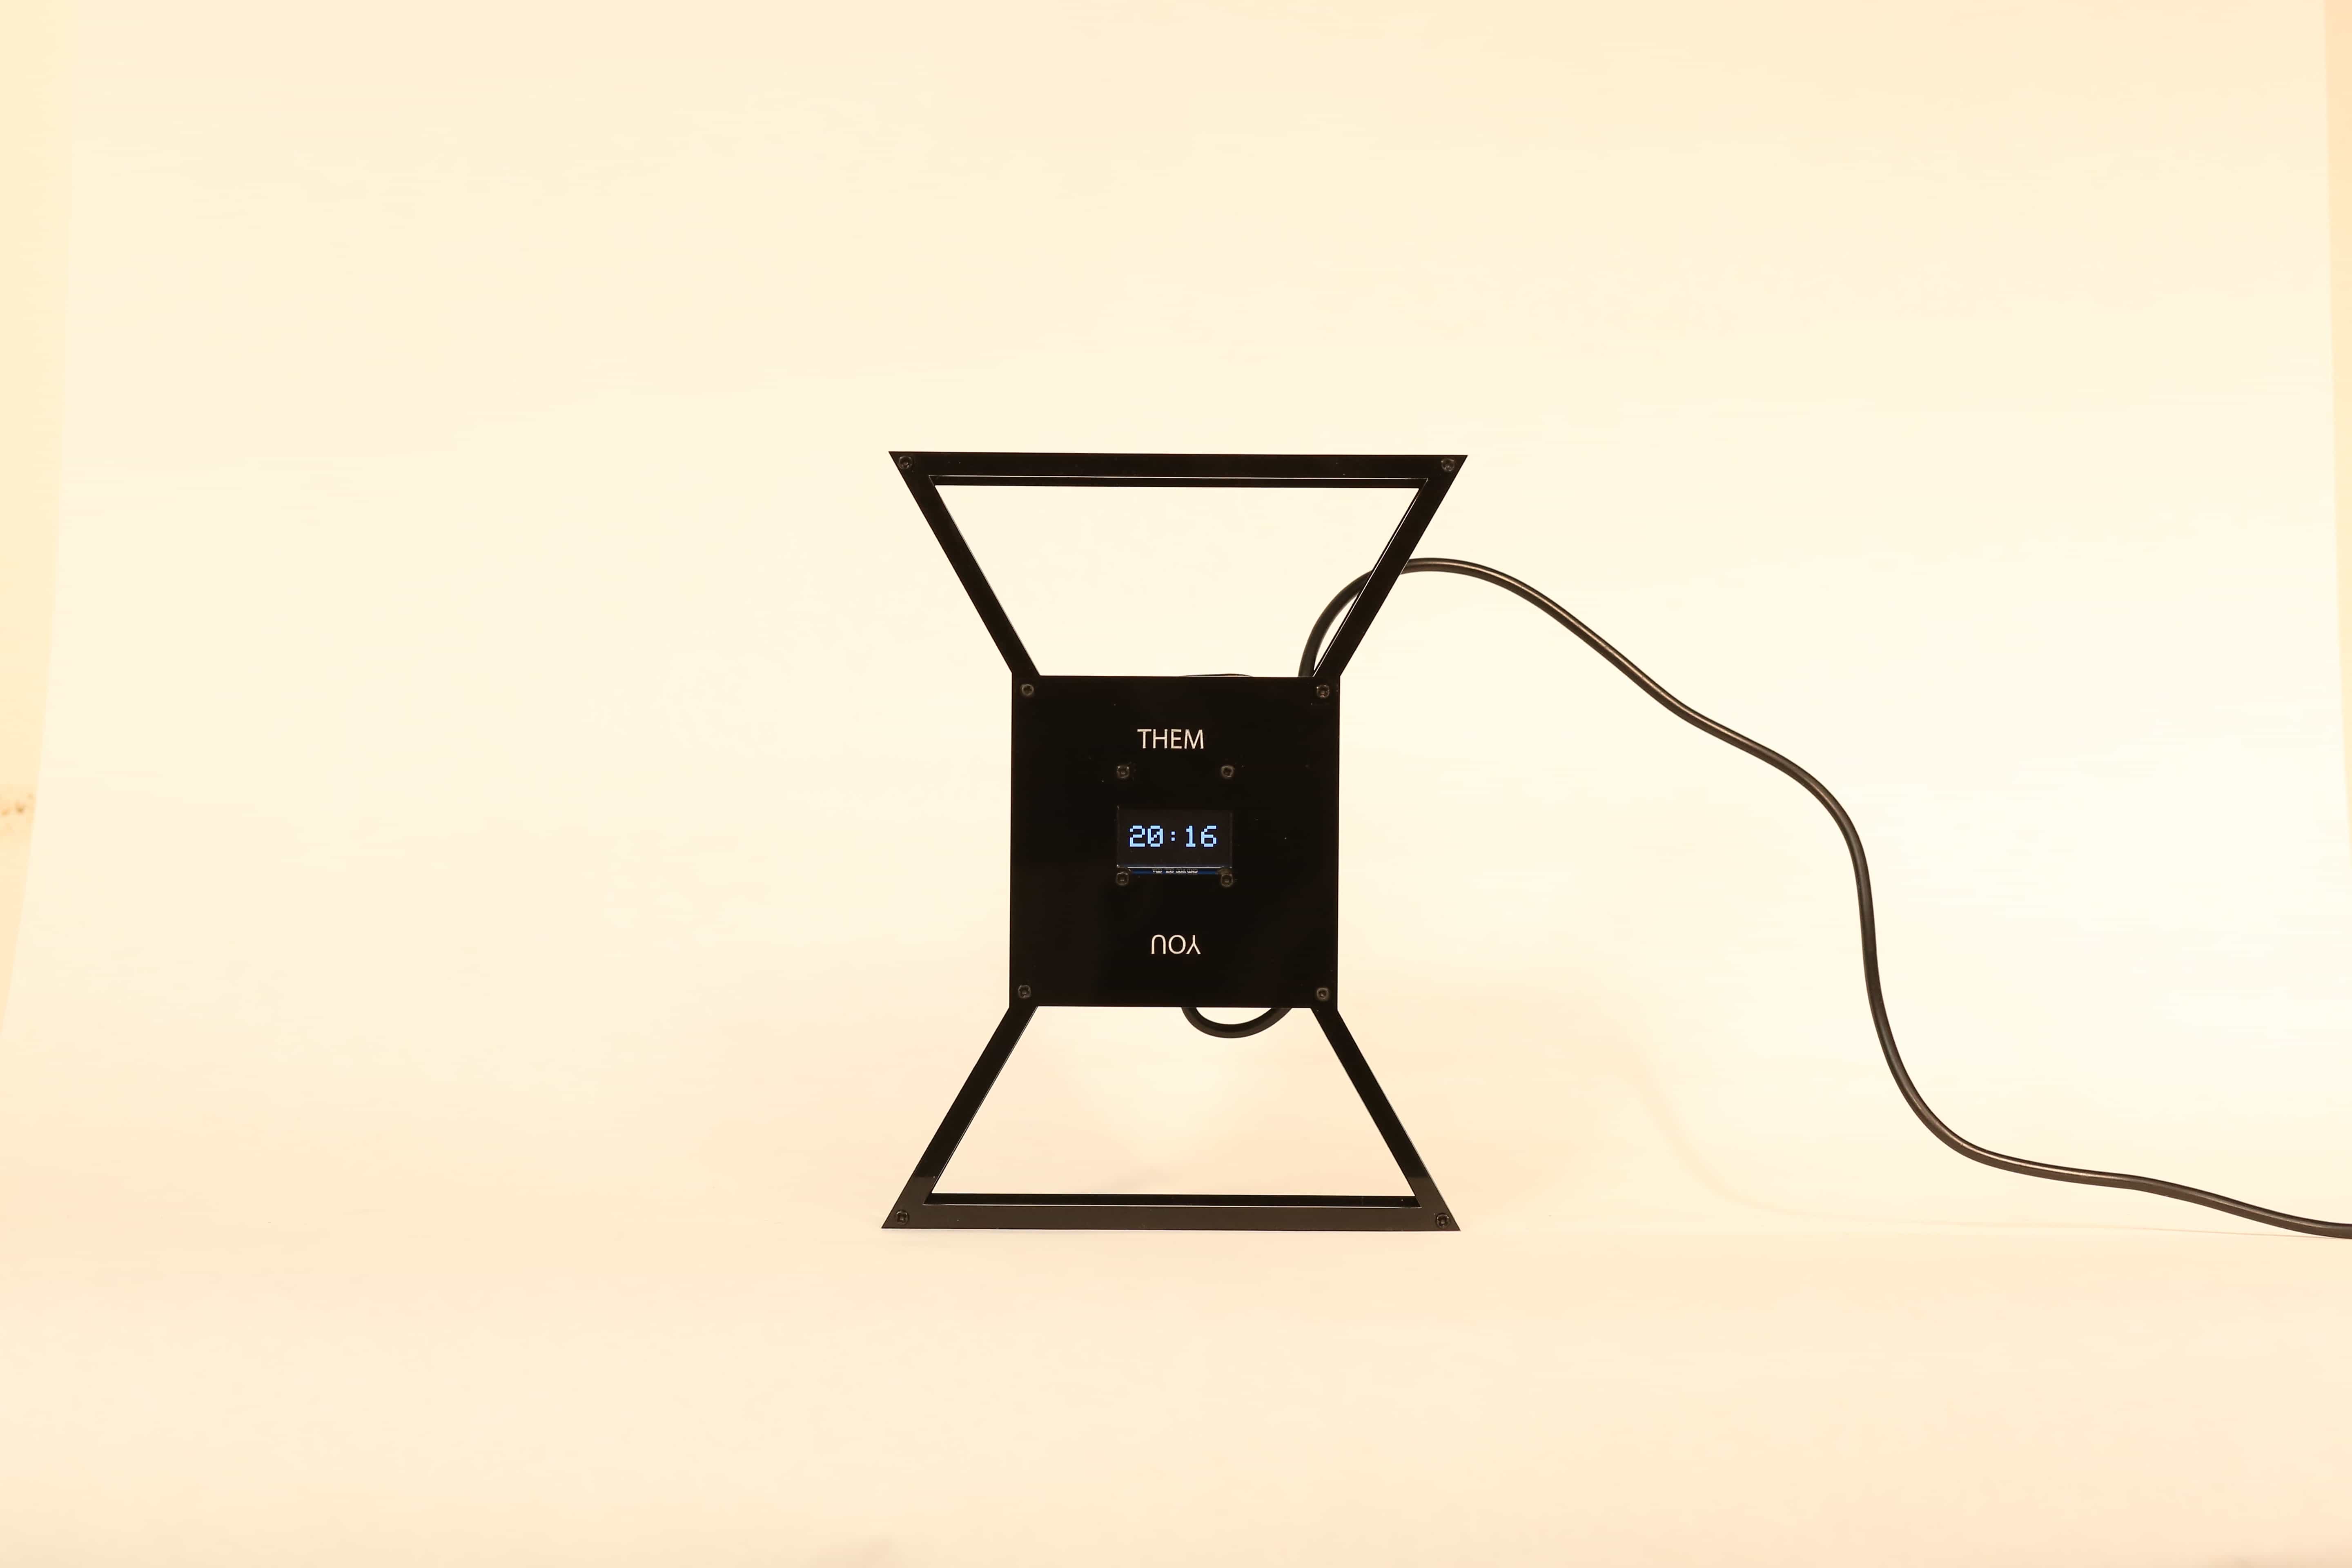
I came up with a cube/box looking desk clock. The time is displayed with a small screen. The clock has buttons on the back to set the time. When the clock is is flipped upside-down, the display rotates 180 degrees and shows a different time. The new time is +/- hours relative to the original time. The new time is meant to represent the time of ones work or romantic partner who is in a different time zone.
Originally I thought of it looking more like a chess clock, but felt both the design and interaction were a little bland.
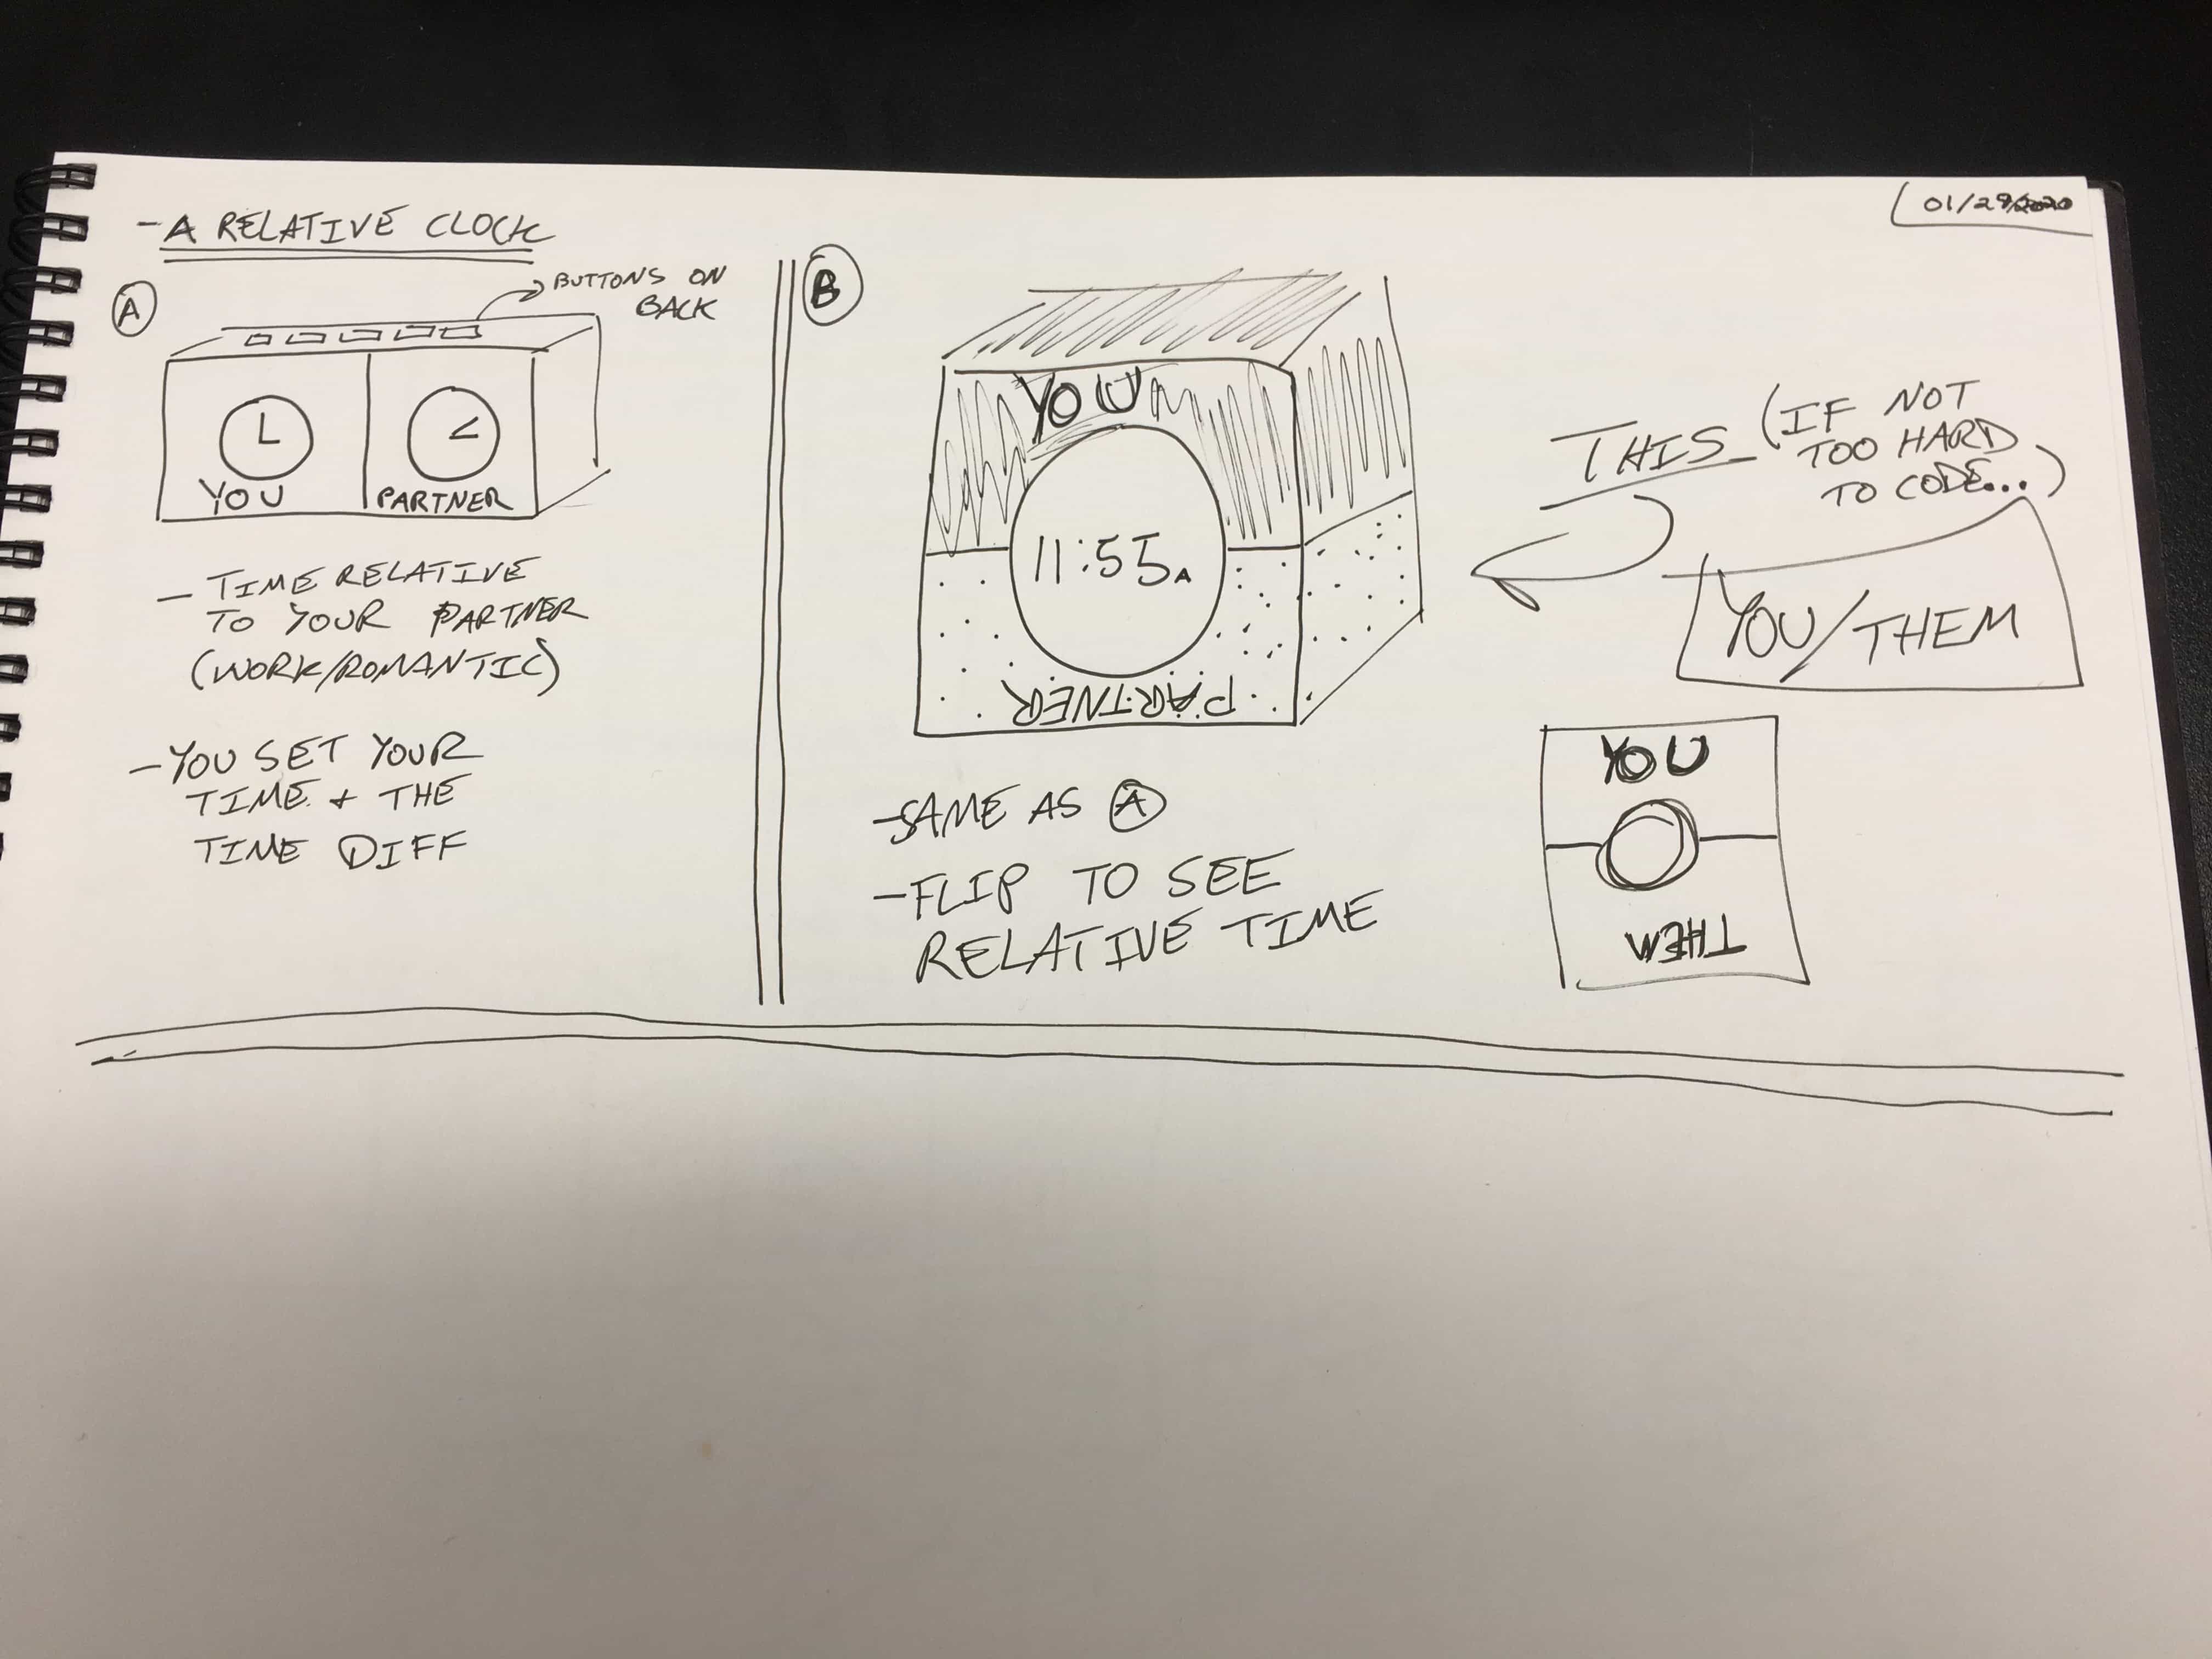
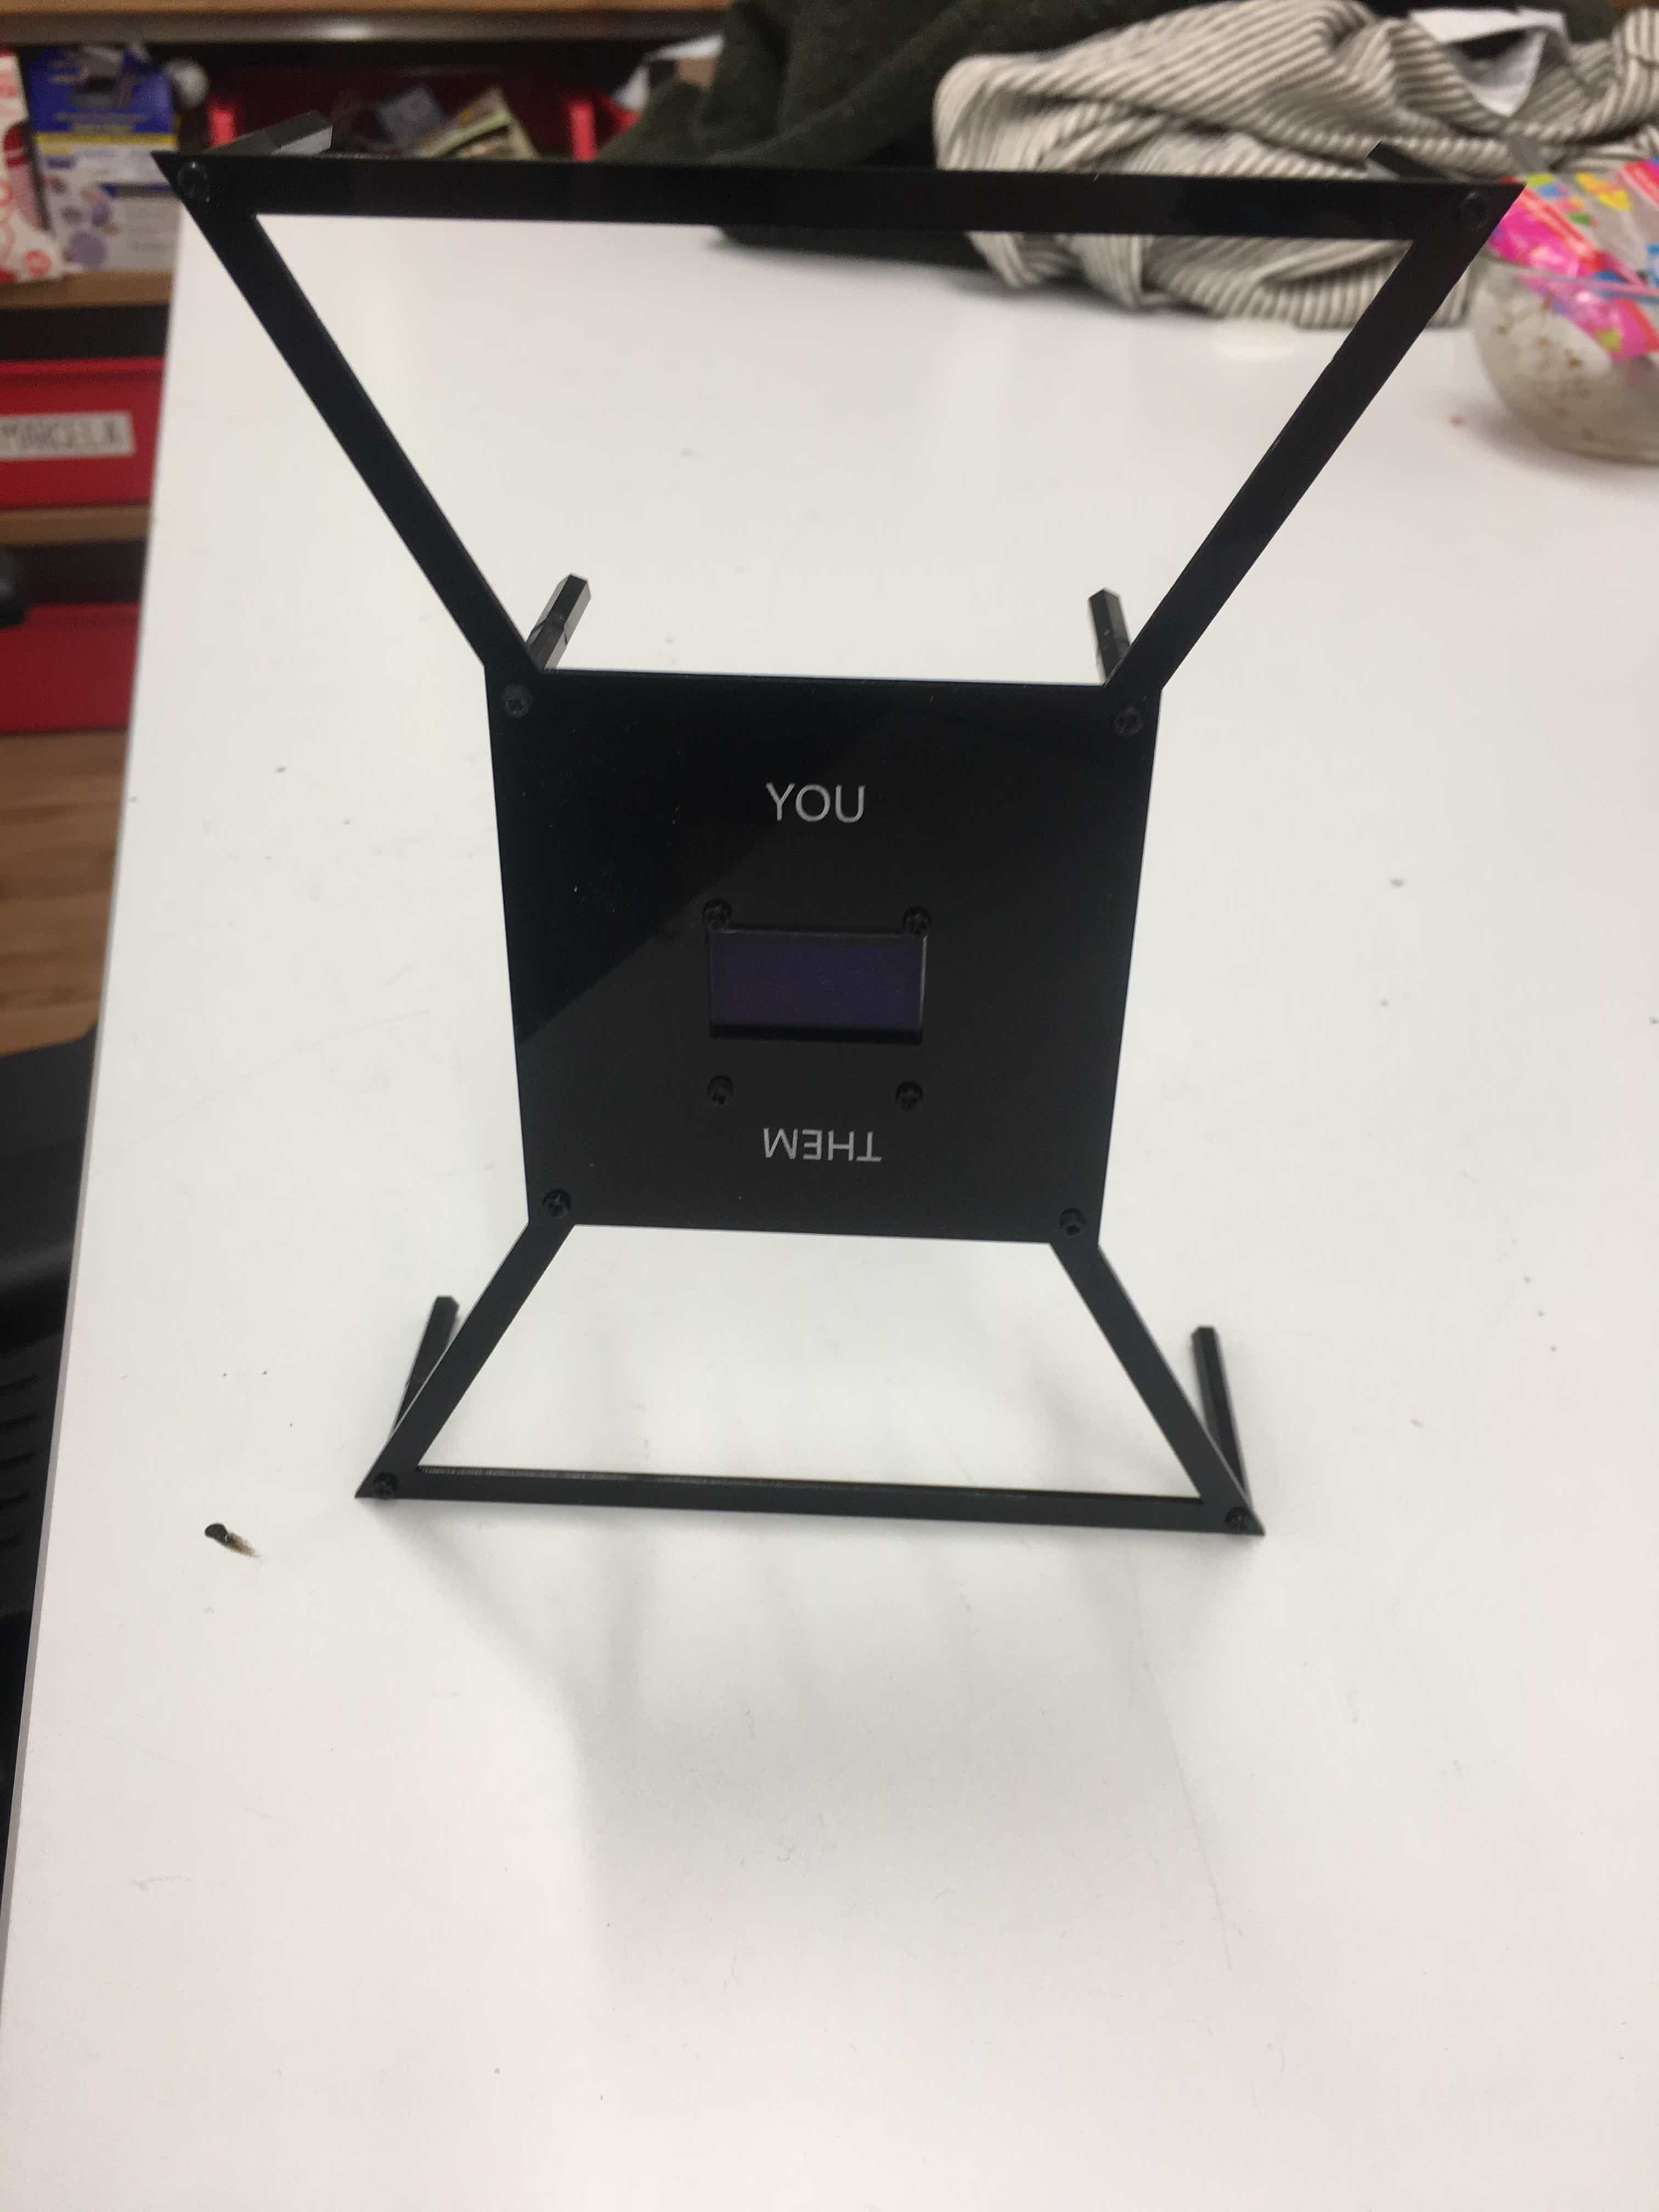
I ended up designing the clock to look like an hourglass. This design worked well because with real hourglass’s, you have to invert them to start the timer. For my clock, to get the alternate time to appear, one also has to invert the clock. The appearance helped to indicate a potential action.
Code⌗
The code was written for the Nano 33 IoT, using the Arduino IDE.
The source code can be found on Github:
Relative Clock - Github
References⌗
I used the RTC Library for keeping time. I used the Arduino documentation:
RTC Library
For double-clicks I used the OneButton Library. I used the following example code:
SimpleOneButton.ino
I used an OLED 128x64 I2C display. I used the following tutorial to learn how to use the module:
OLED I2C Display Arduino Tutorial
The module above uses the Adafruit GFX Graphics Library. I used the following article to learn about the APIs:
Adafruit GFX Graphics Library
I used the LSM6DS3 Library for the Nano 33 IoT’s built-in gyroscope. I used the following example code:
SimpleAccelerometer.ino
Build⌗
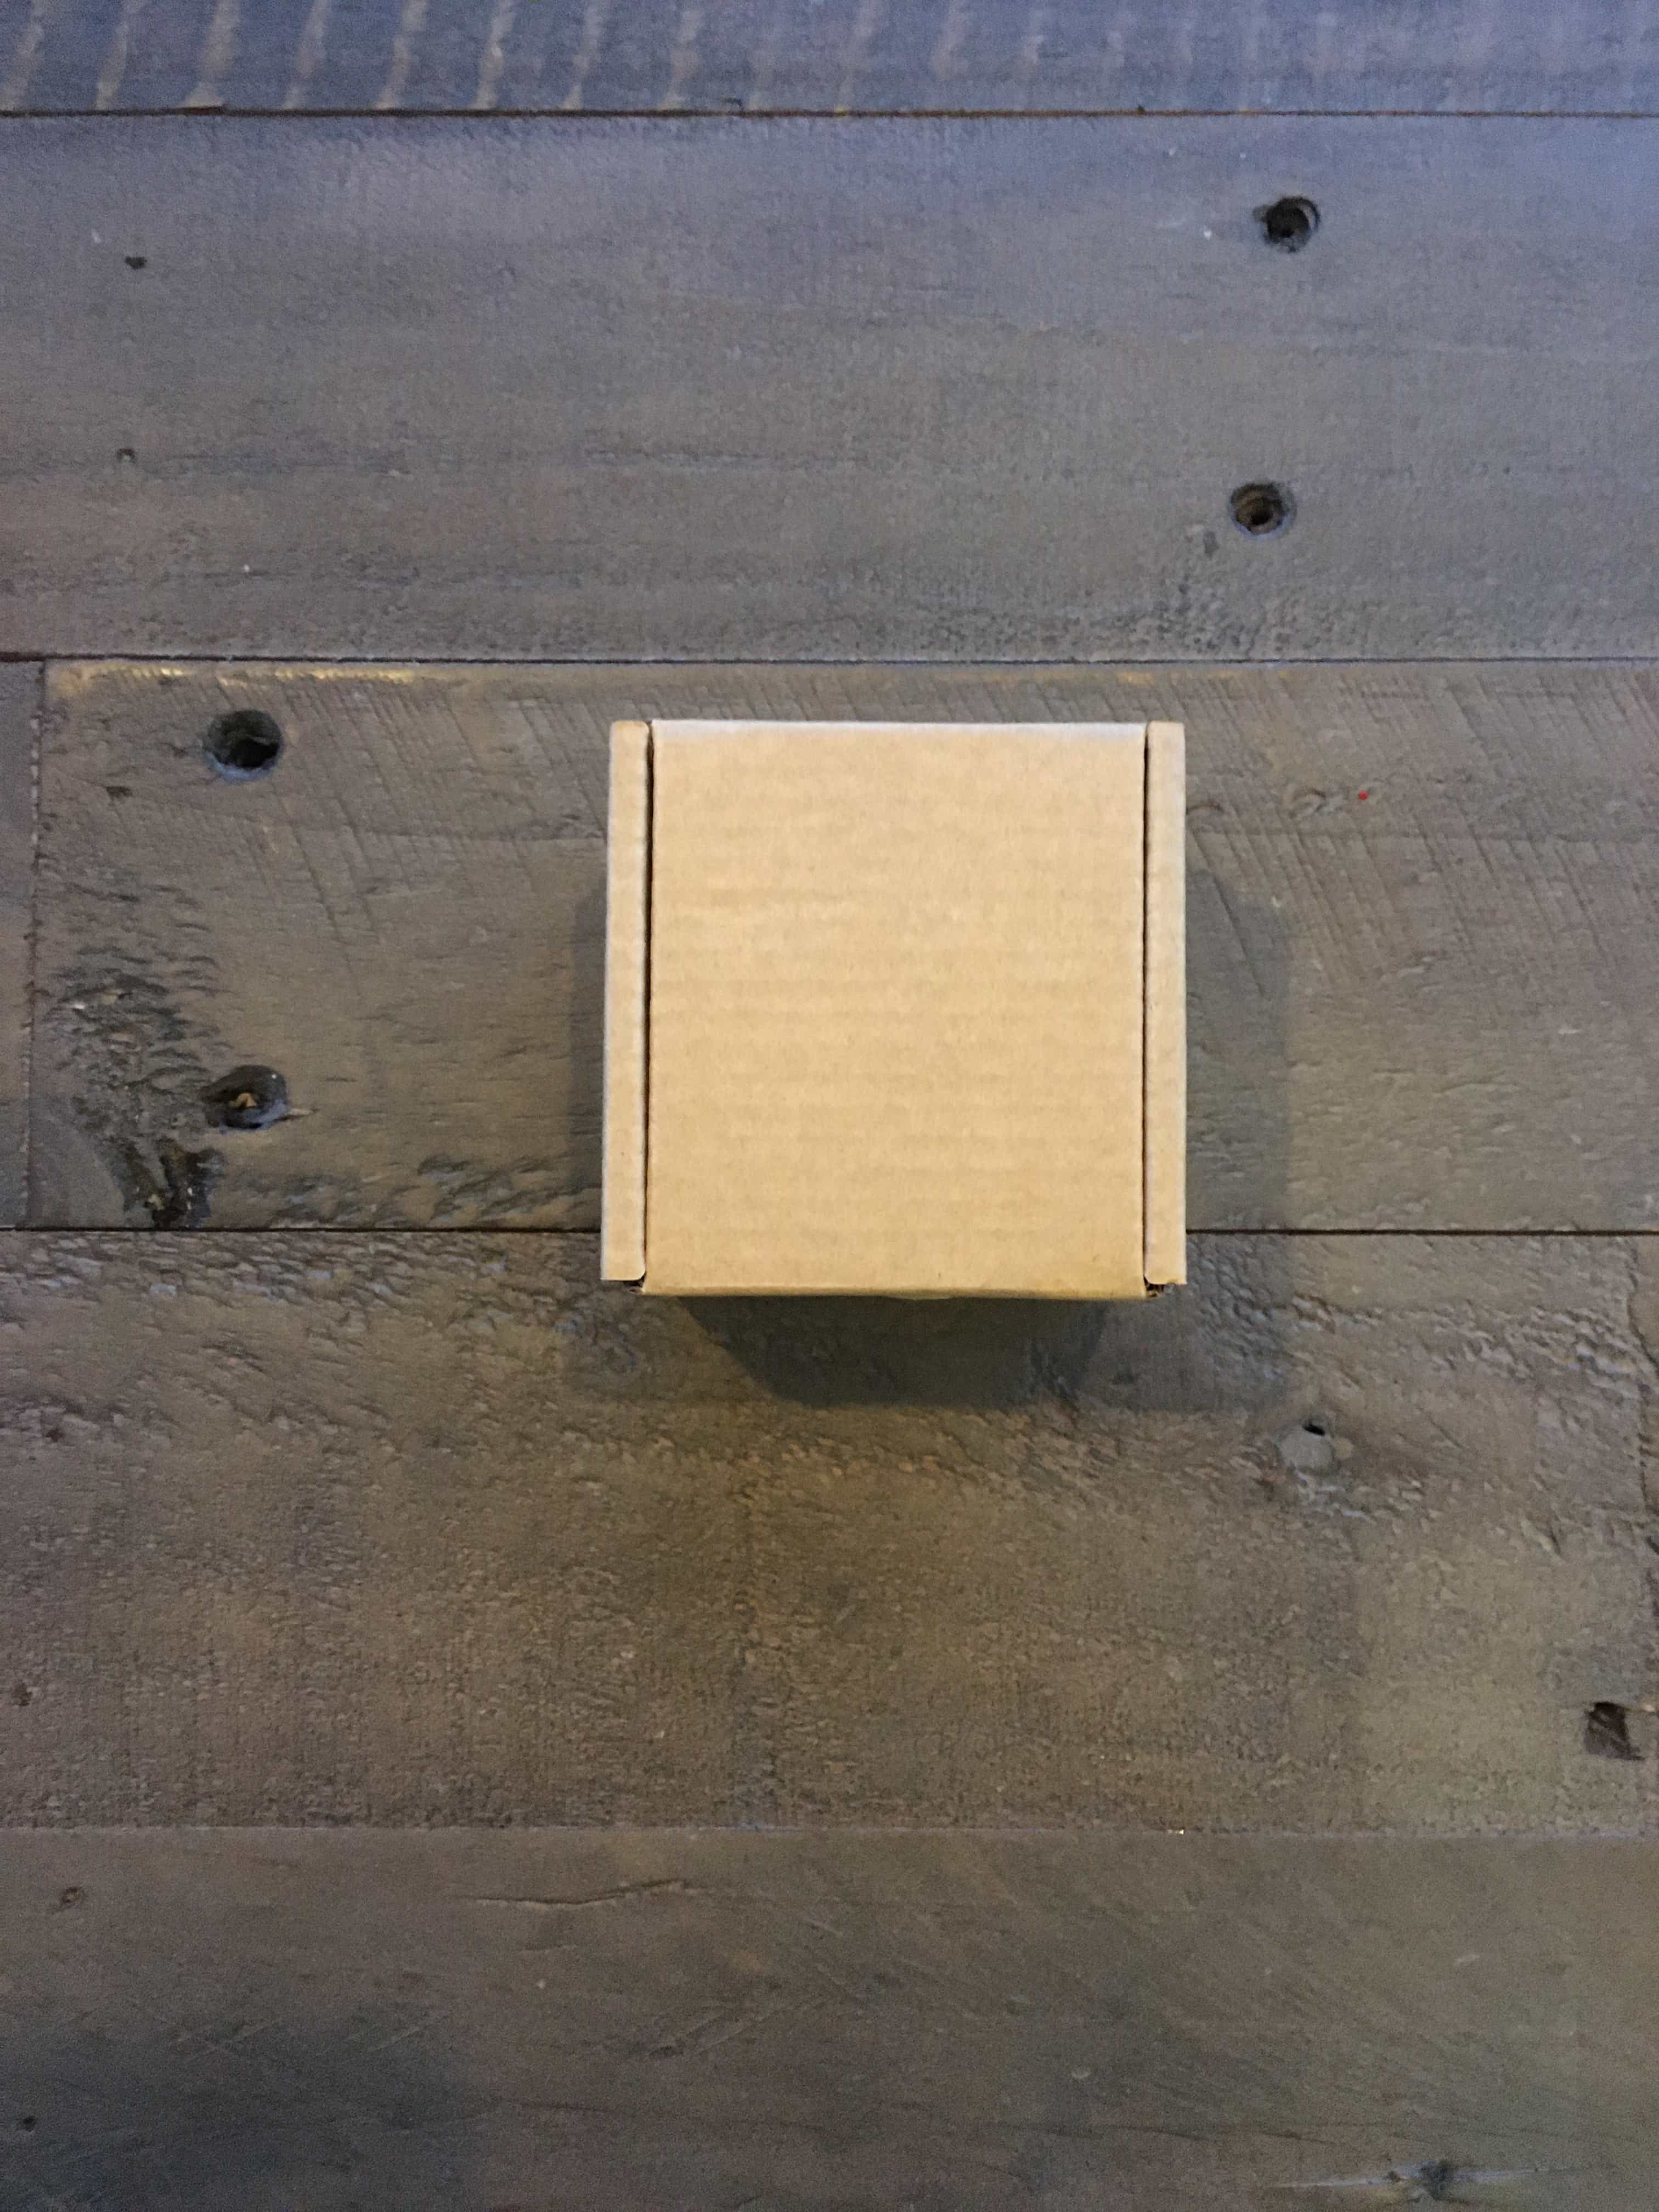
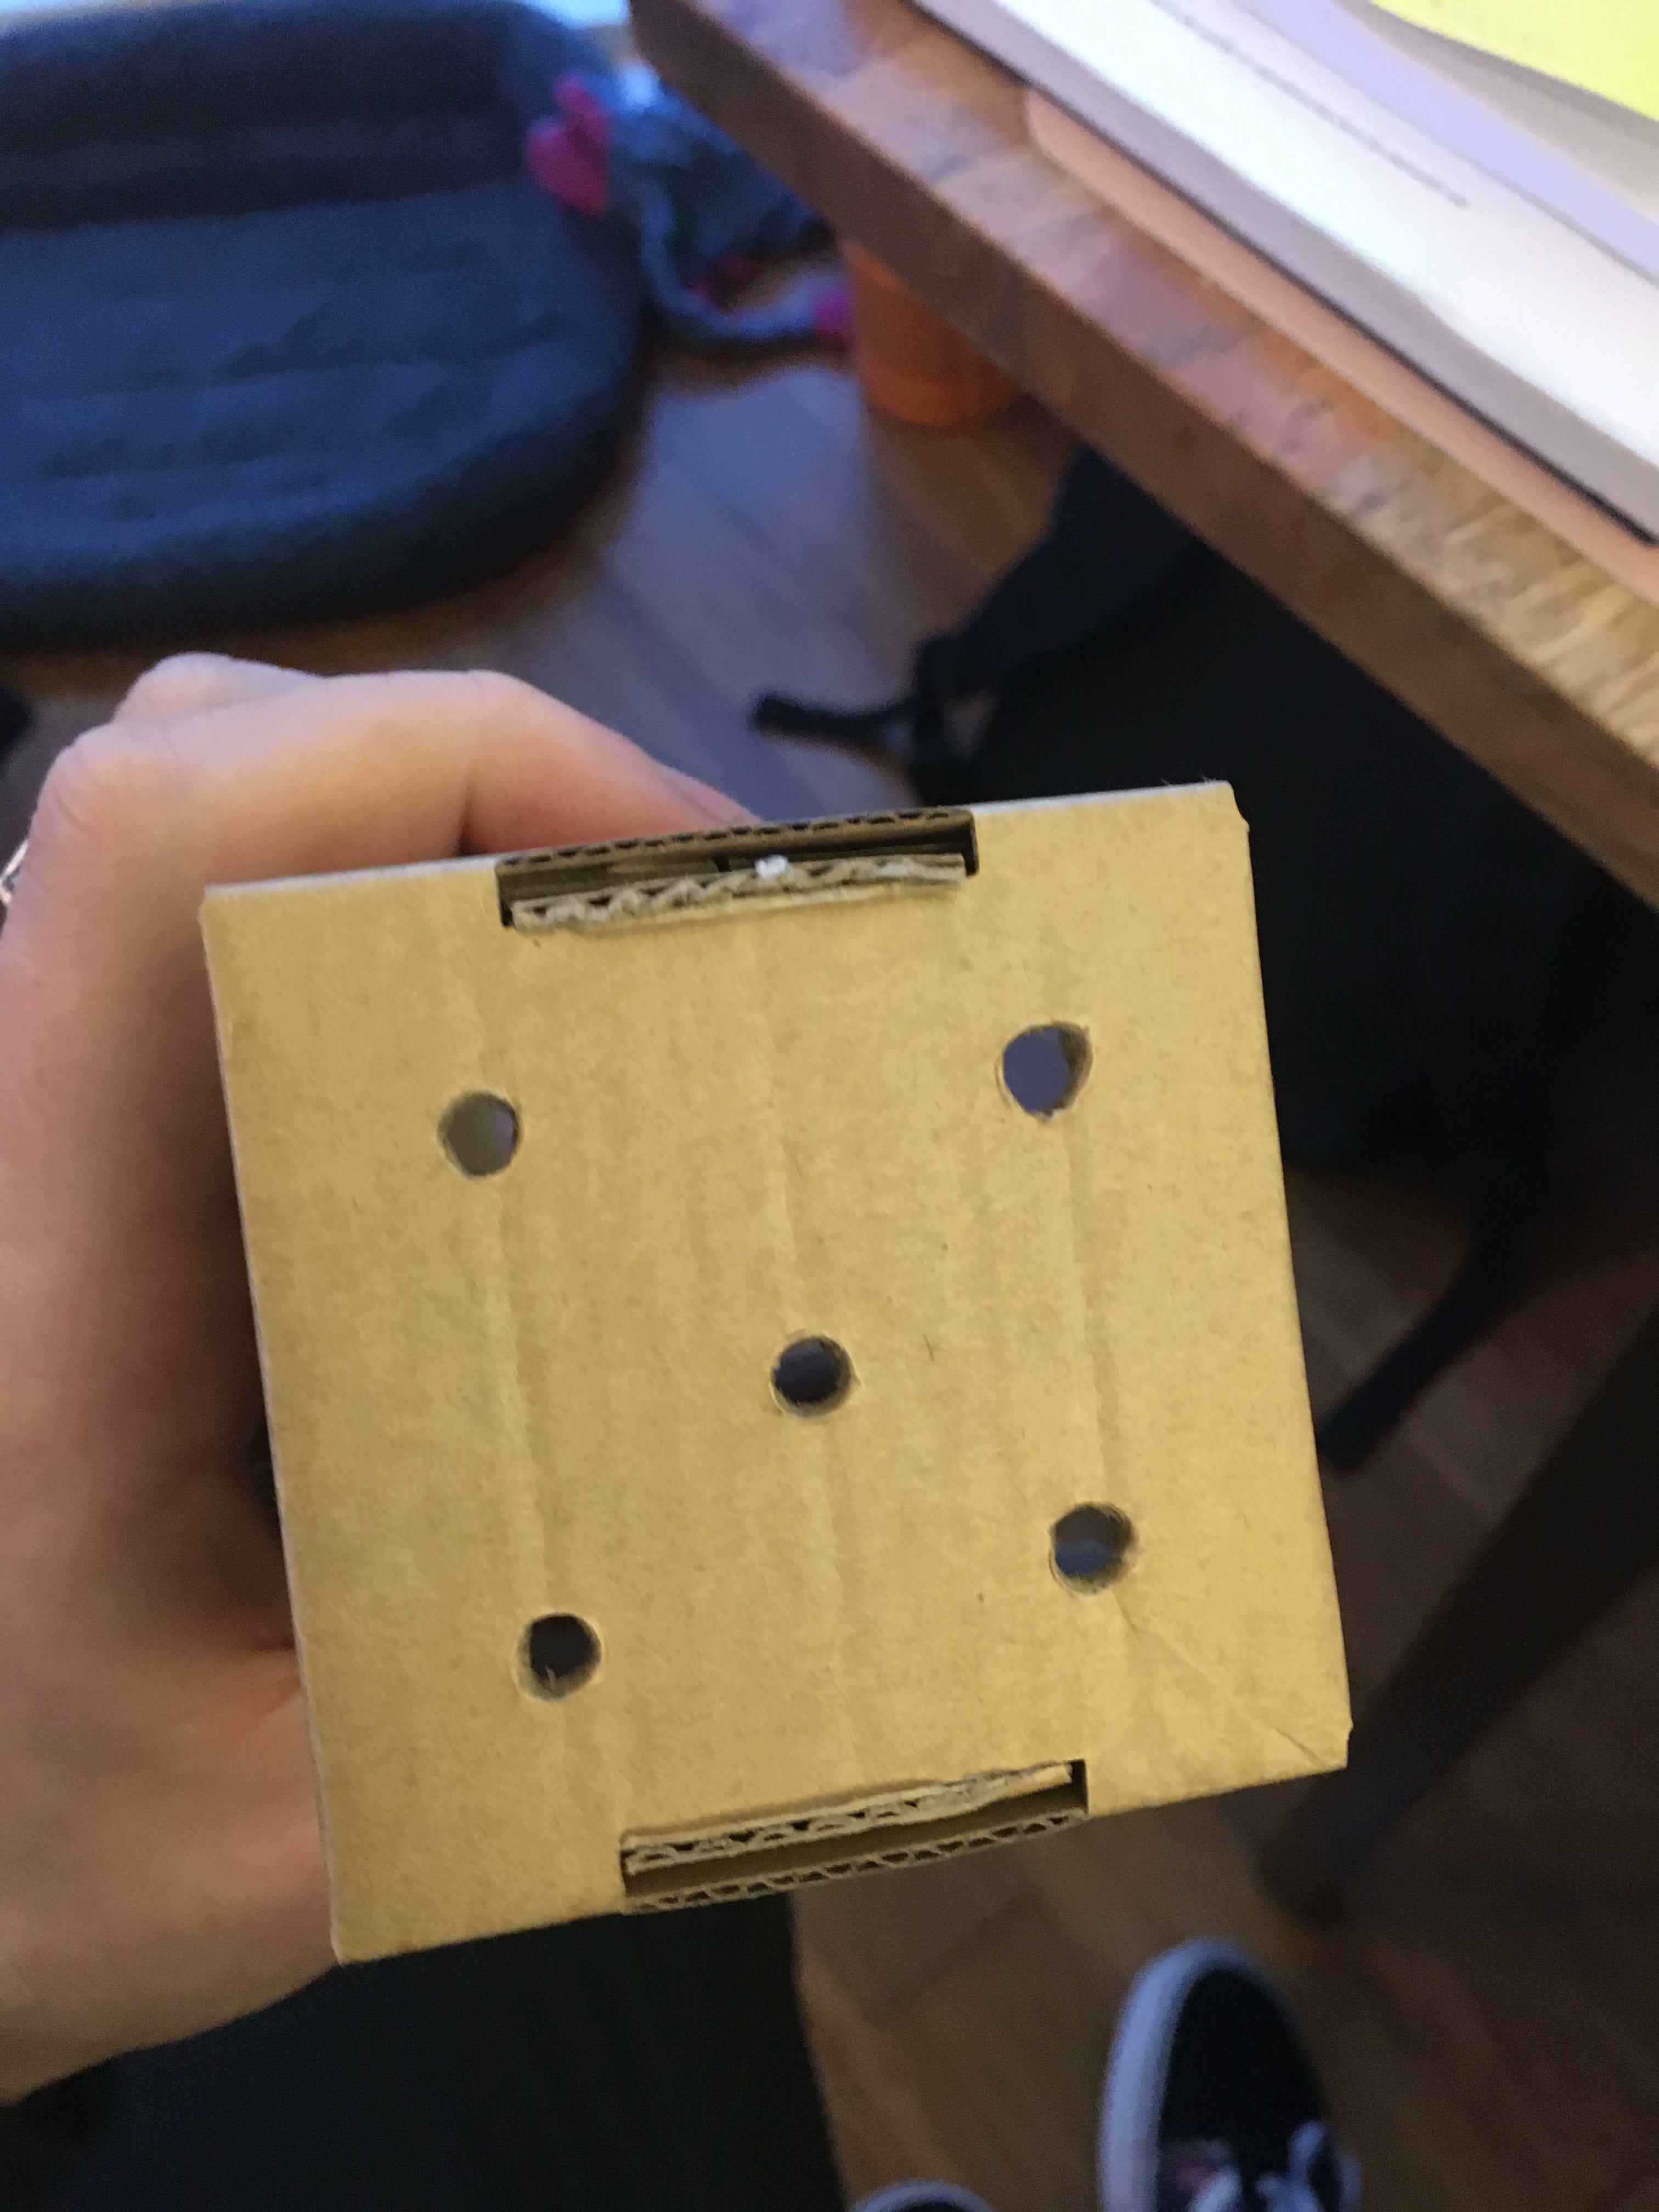
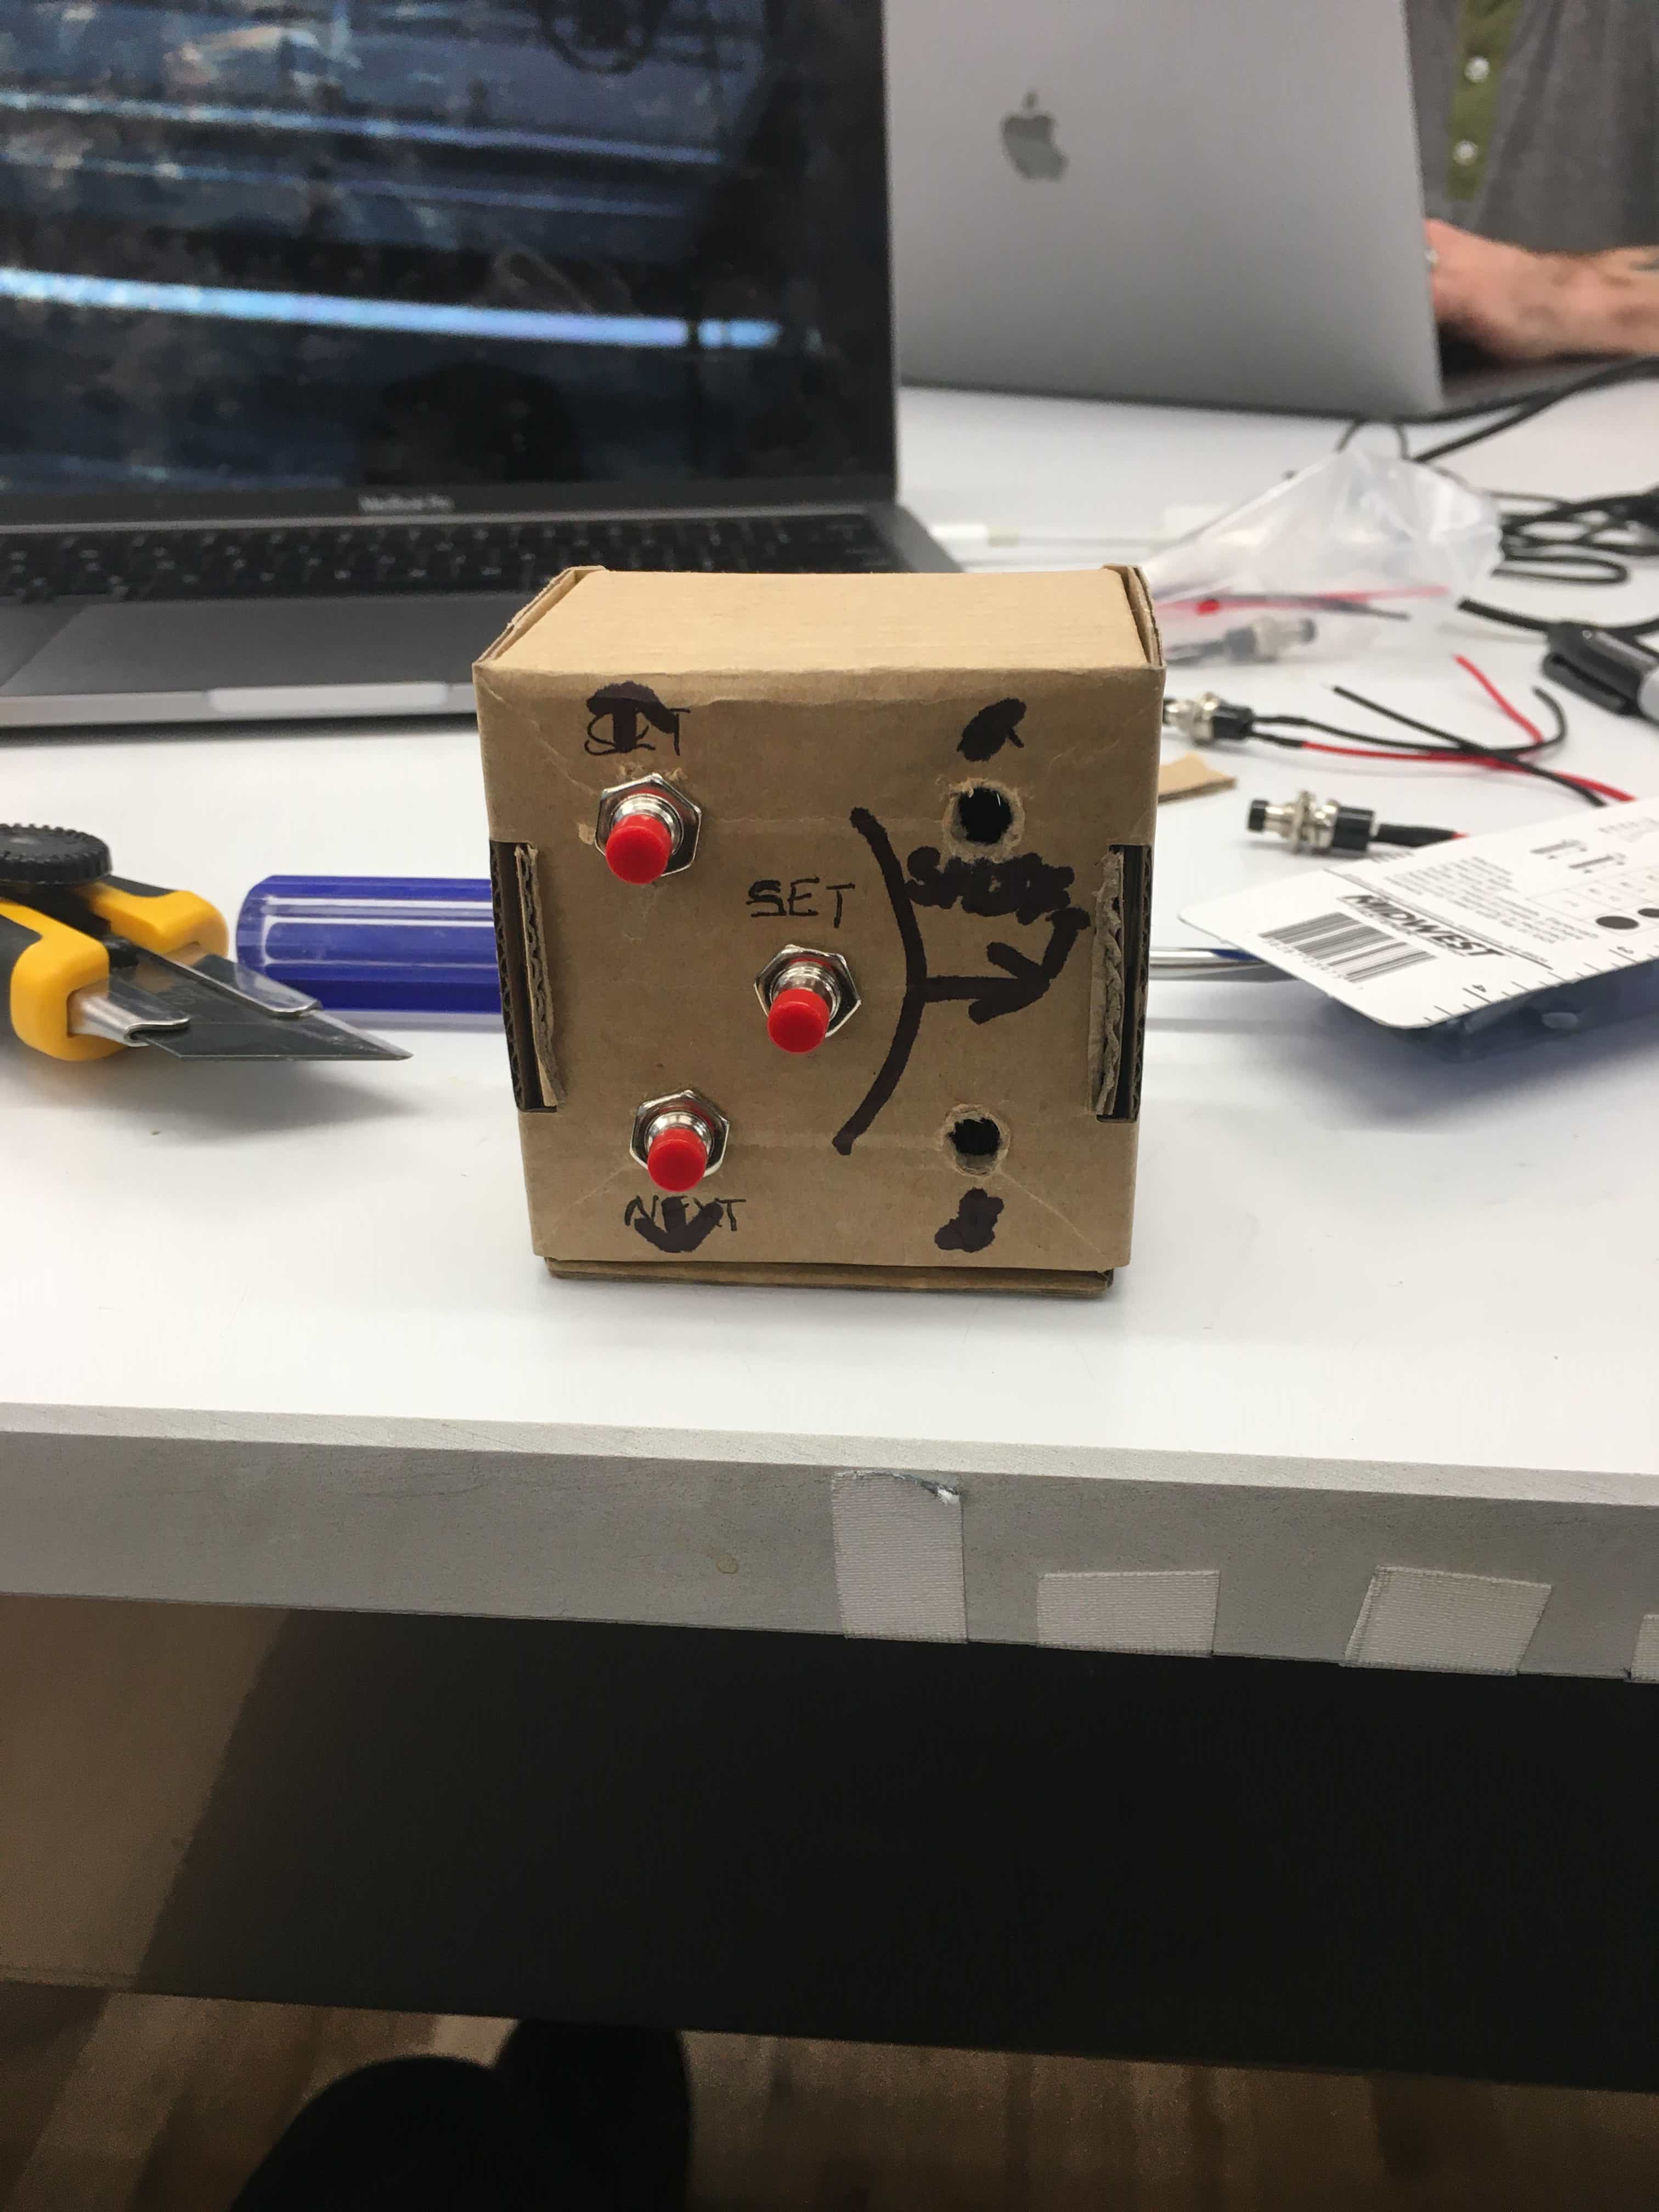
To start, I prototyped the box version of the clock. I used a 3in x 3in cardboard box that some of my components came in.
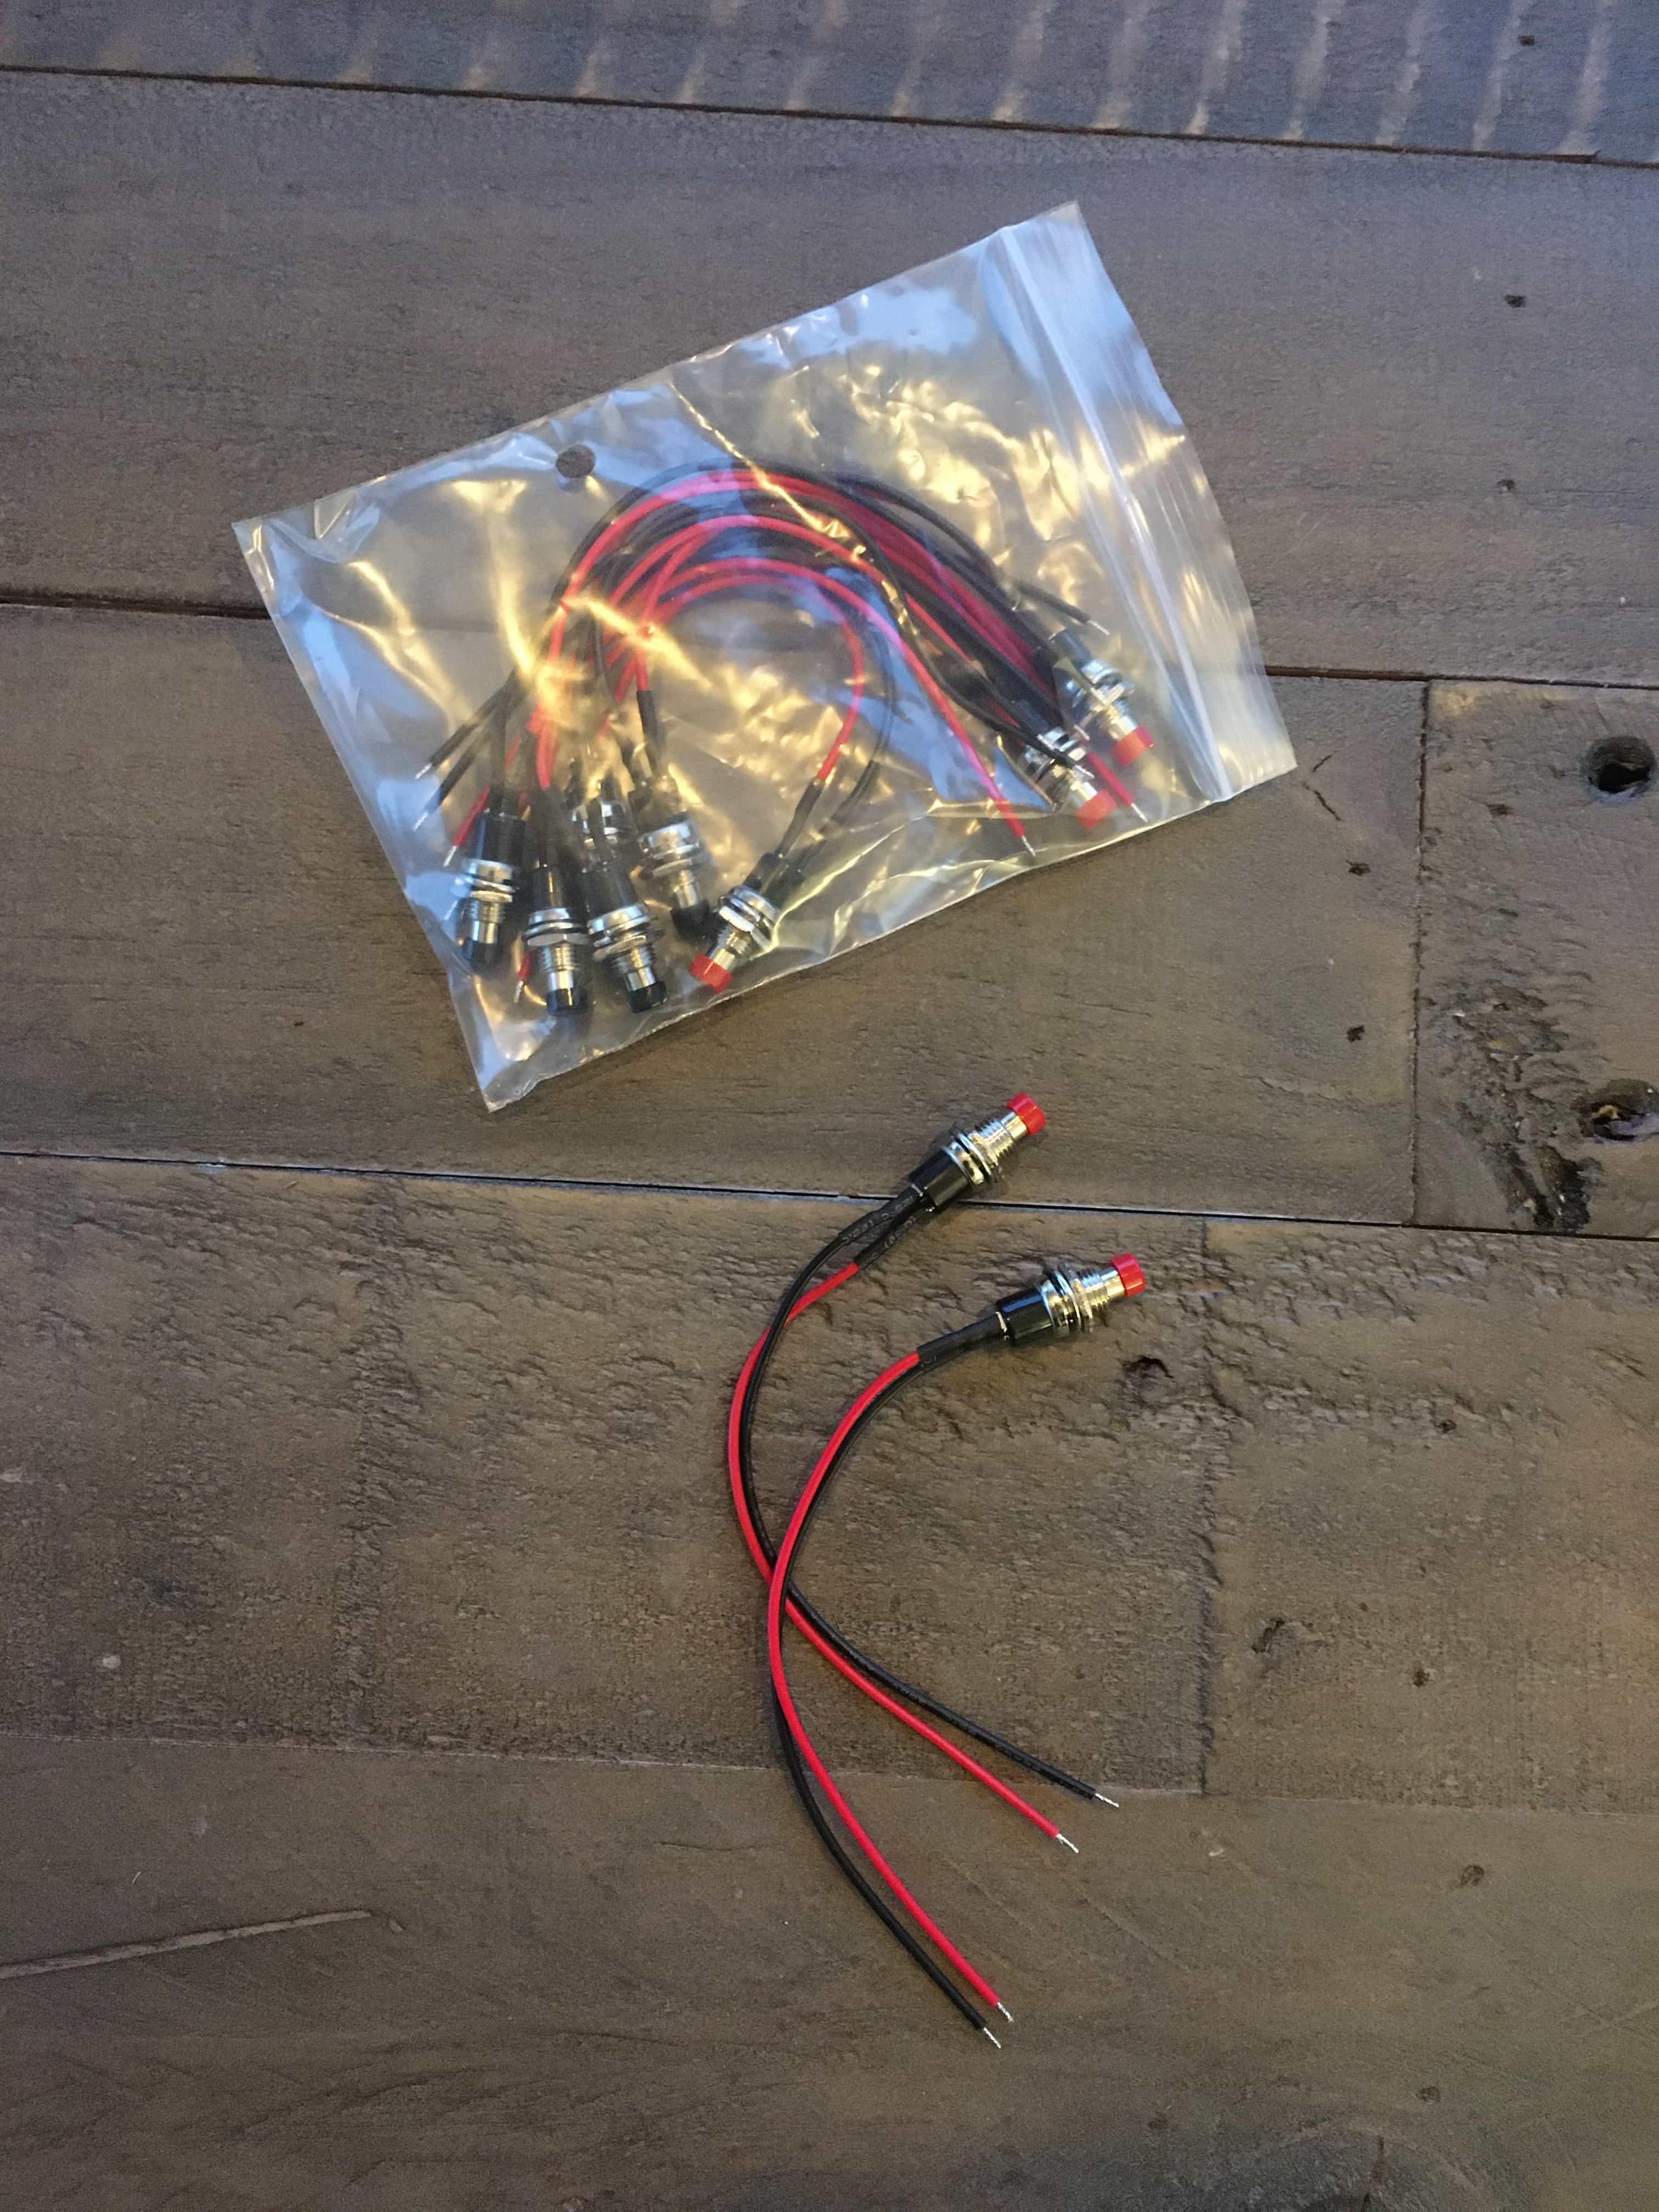
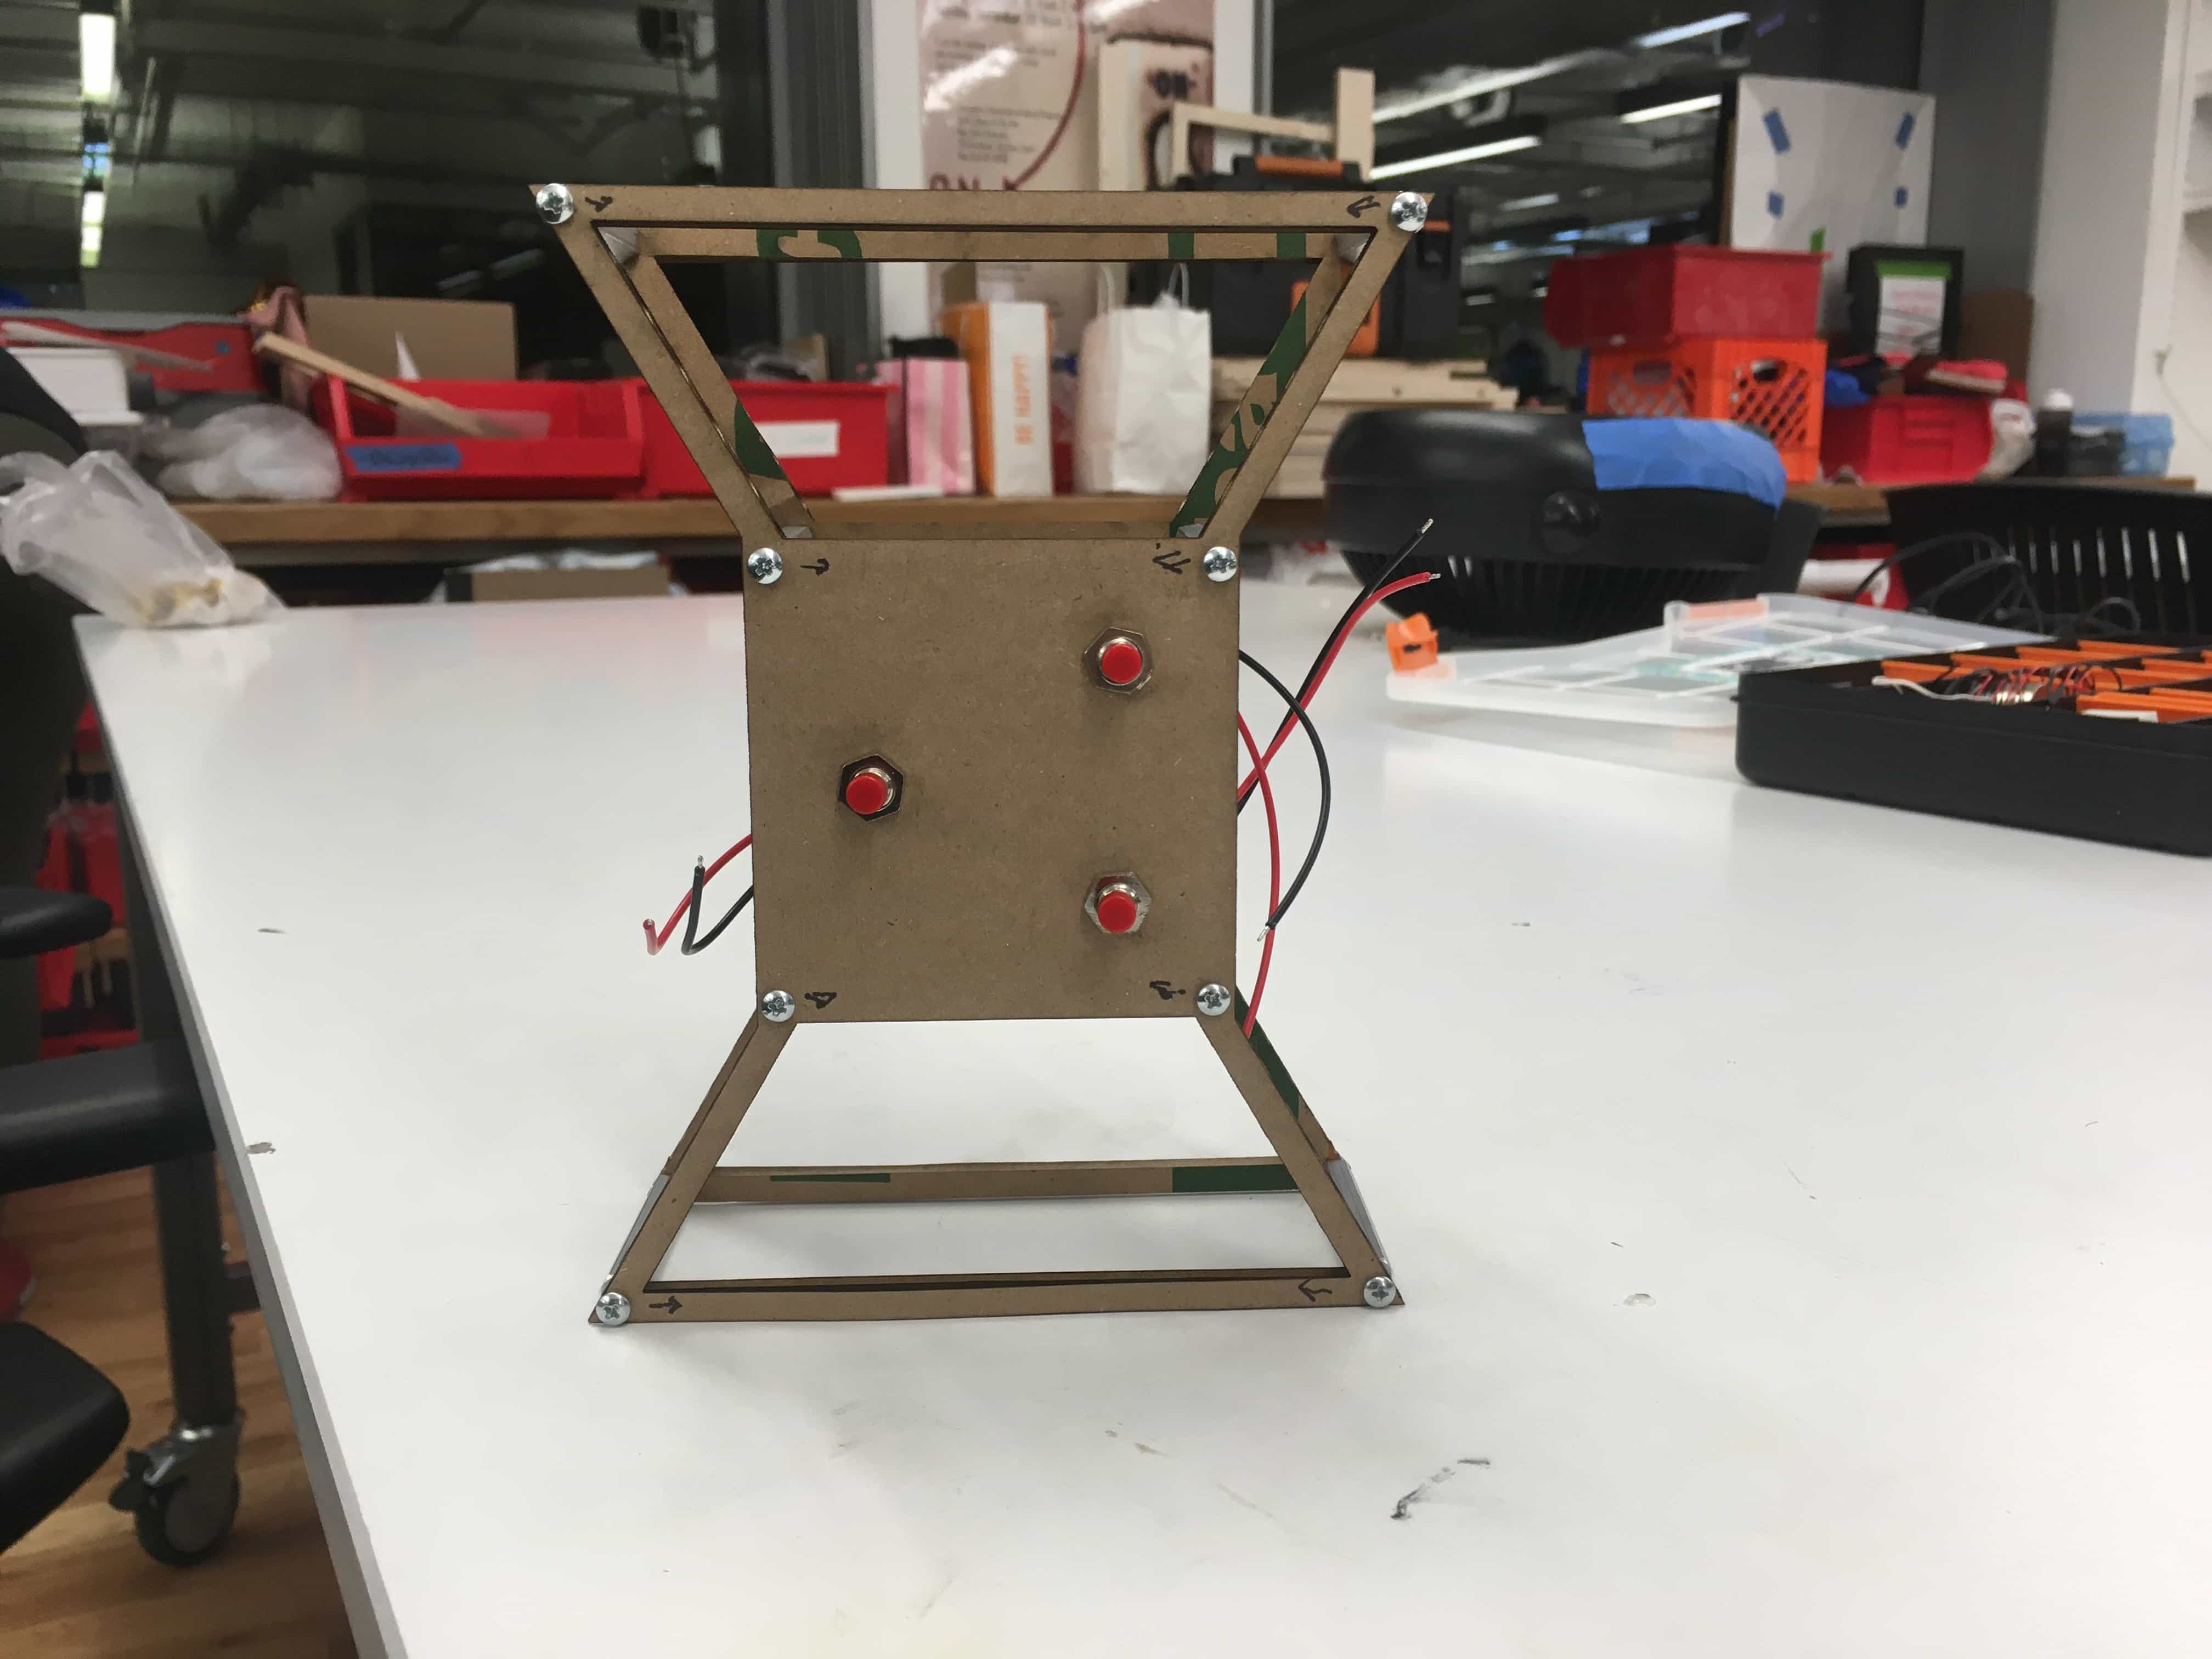
I then drilled holes in the back of the box (using scissors) and inserted some panel mount momentary push buttons.
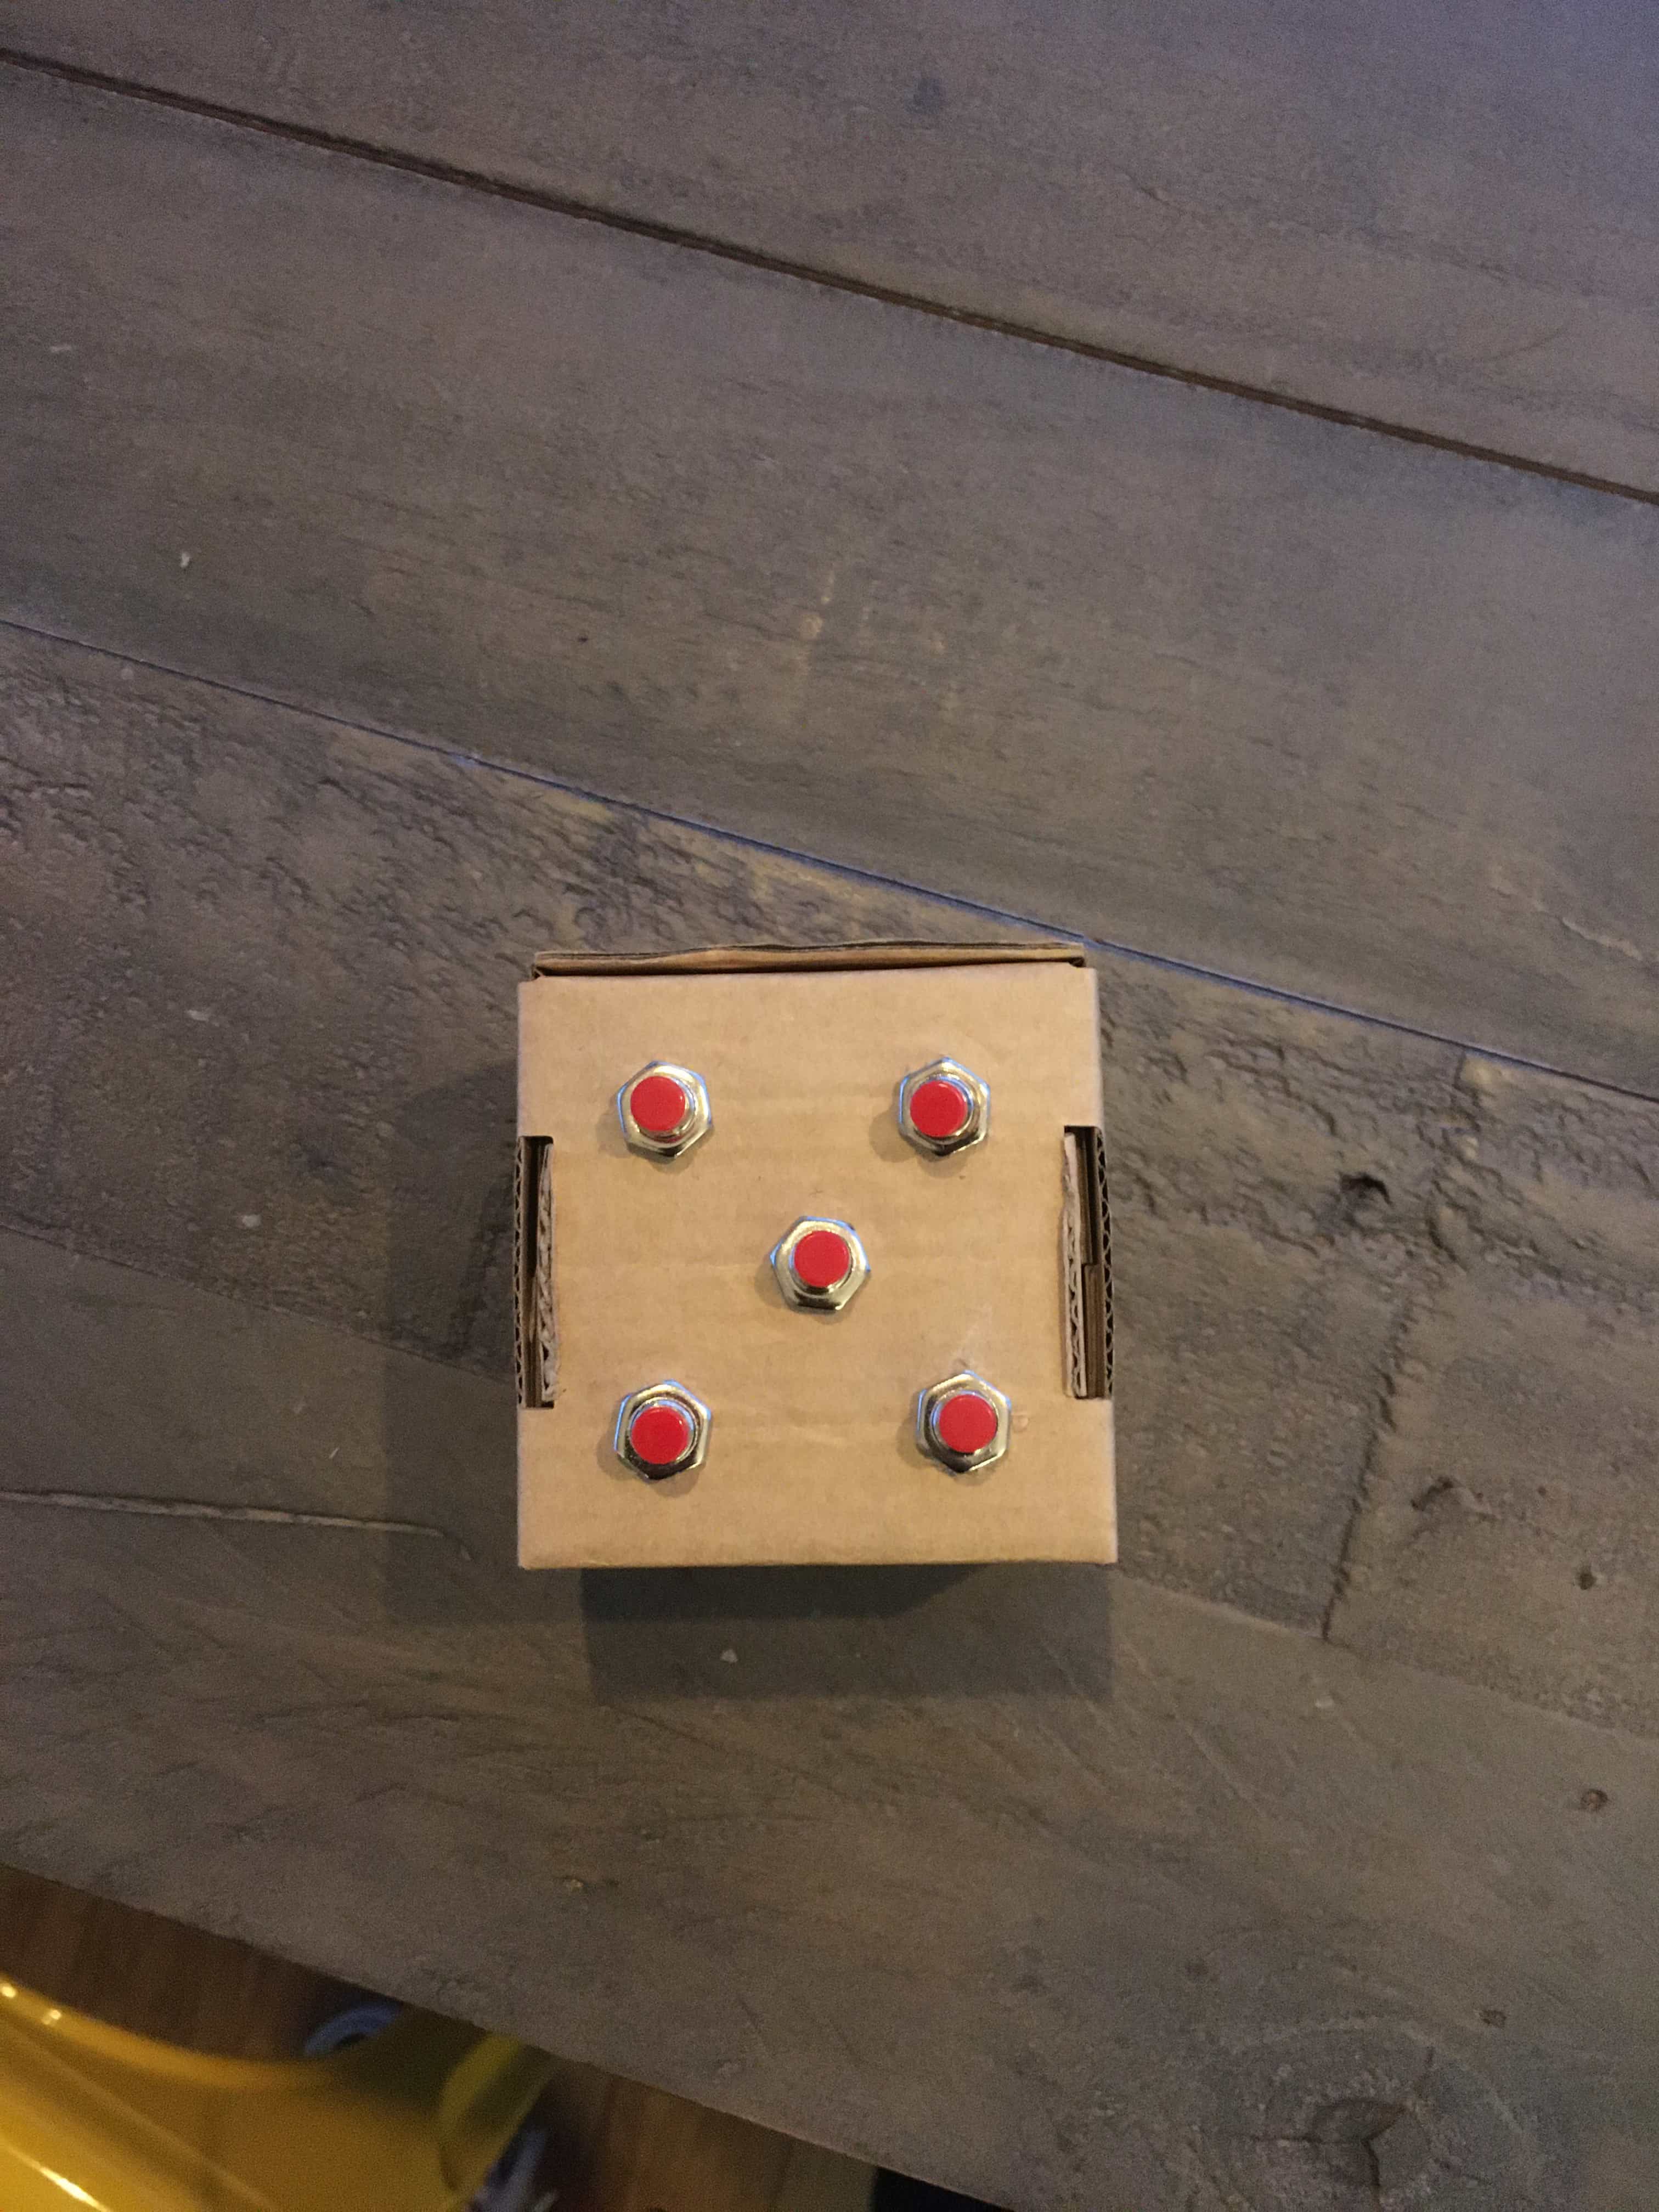
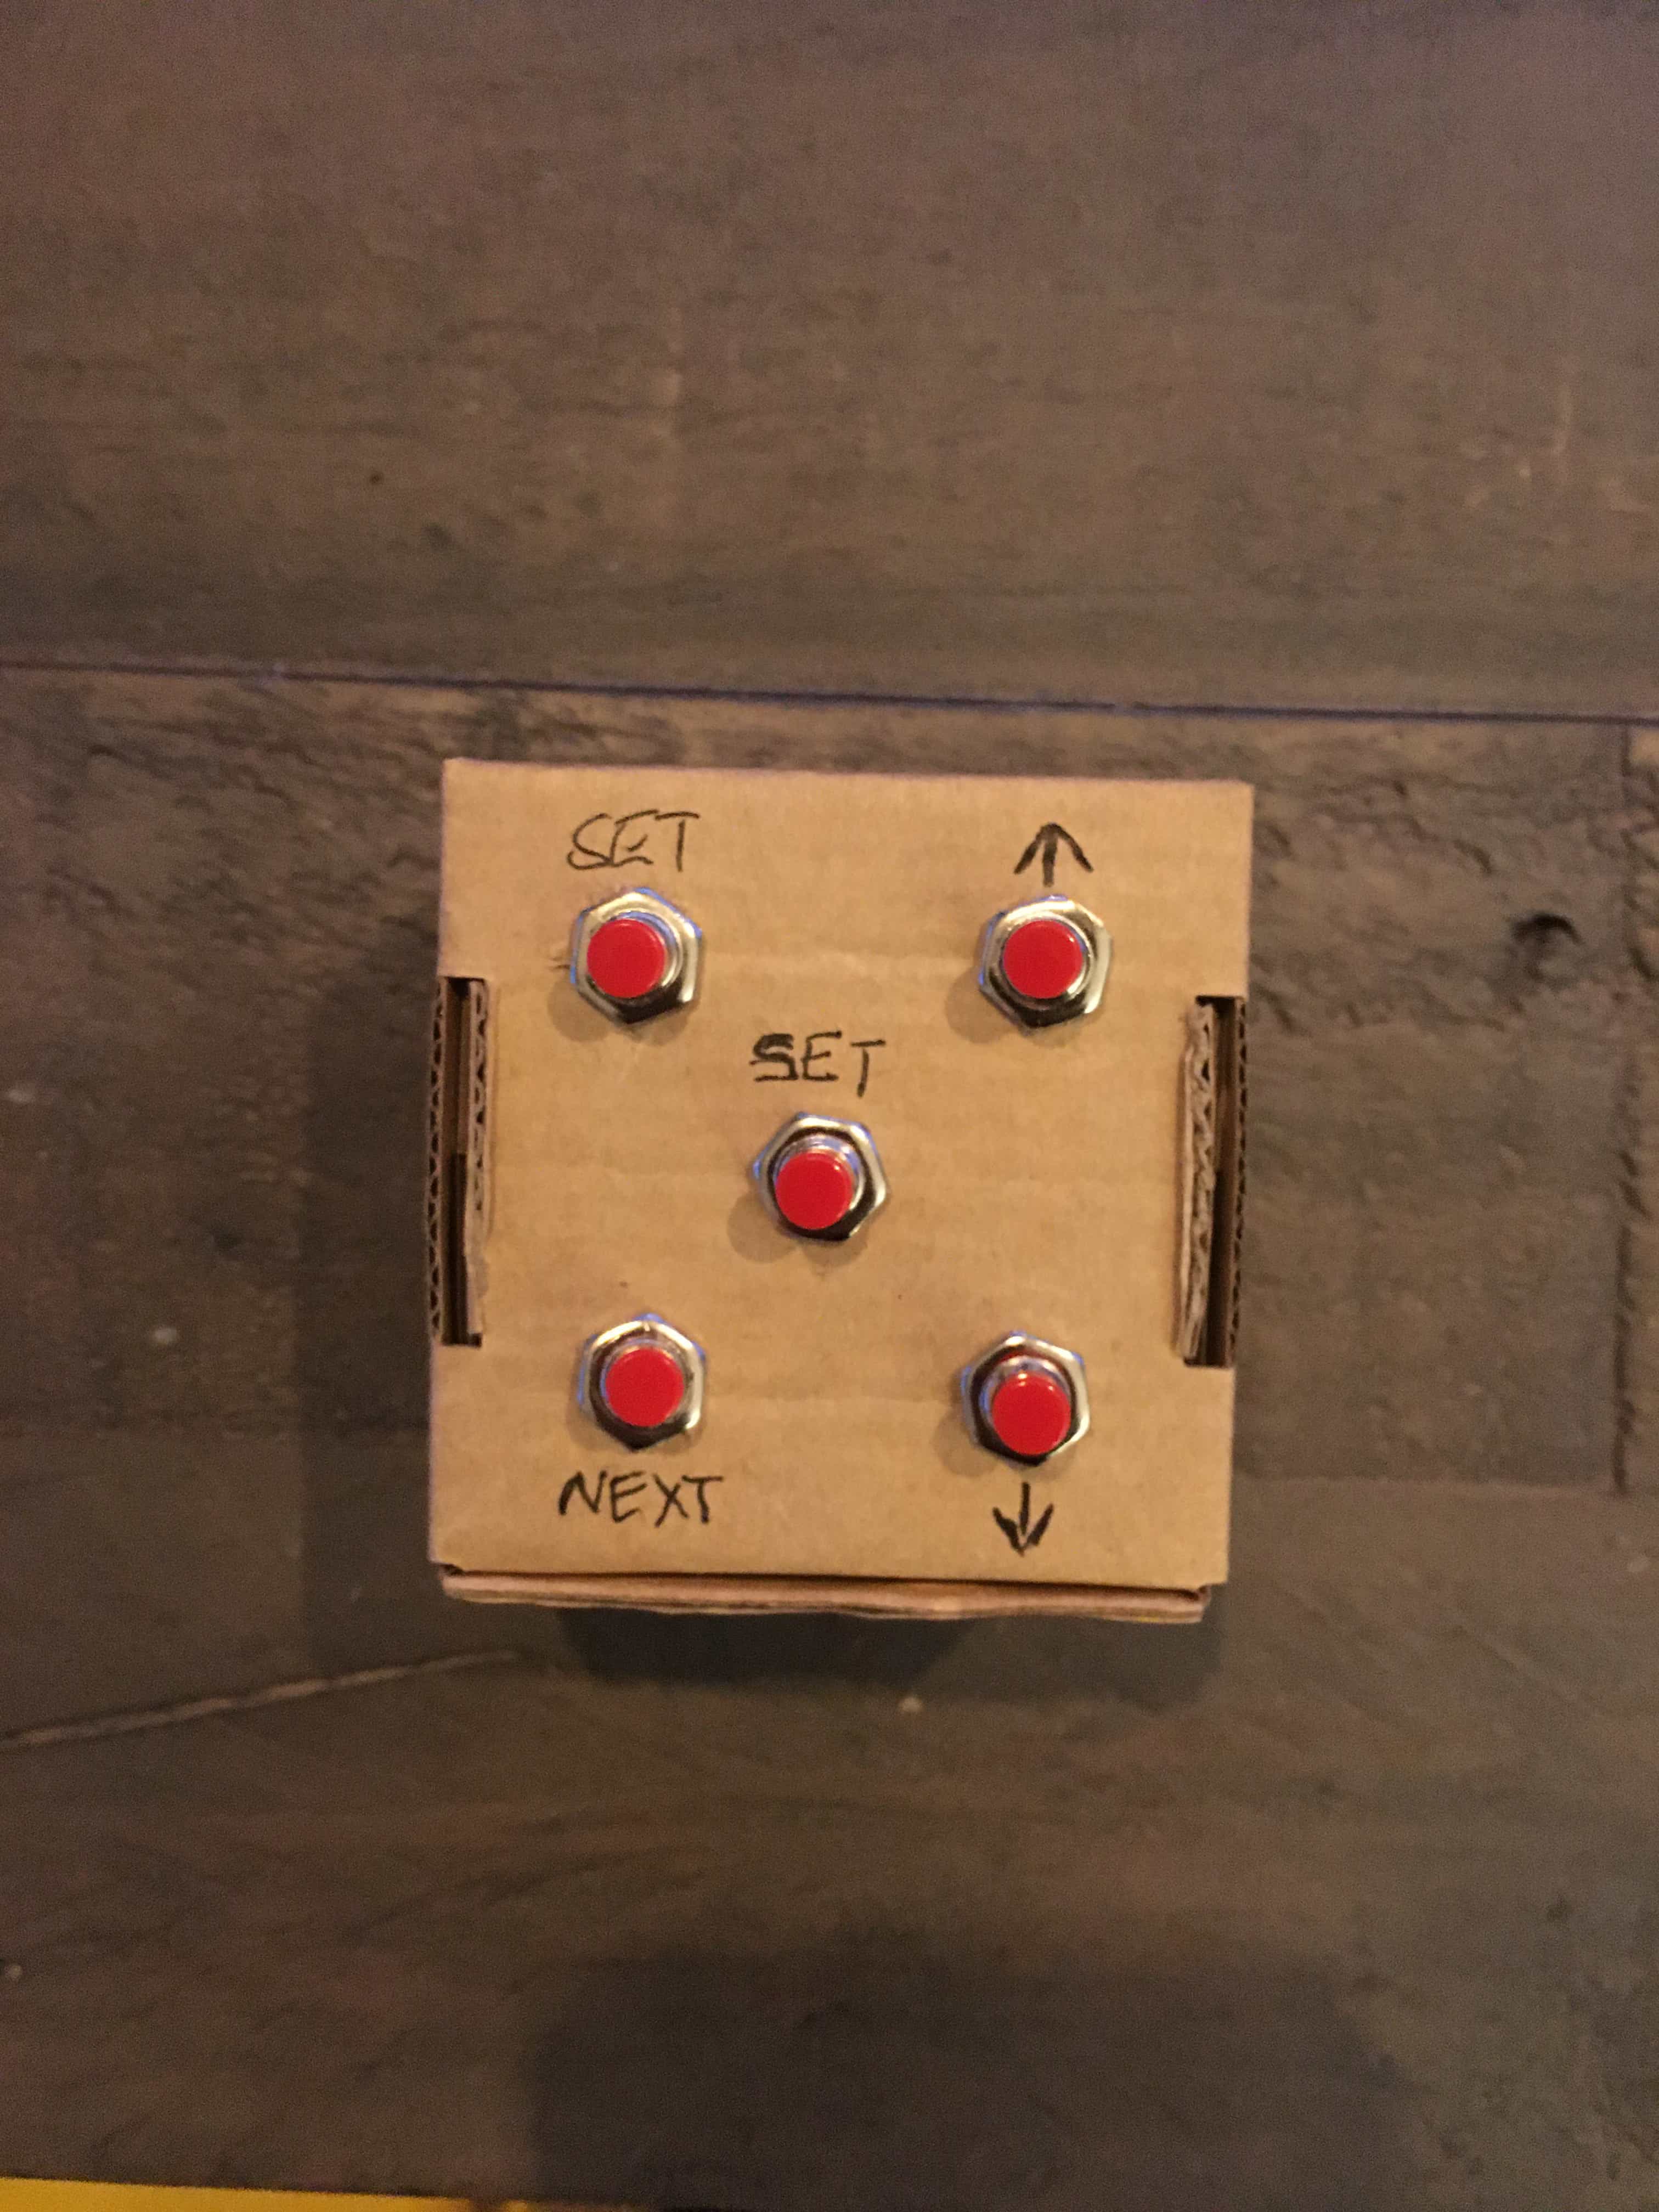
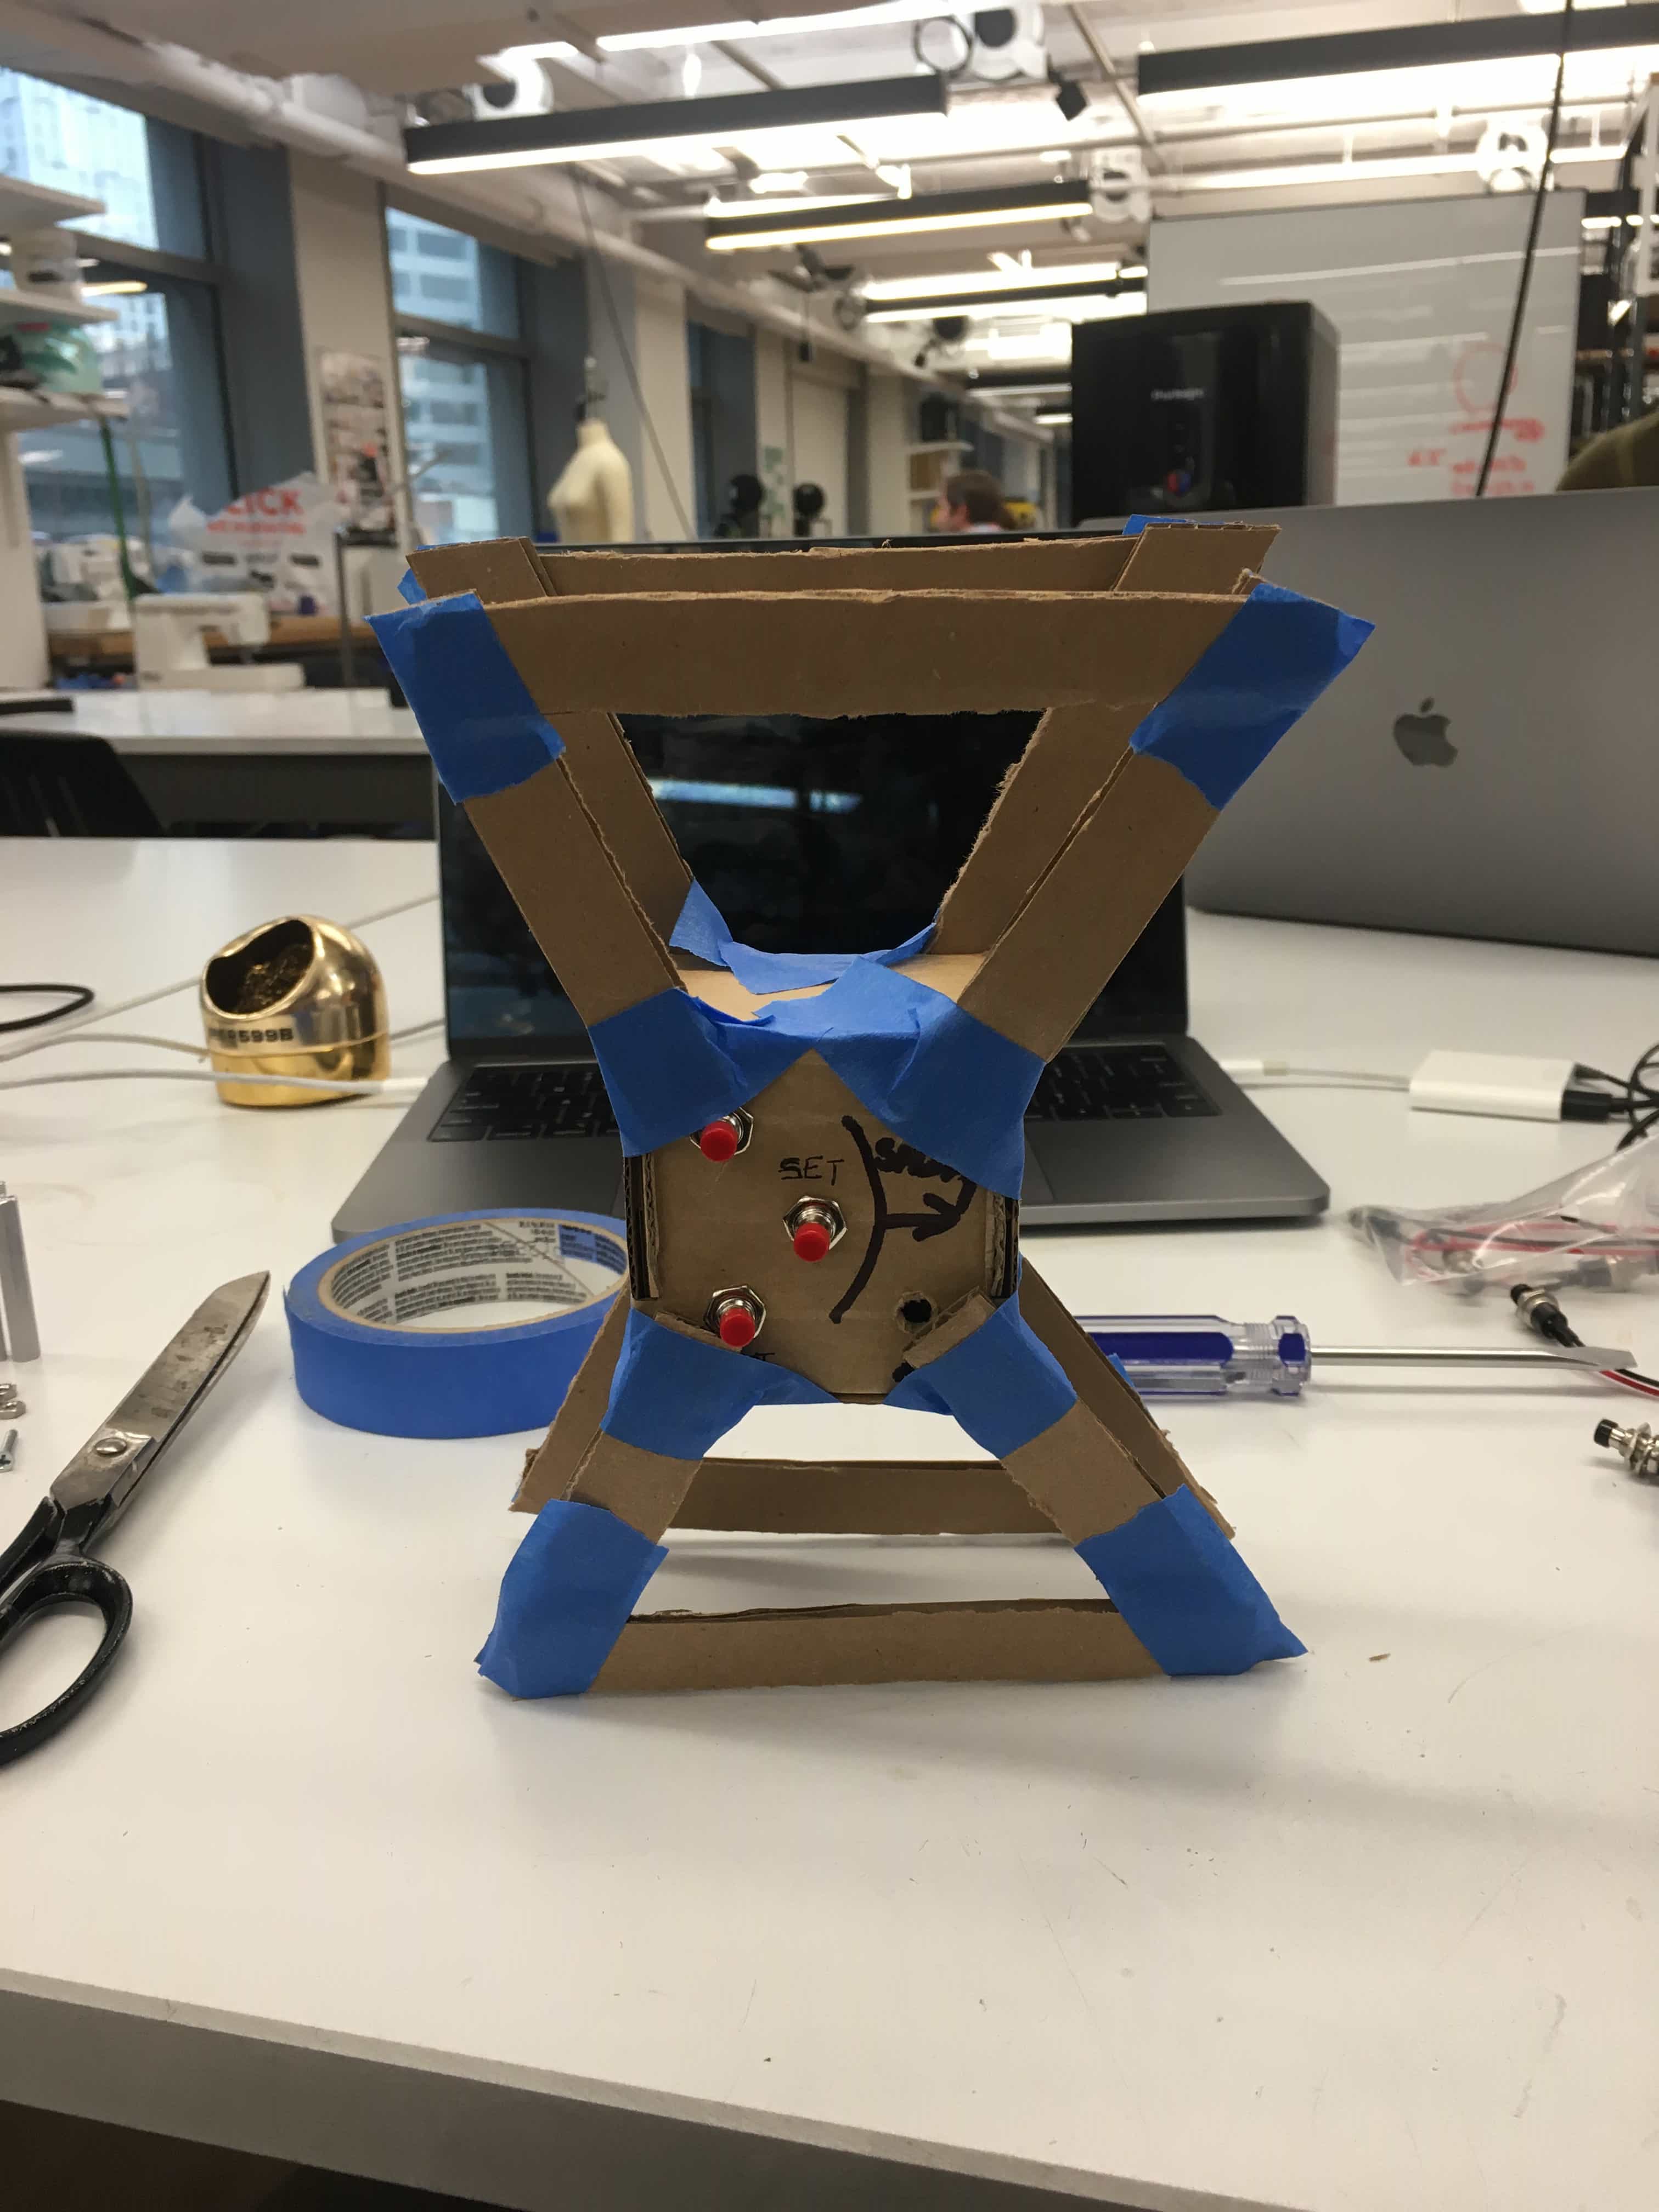
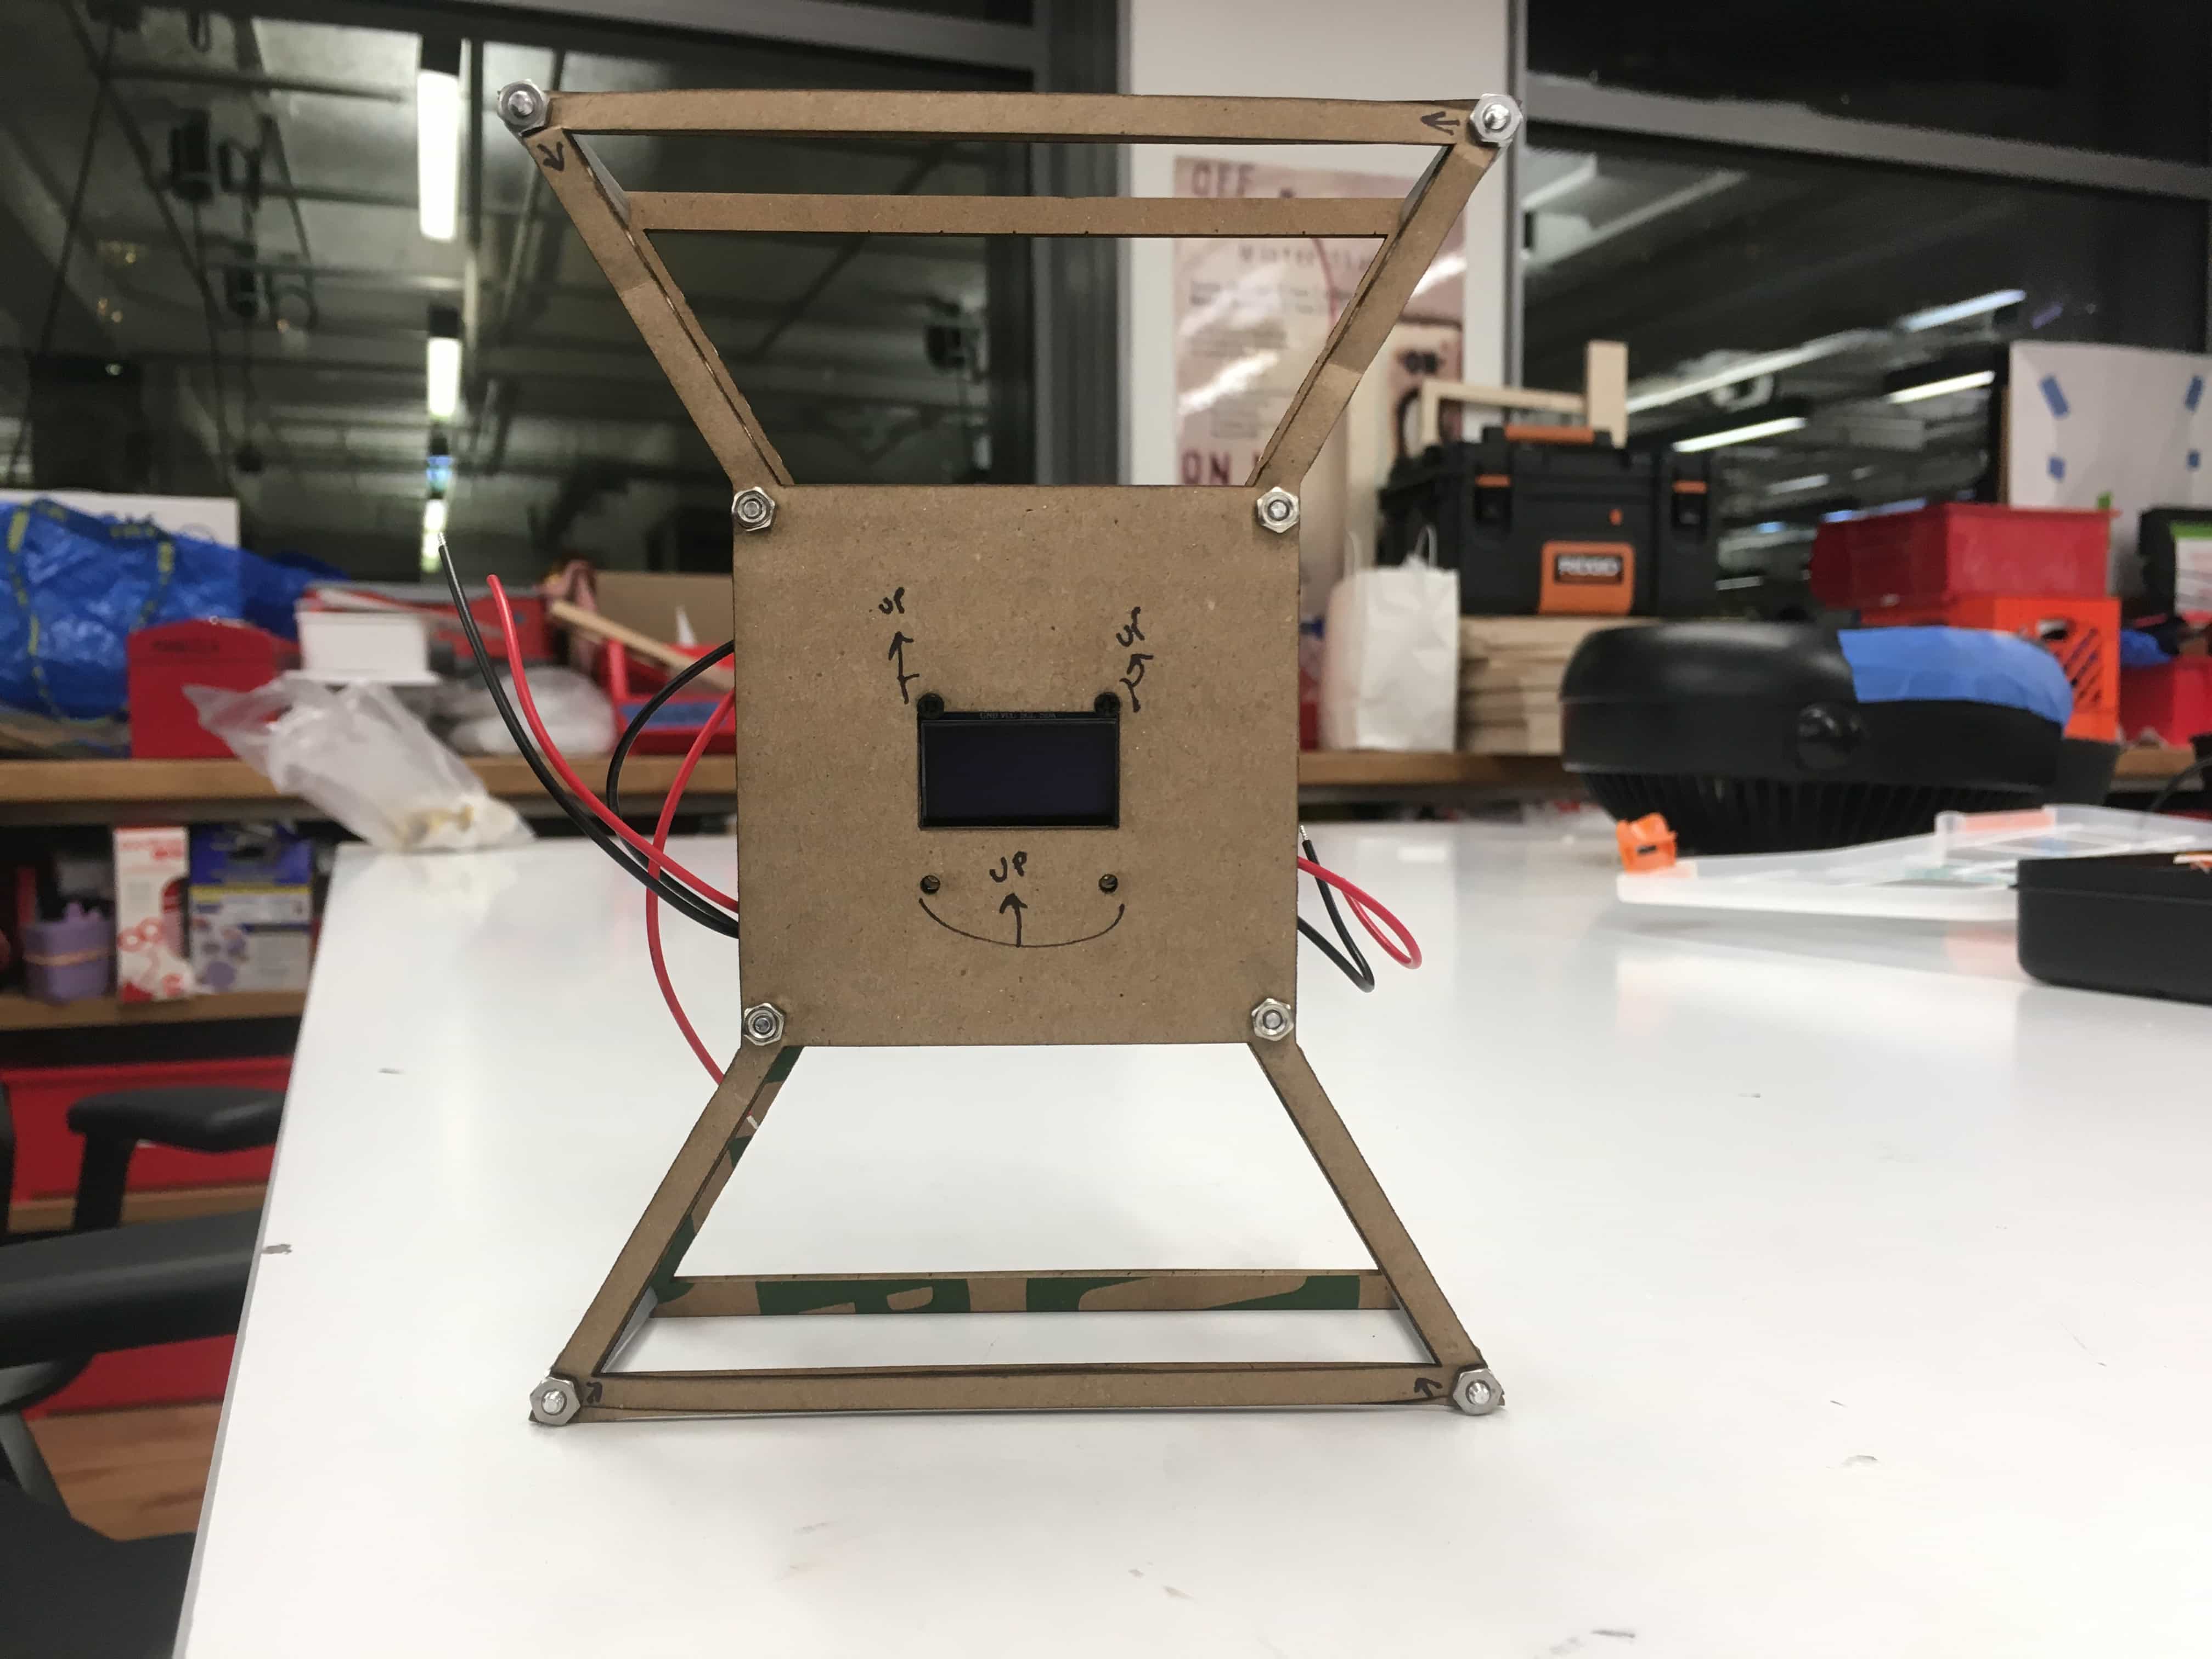
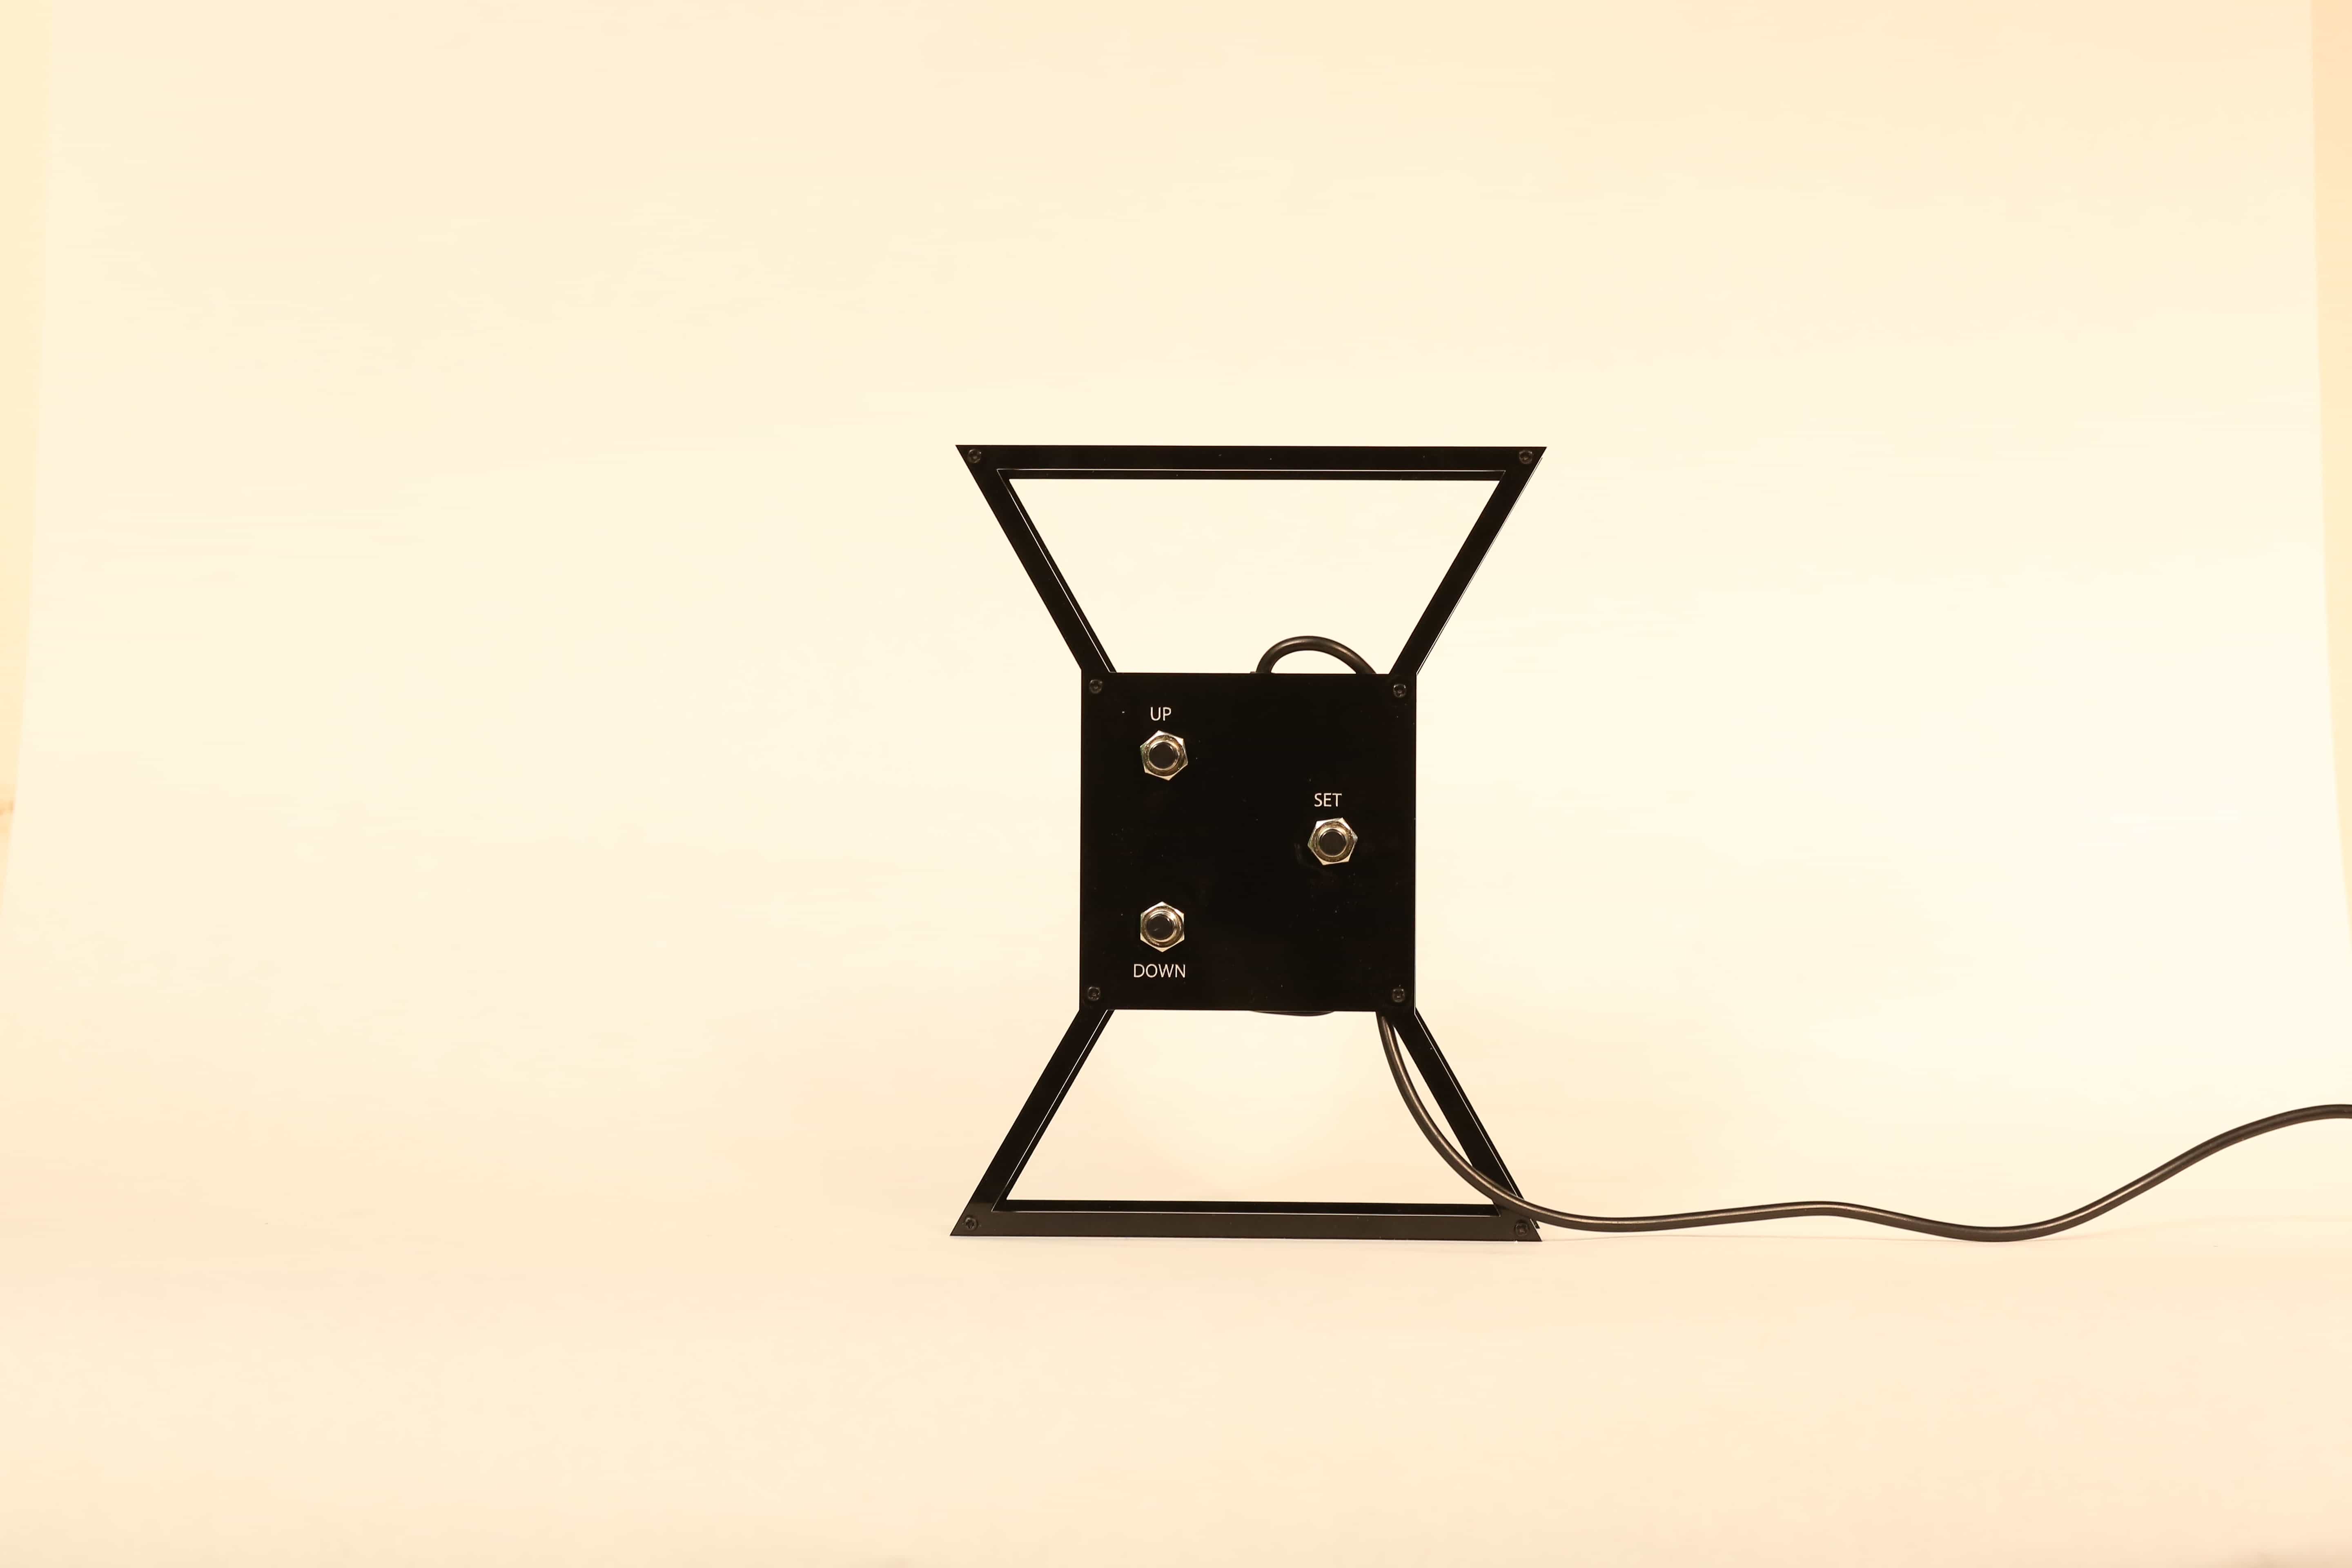
I played around with the box and buttons. I felt the size was comfortable in my hands. However, the array of buttons on the back was hard to figure out without looking at it. After speaking with Tom I decided to change the layout so it could be understood without looking at it. I vertically stacked the up/down buttons on the left side and put a set button on the right side. This arrangement creates a triangle that “points” to the set button.
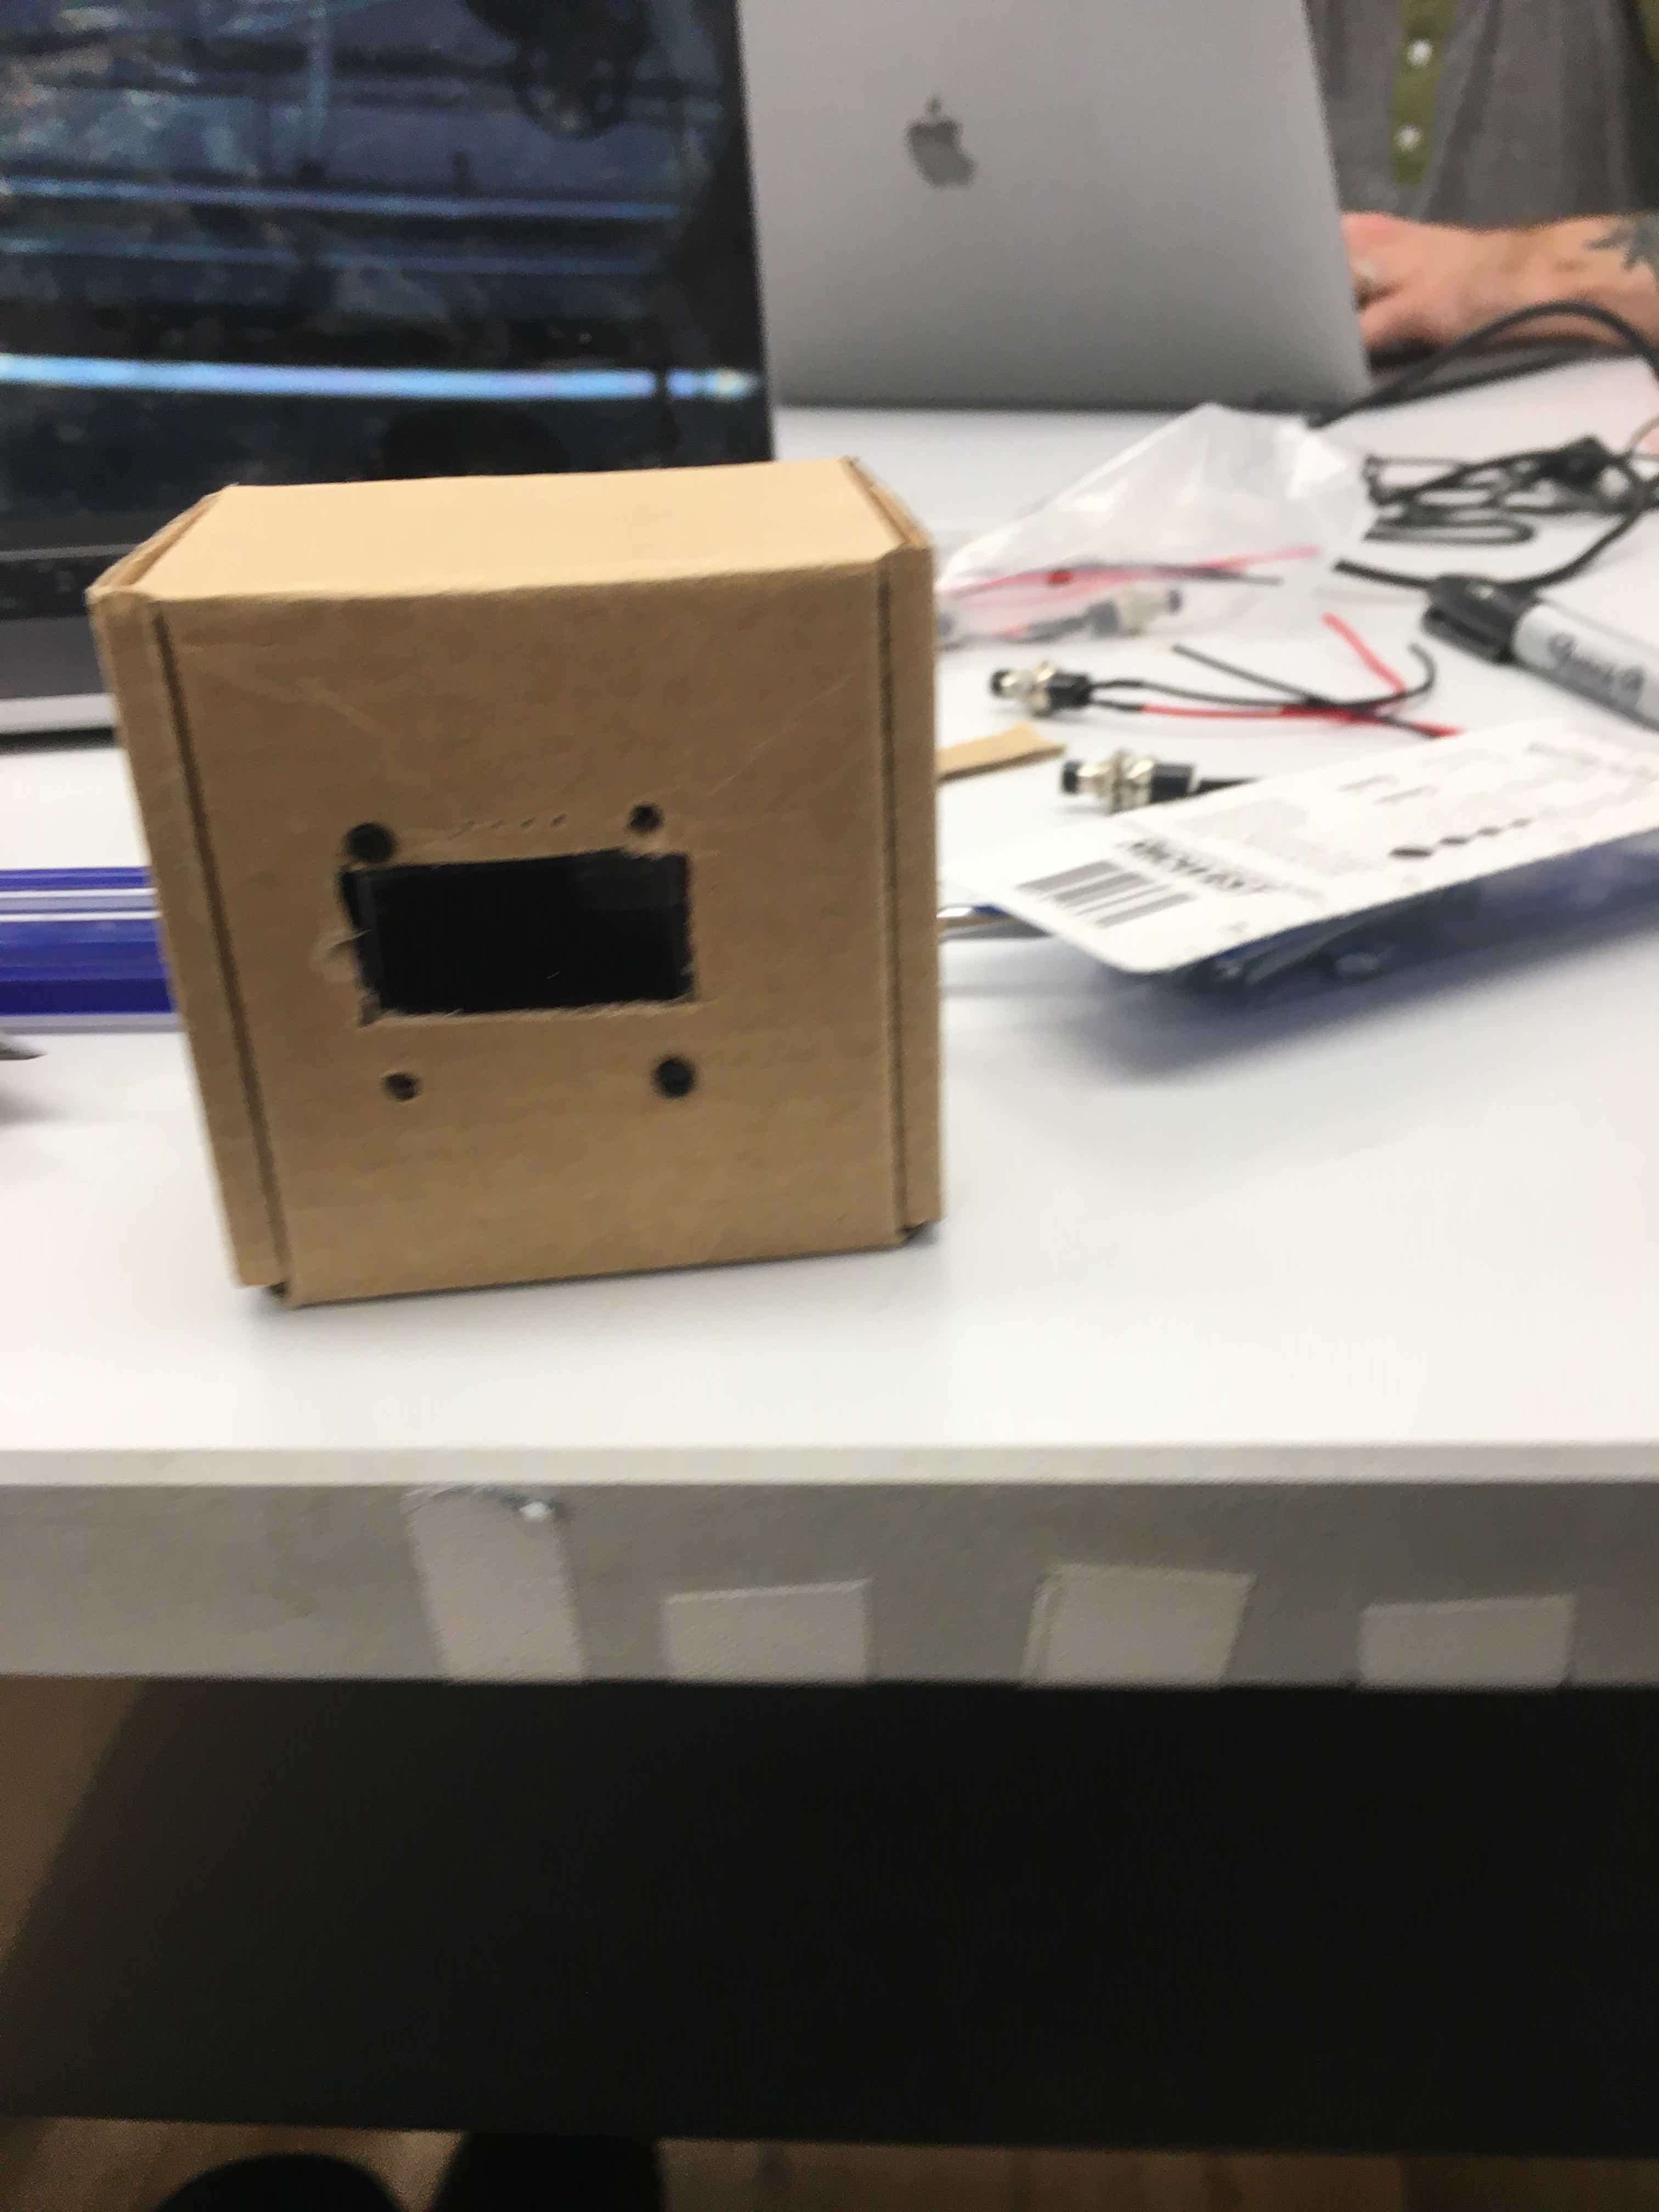
I cut a square on the front and drilled some holes to test mounting the display.
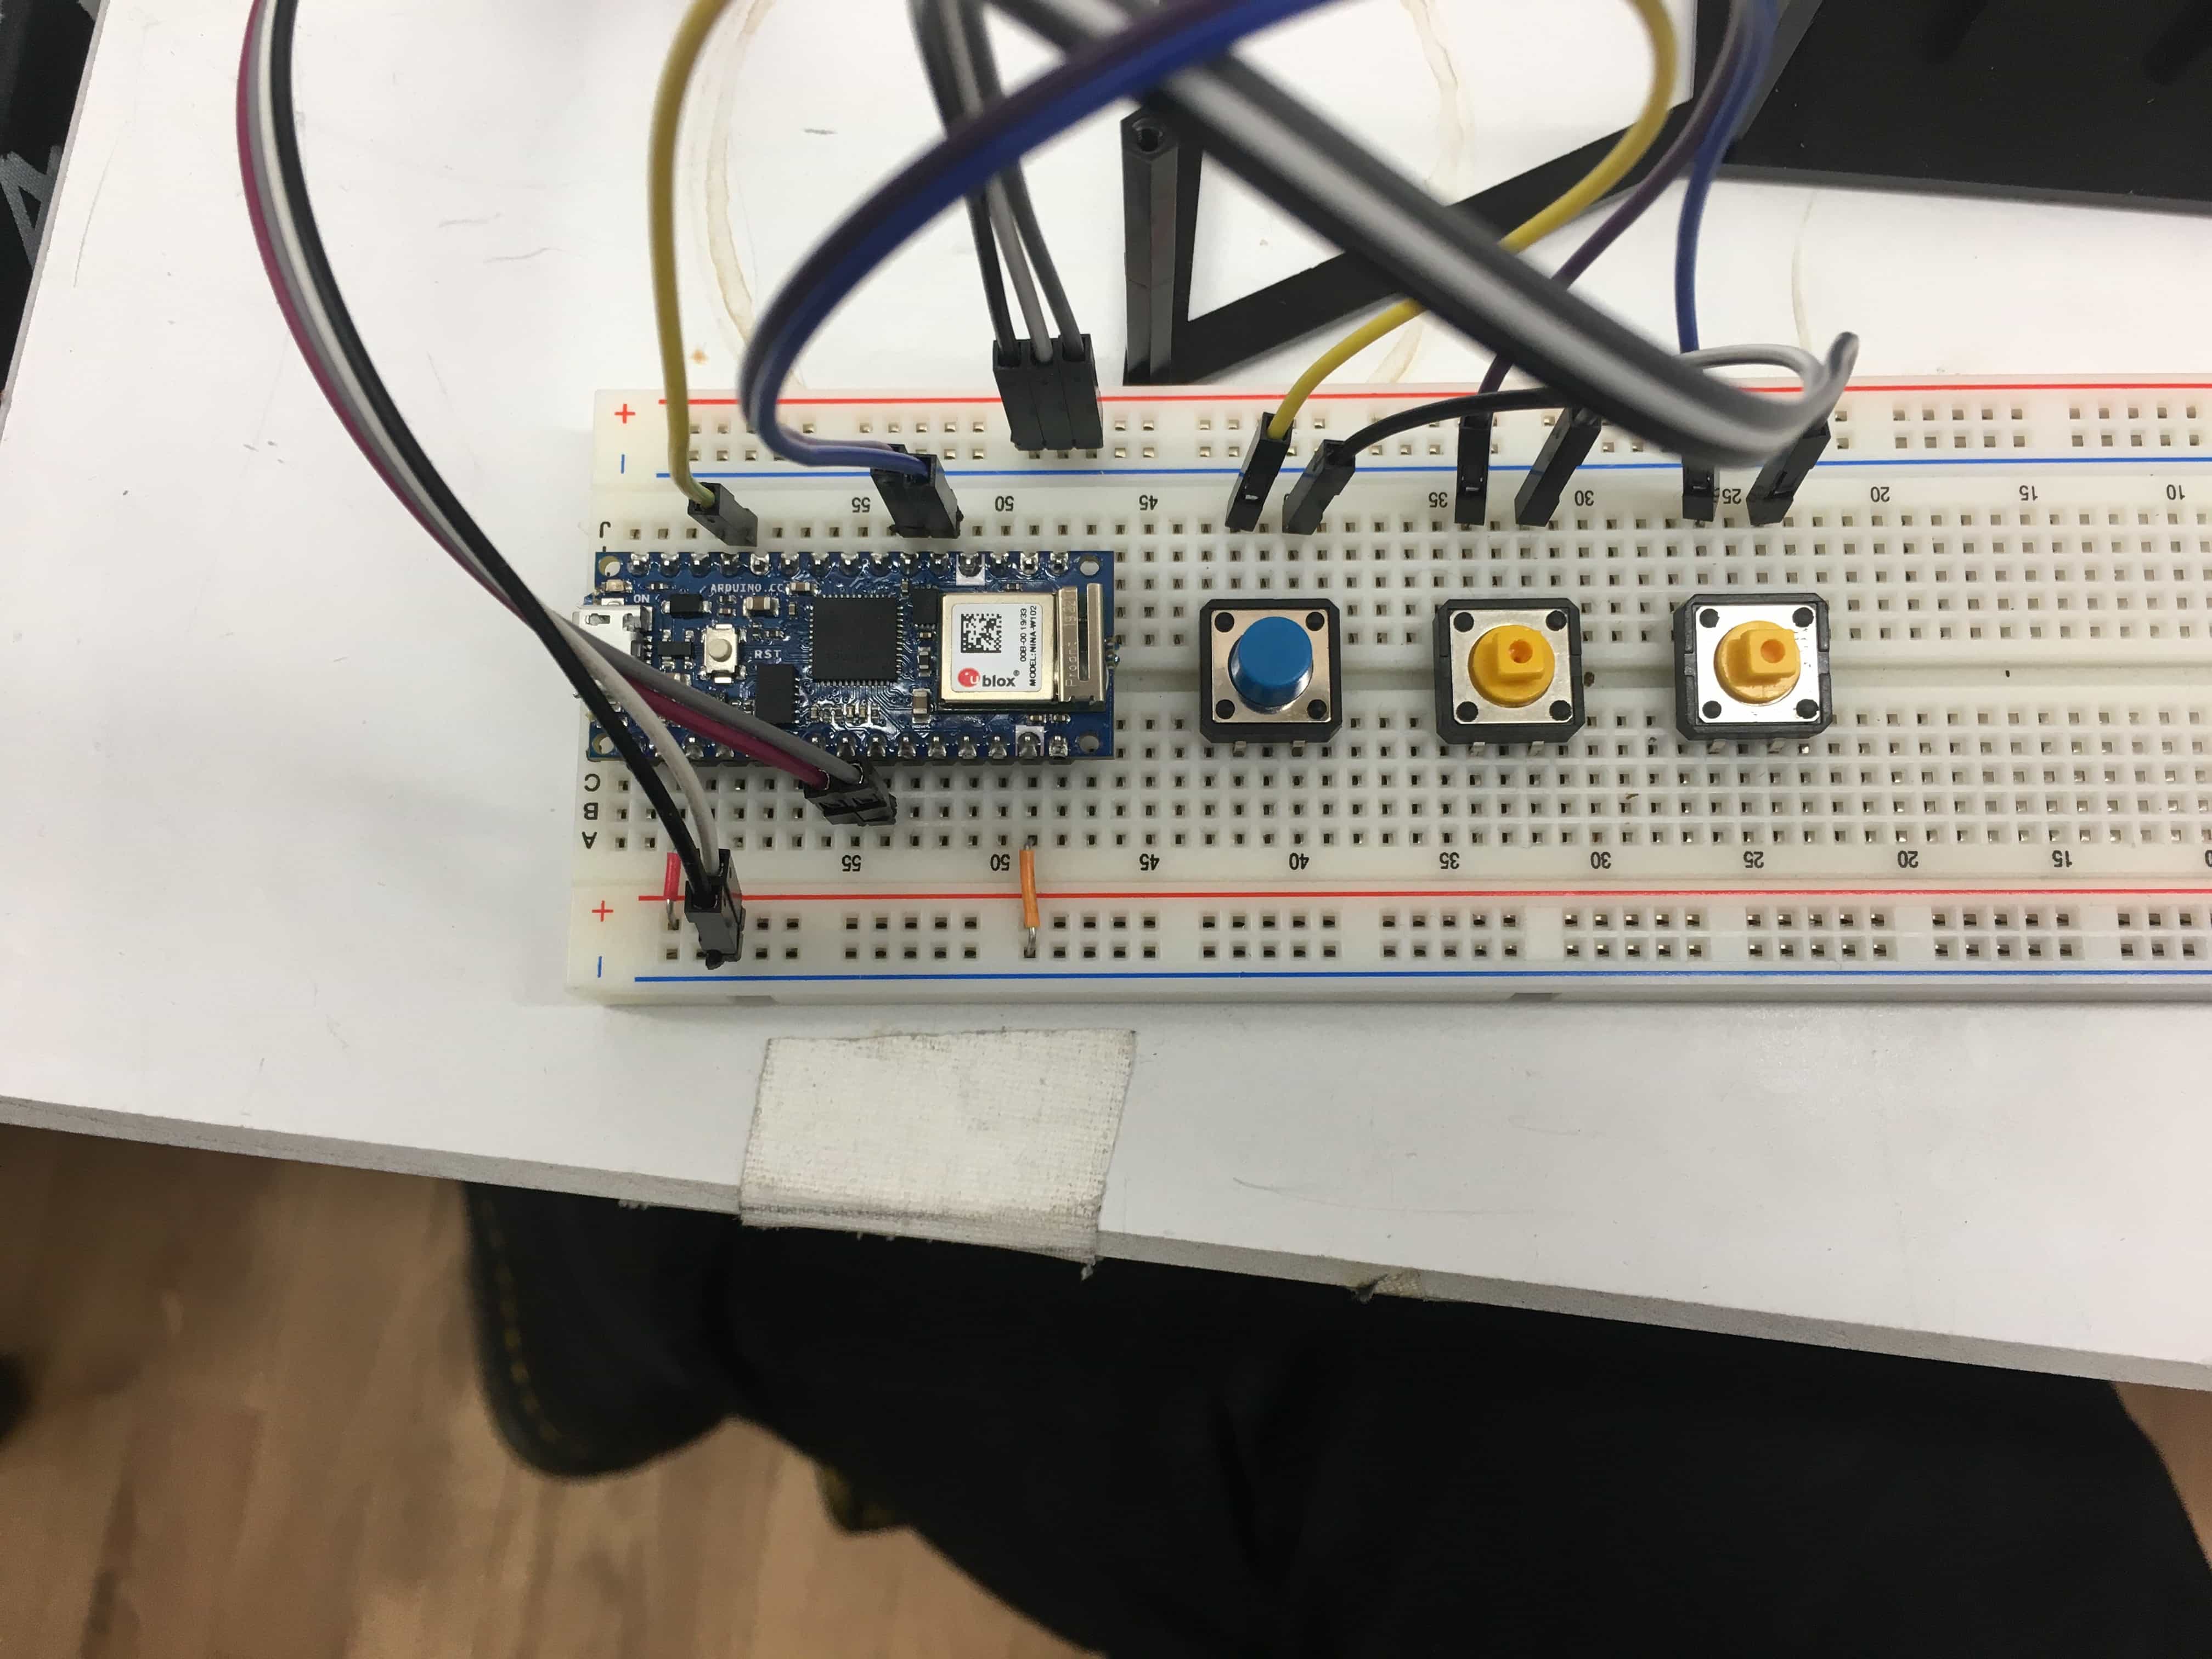
Next, I prototyped the the circuit for the clock. First I set up a breadboard with the Arduino Nano 33 IoT and some push buttons.
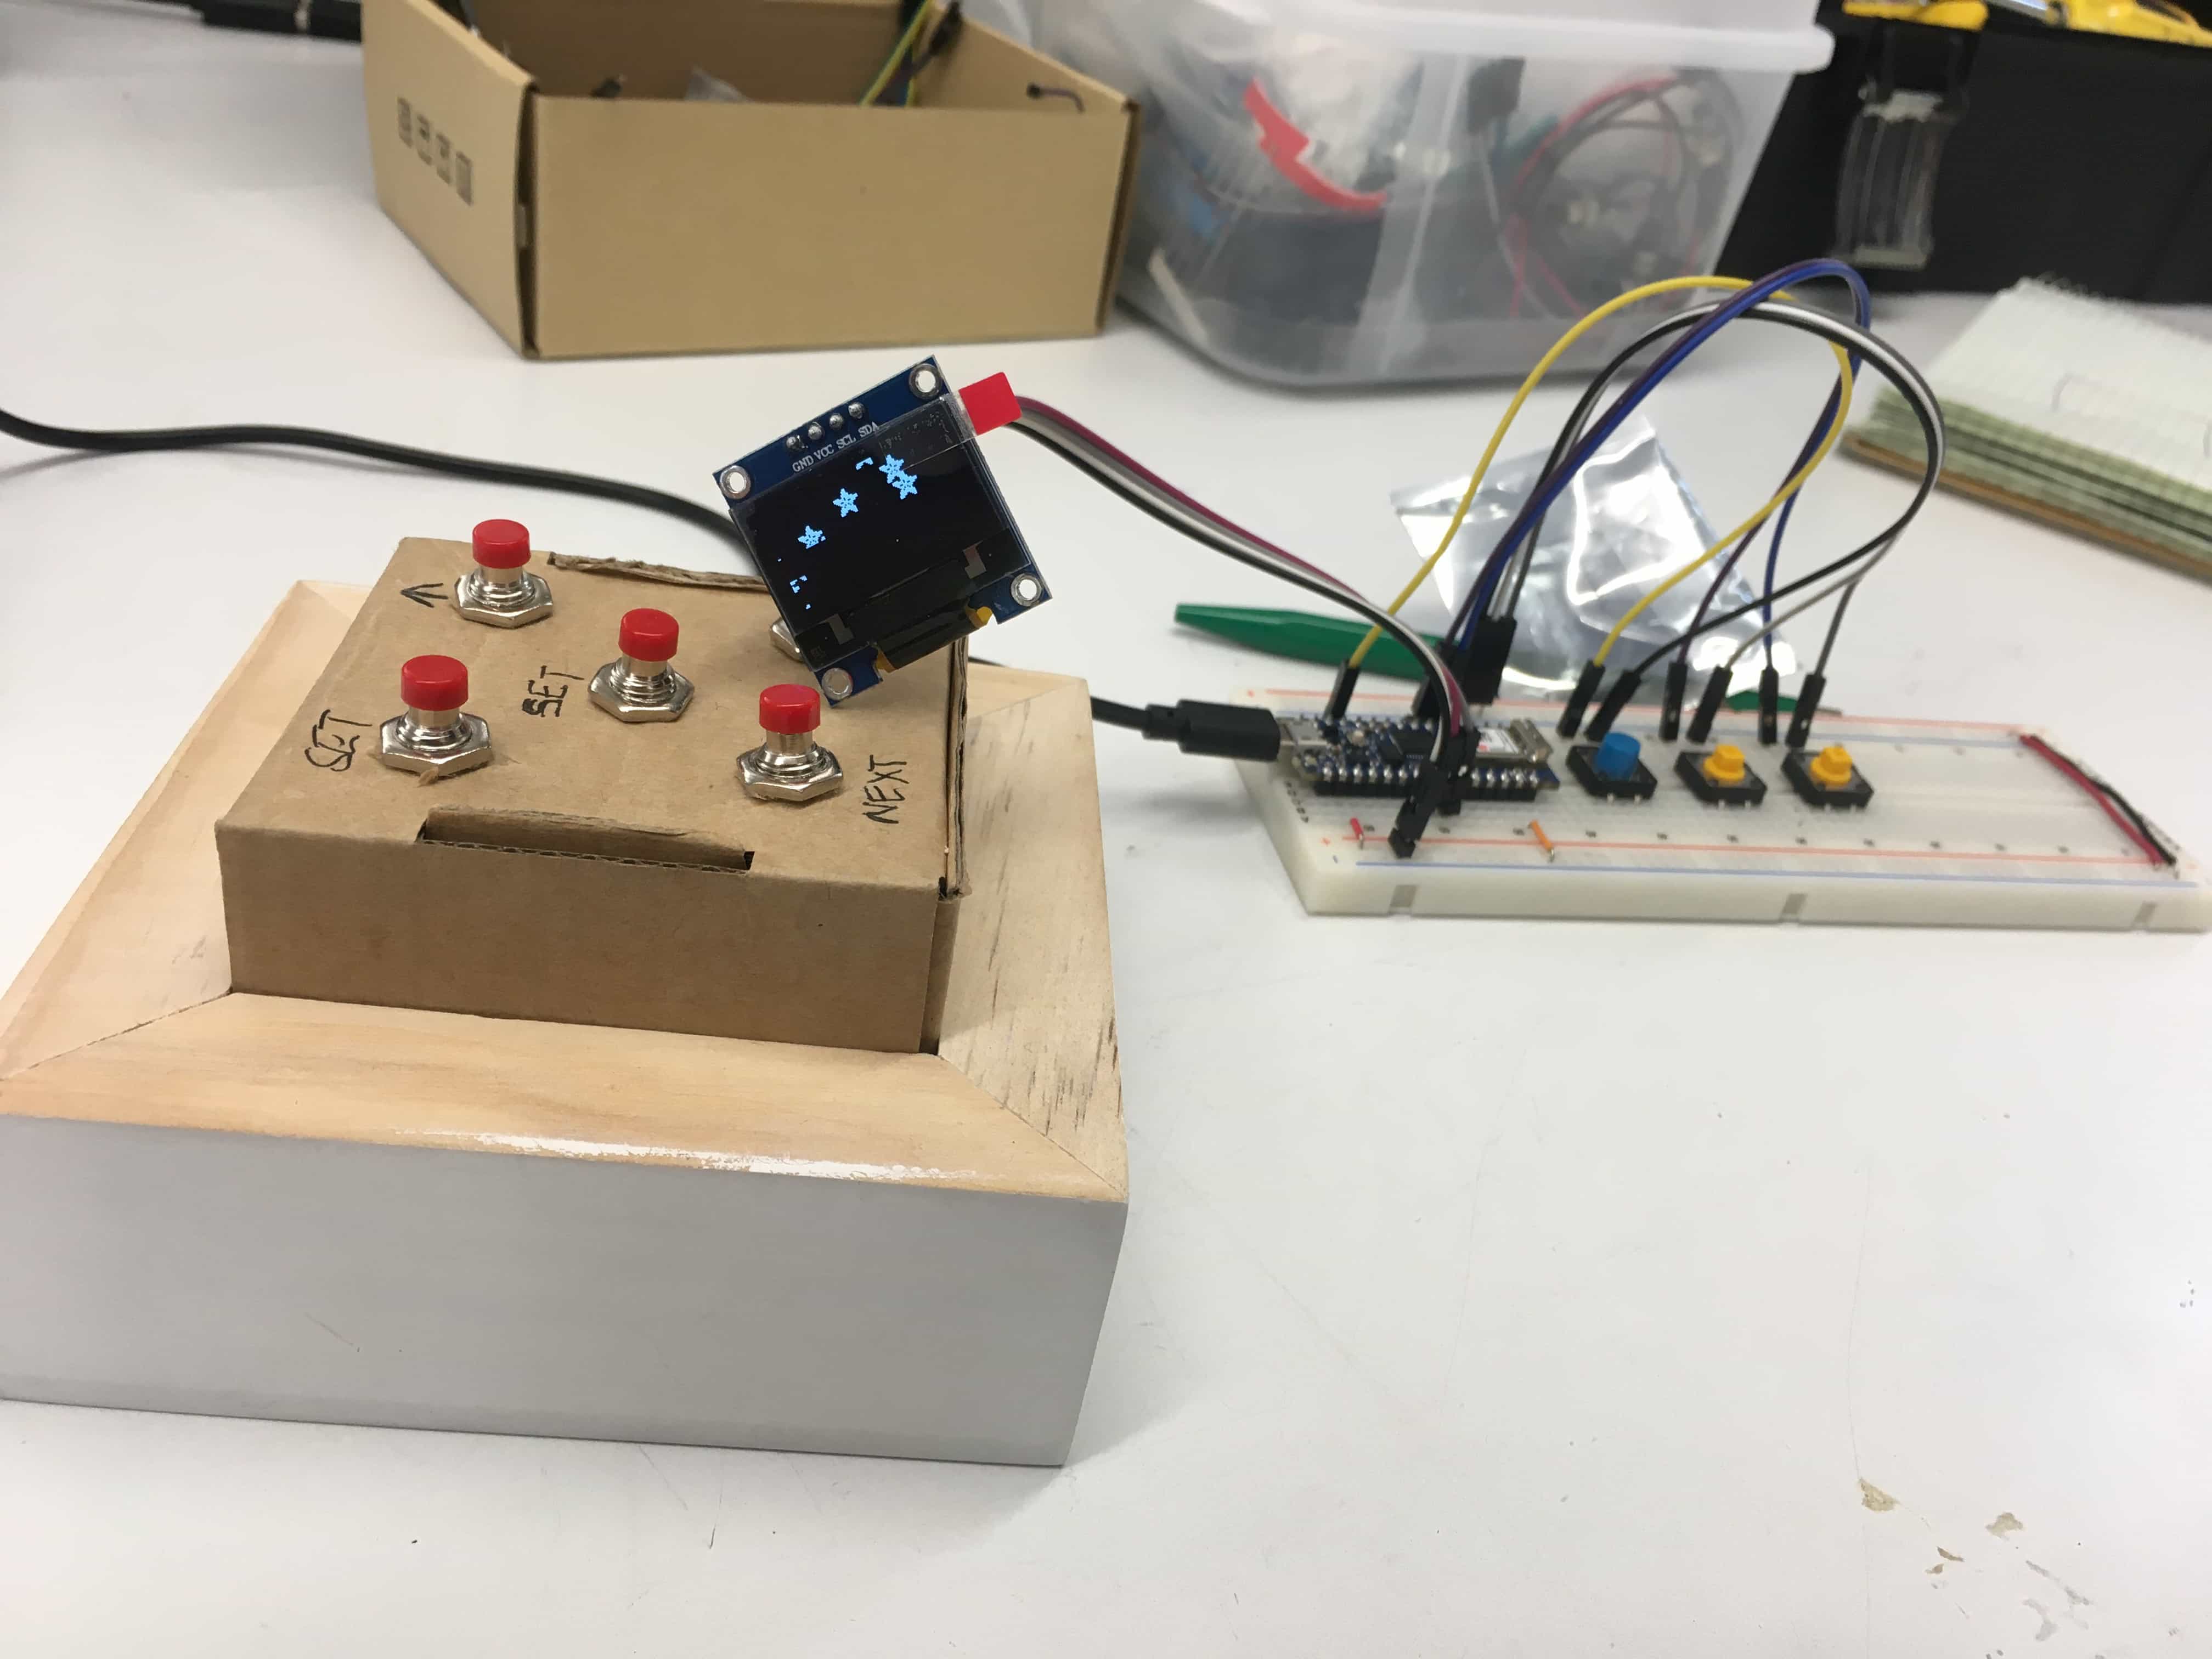
After, I connected the display and tested writing to it.
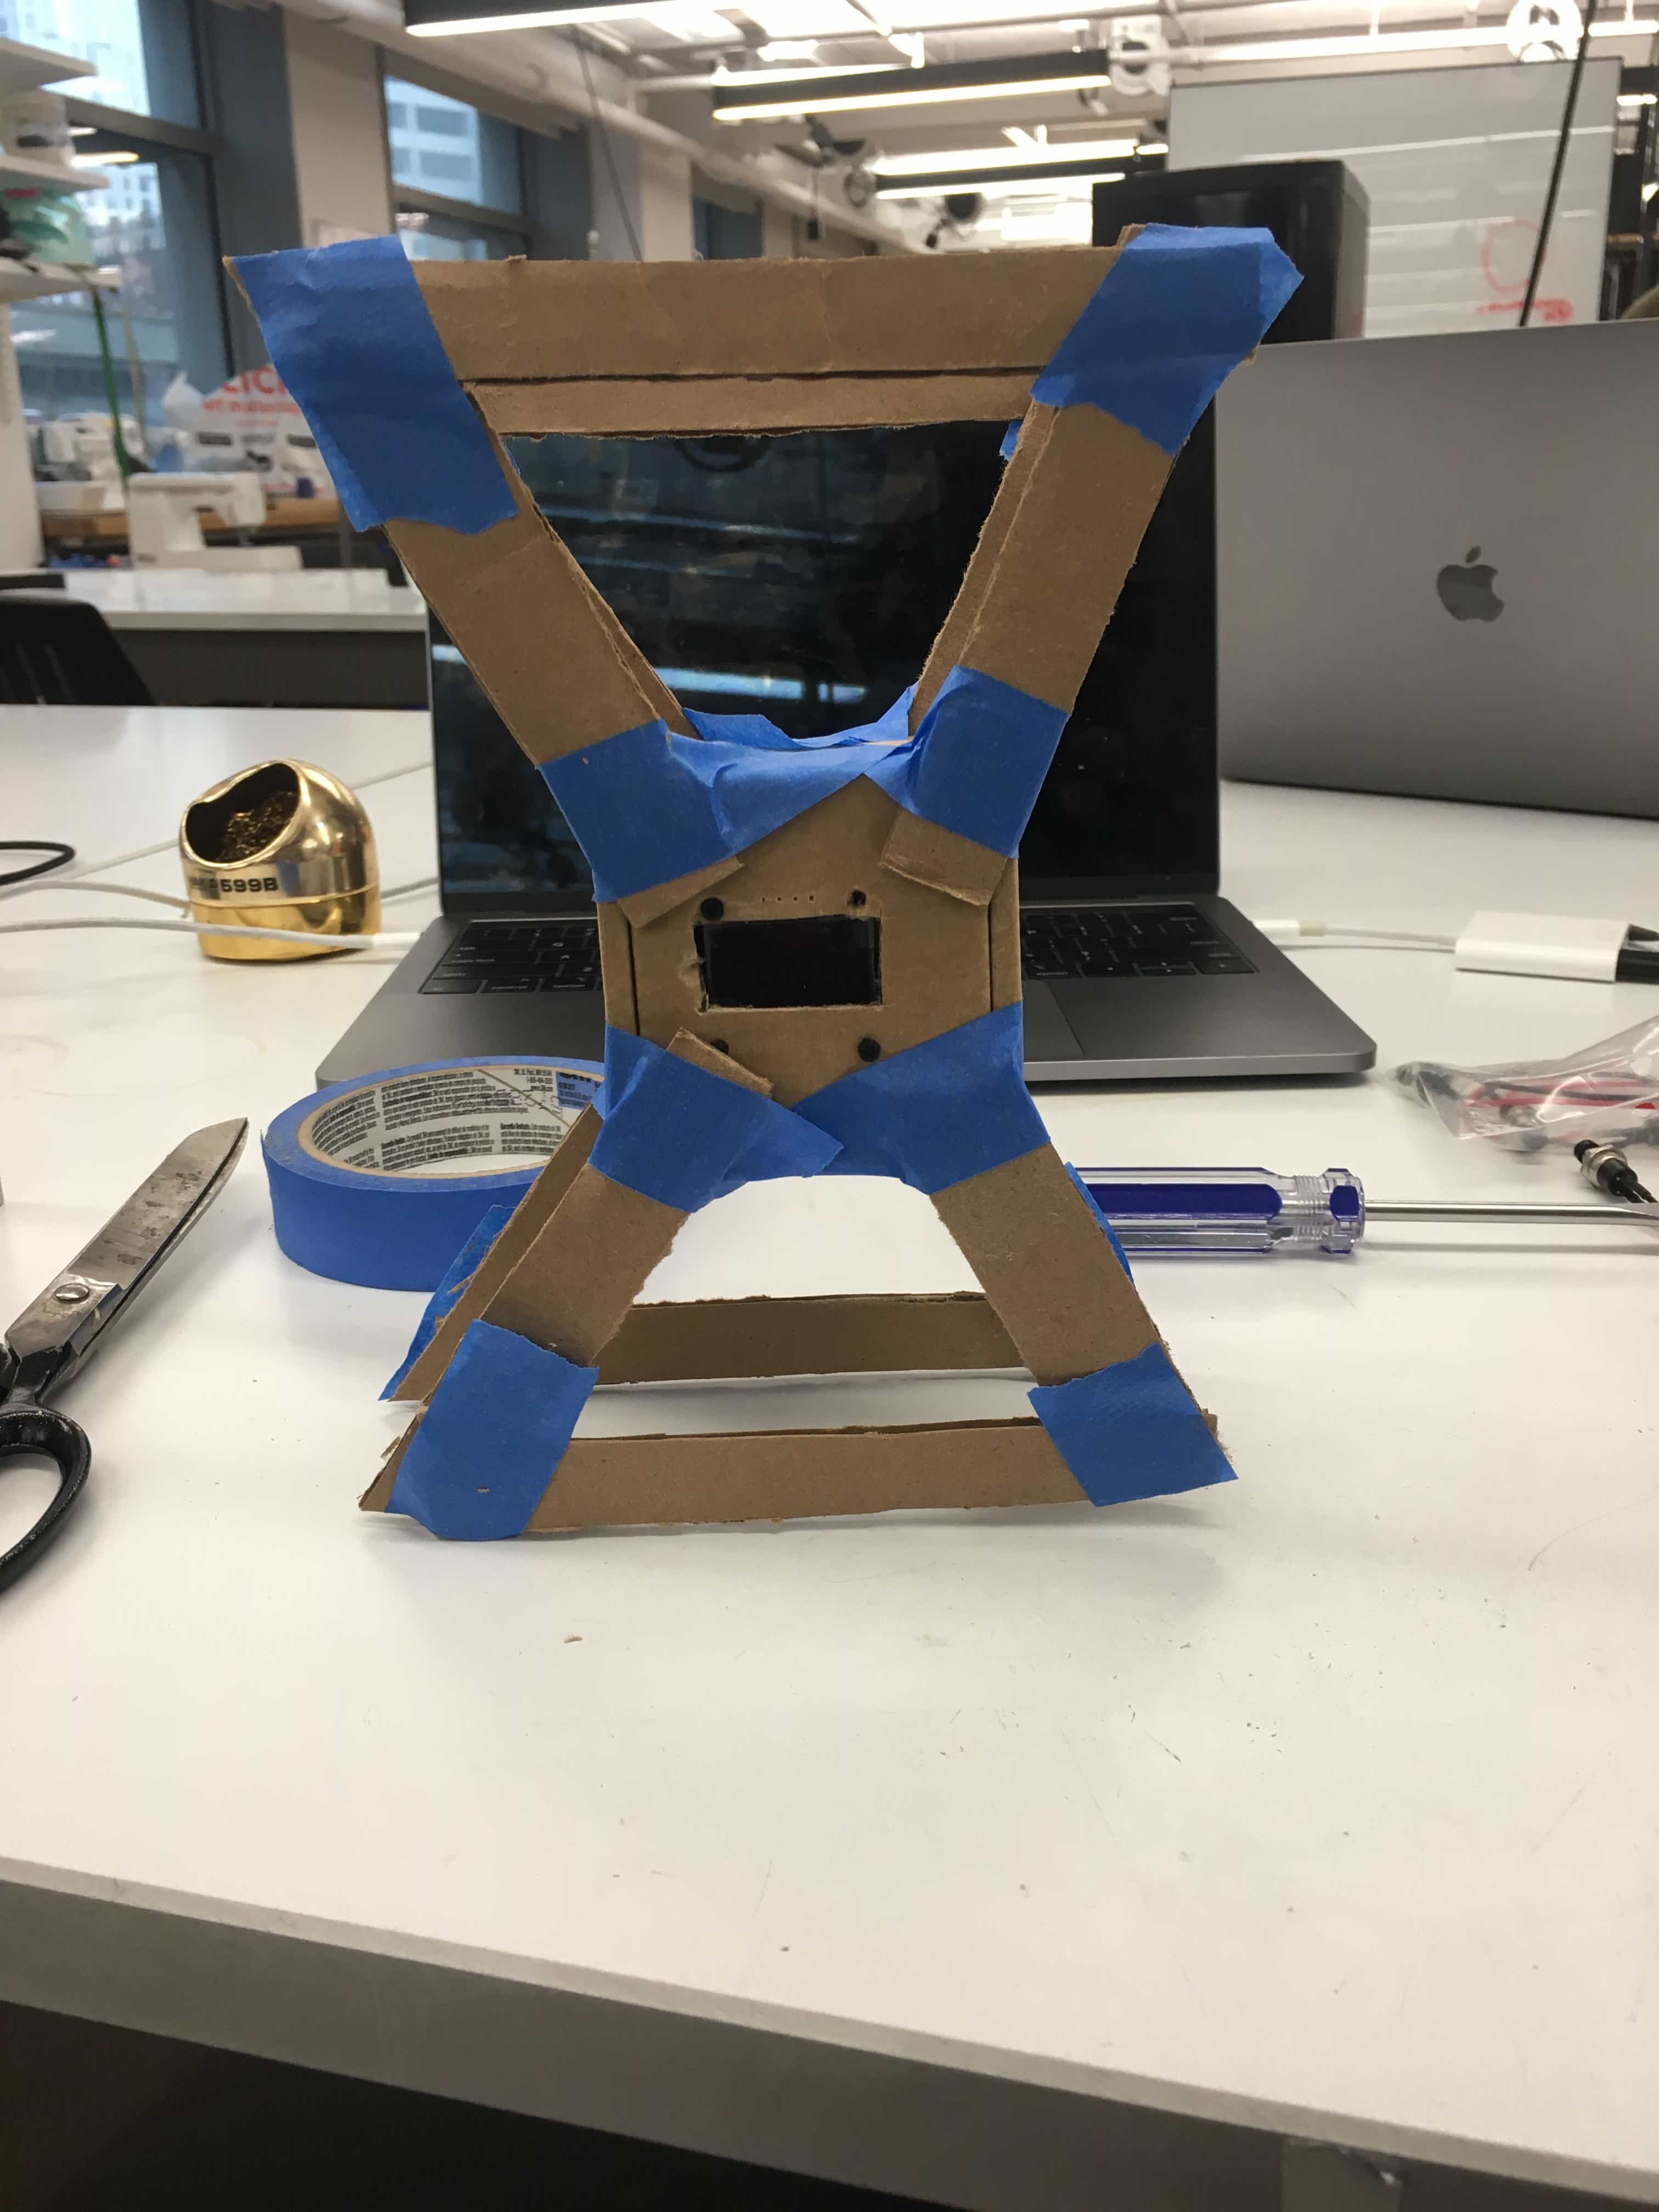
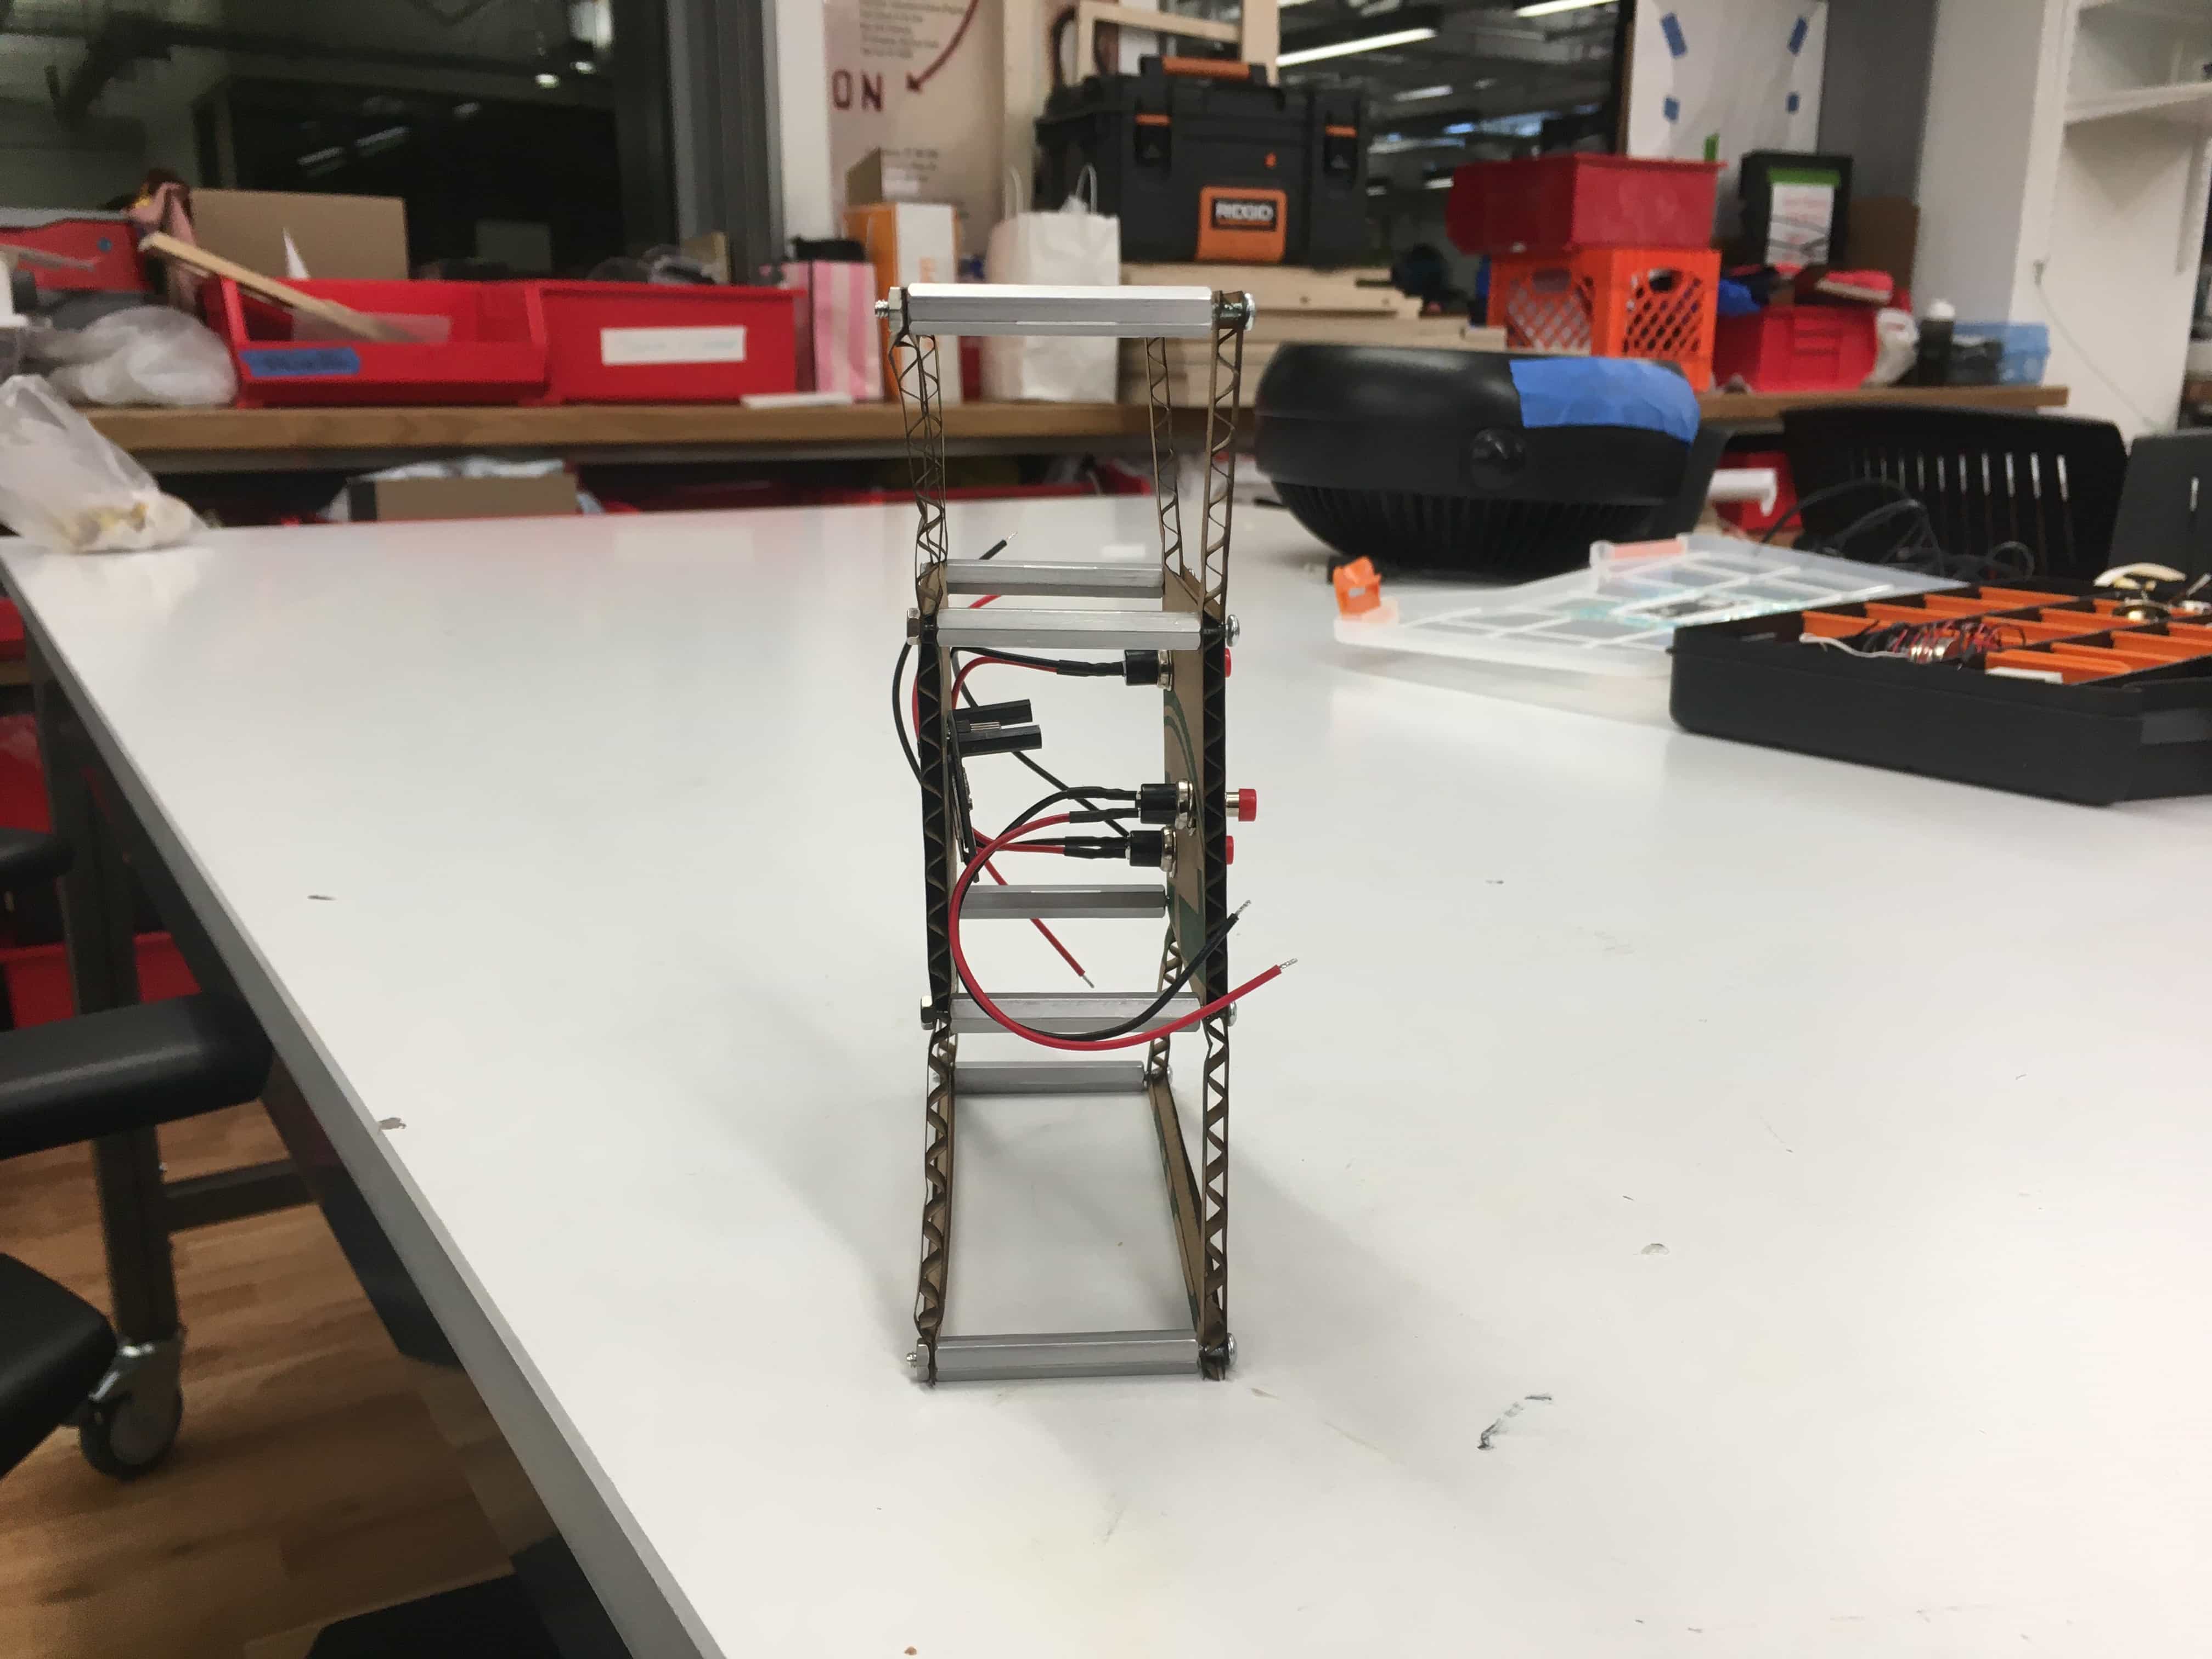
With all the pieces working, I moved on to prototyping the hourglass enclosure. I took the cardboard box I had been using and, using masking tape, attached strips of cardboard to box. This allowed to me to get a feel for the size of the device and the flipping action.
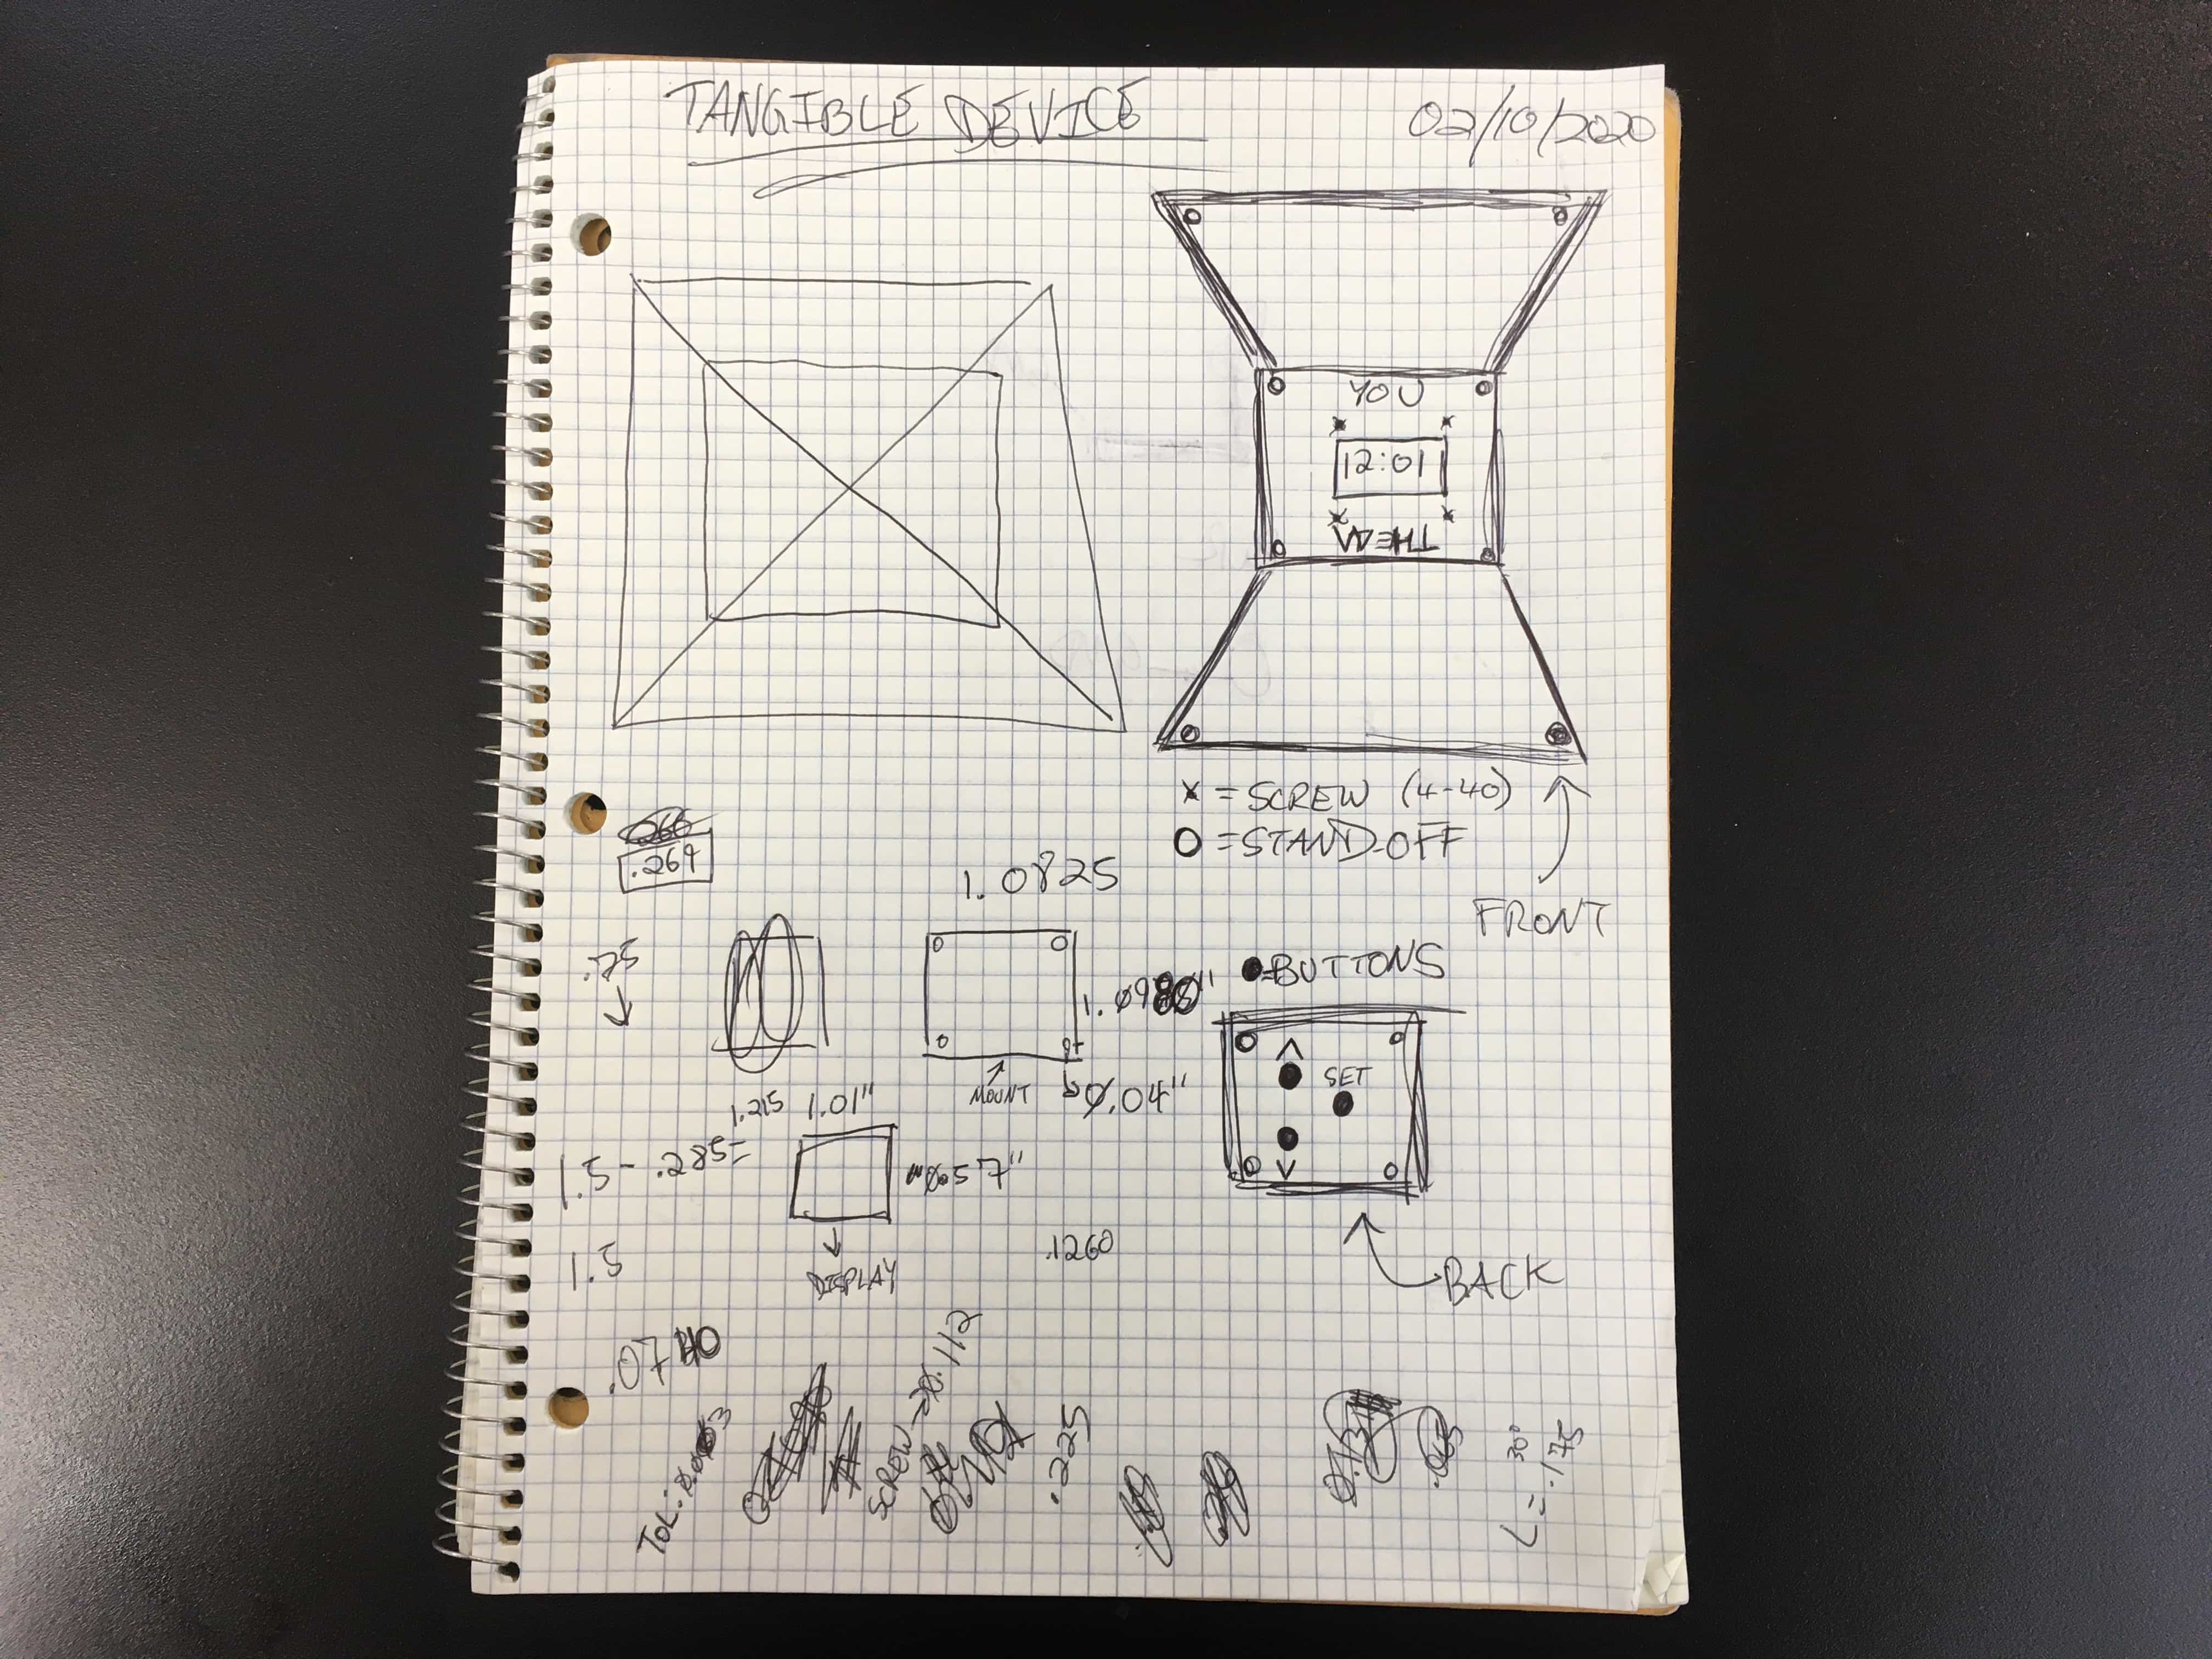
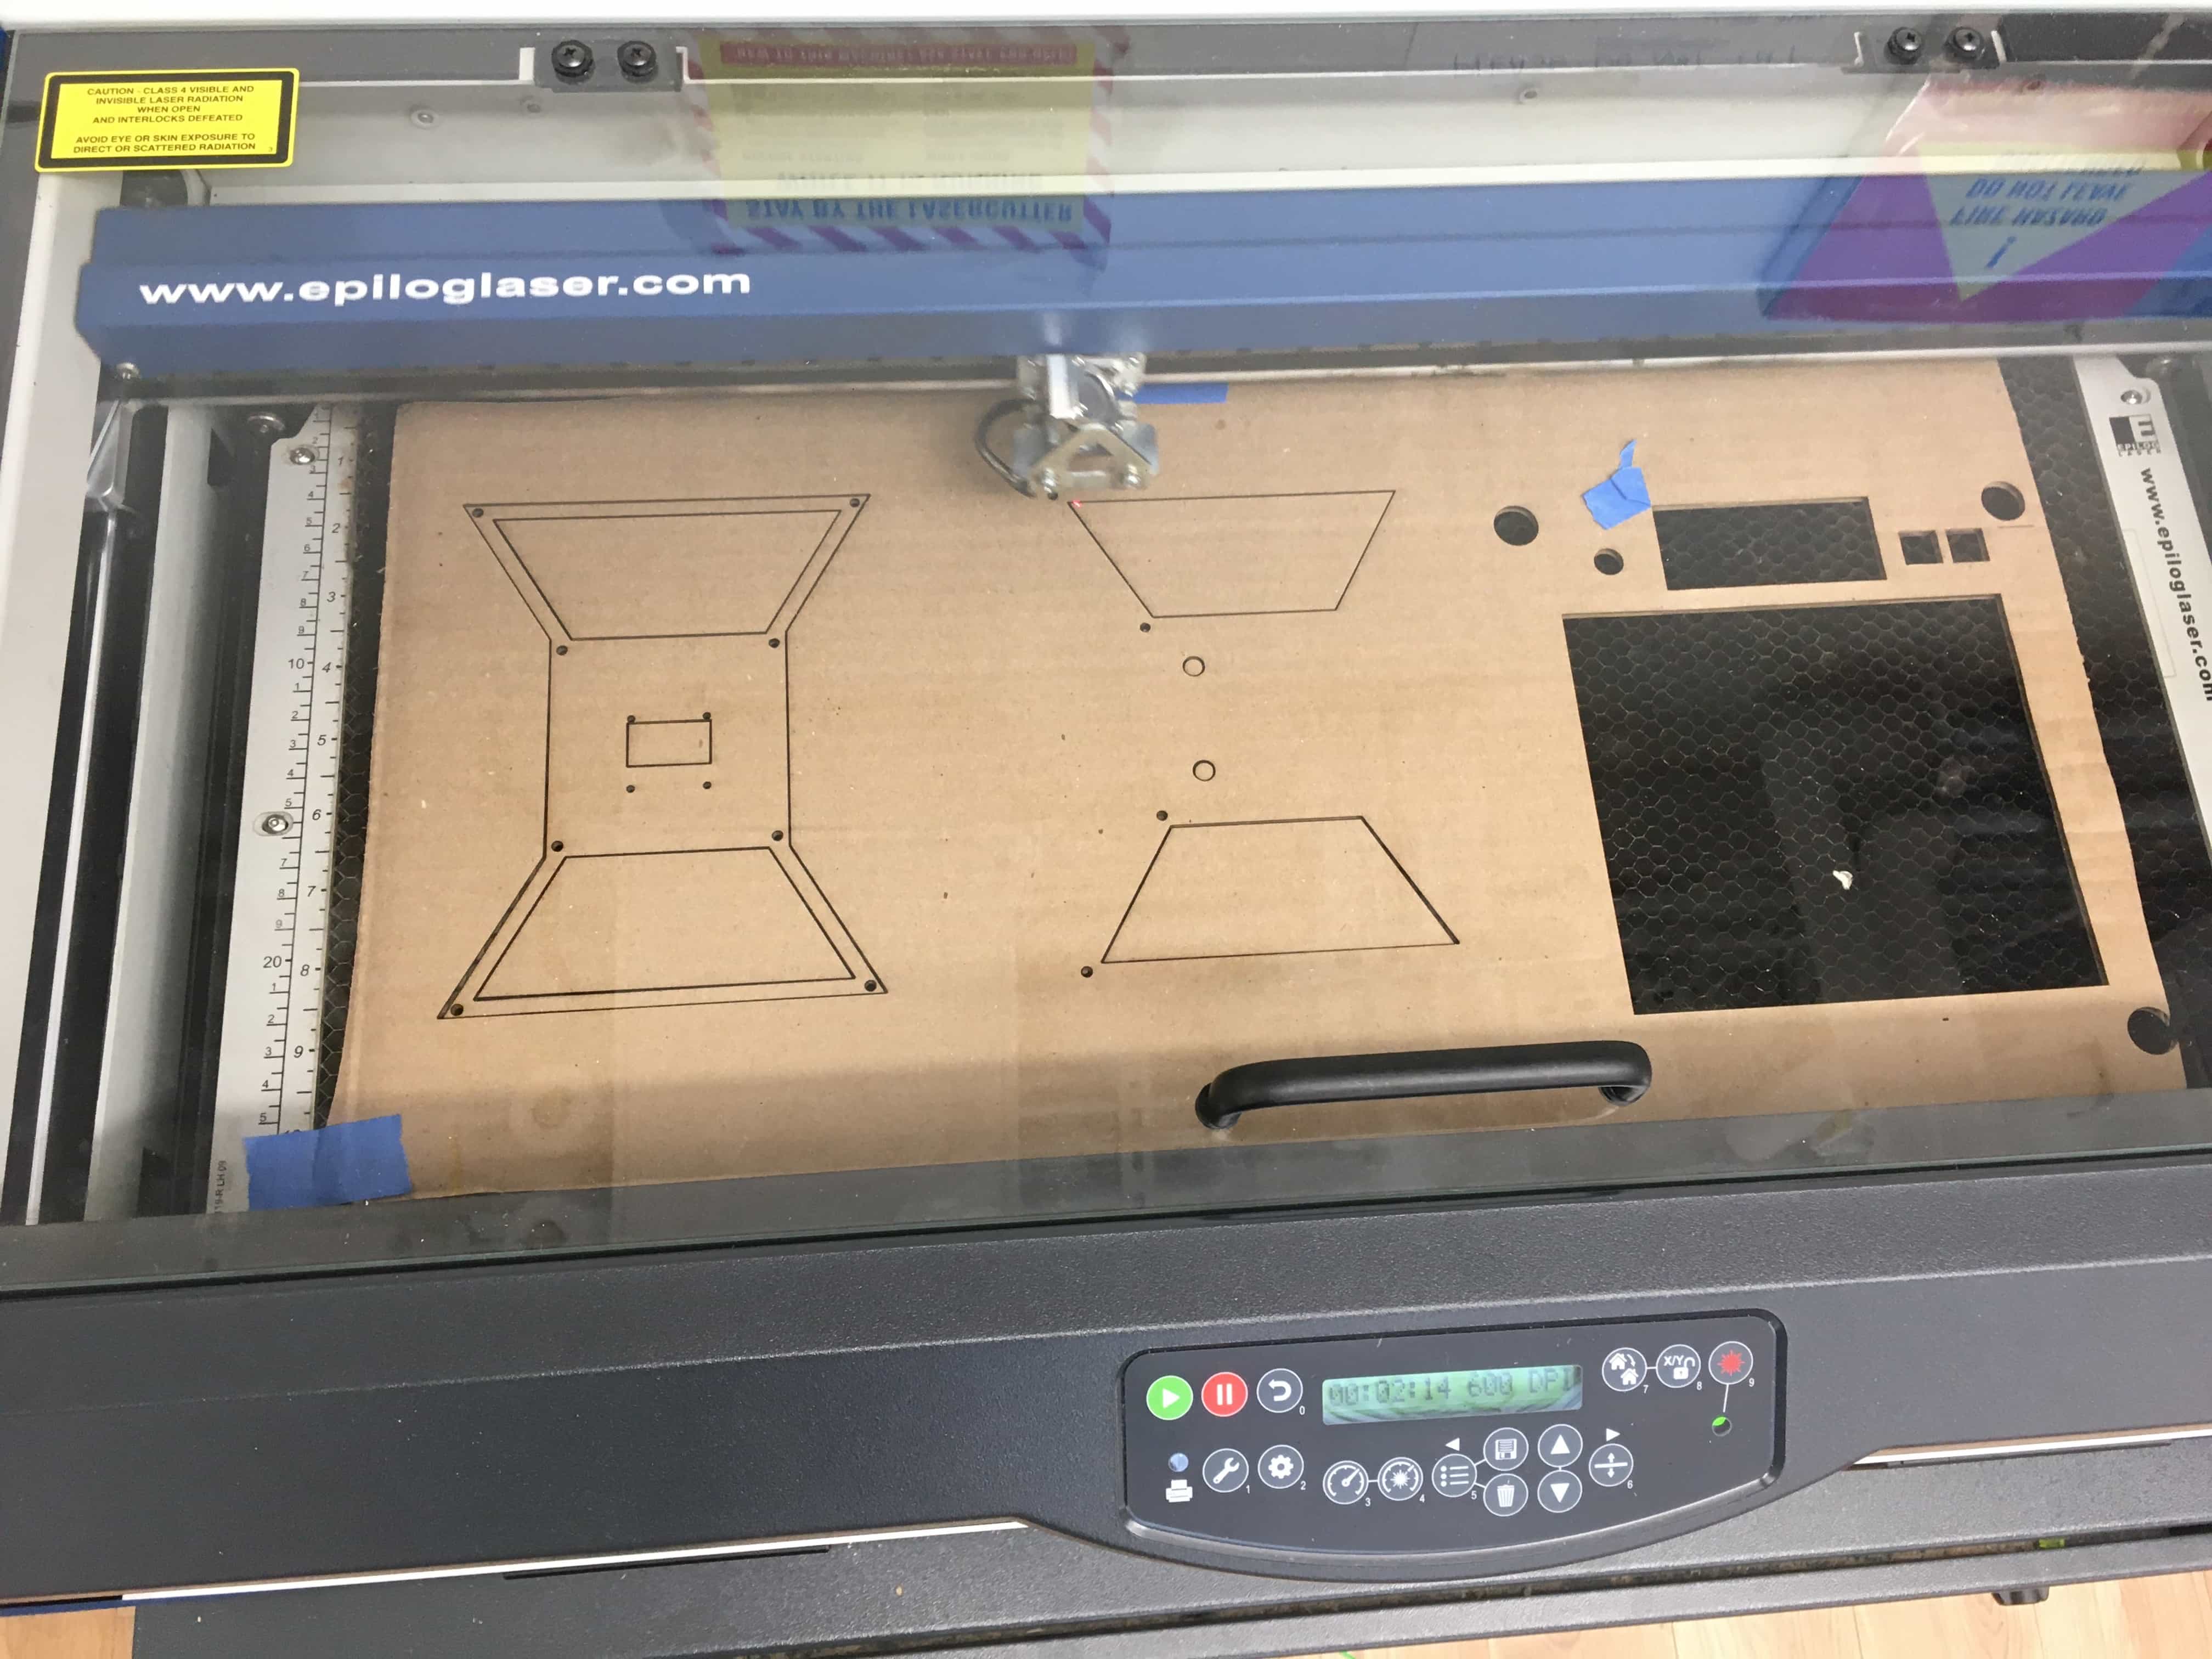
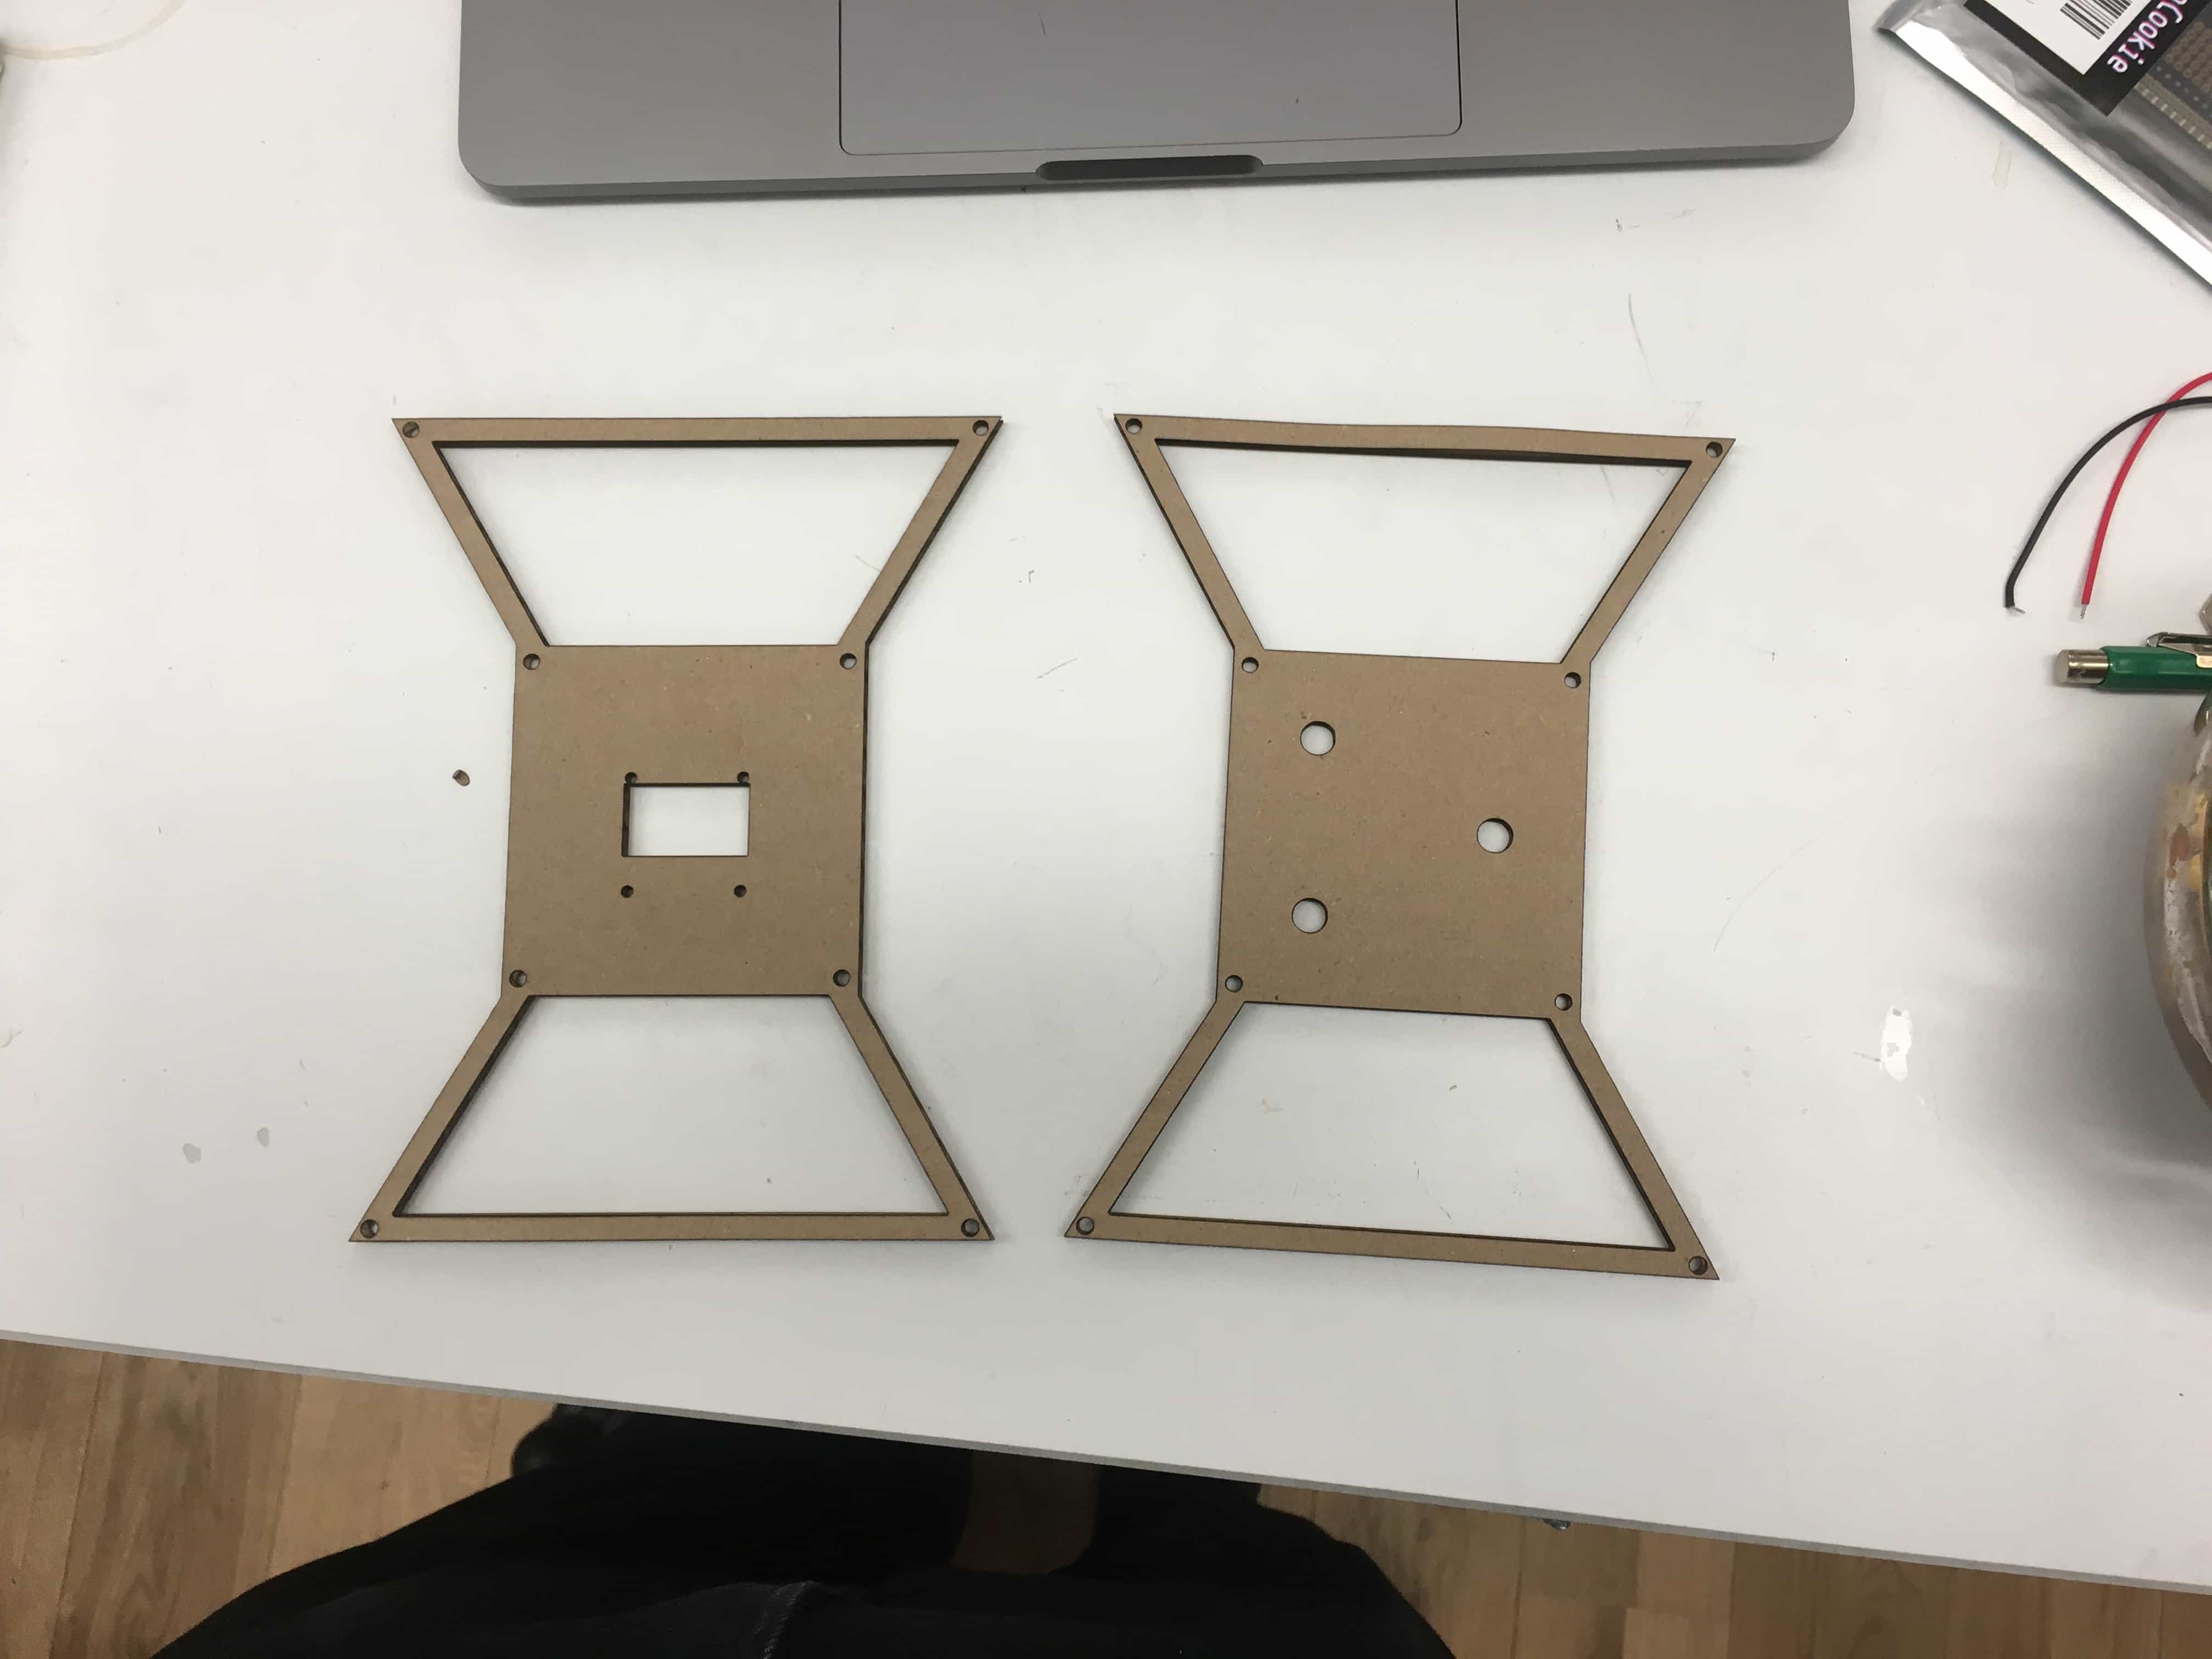
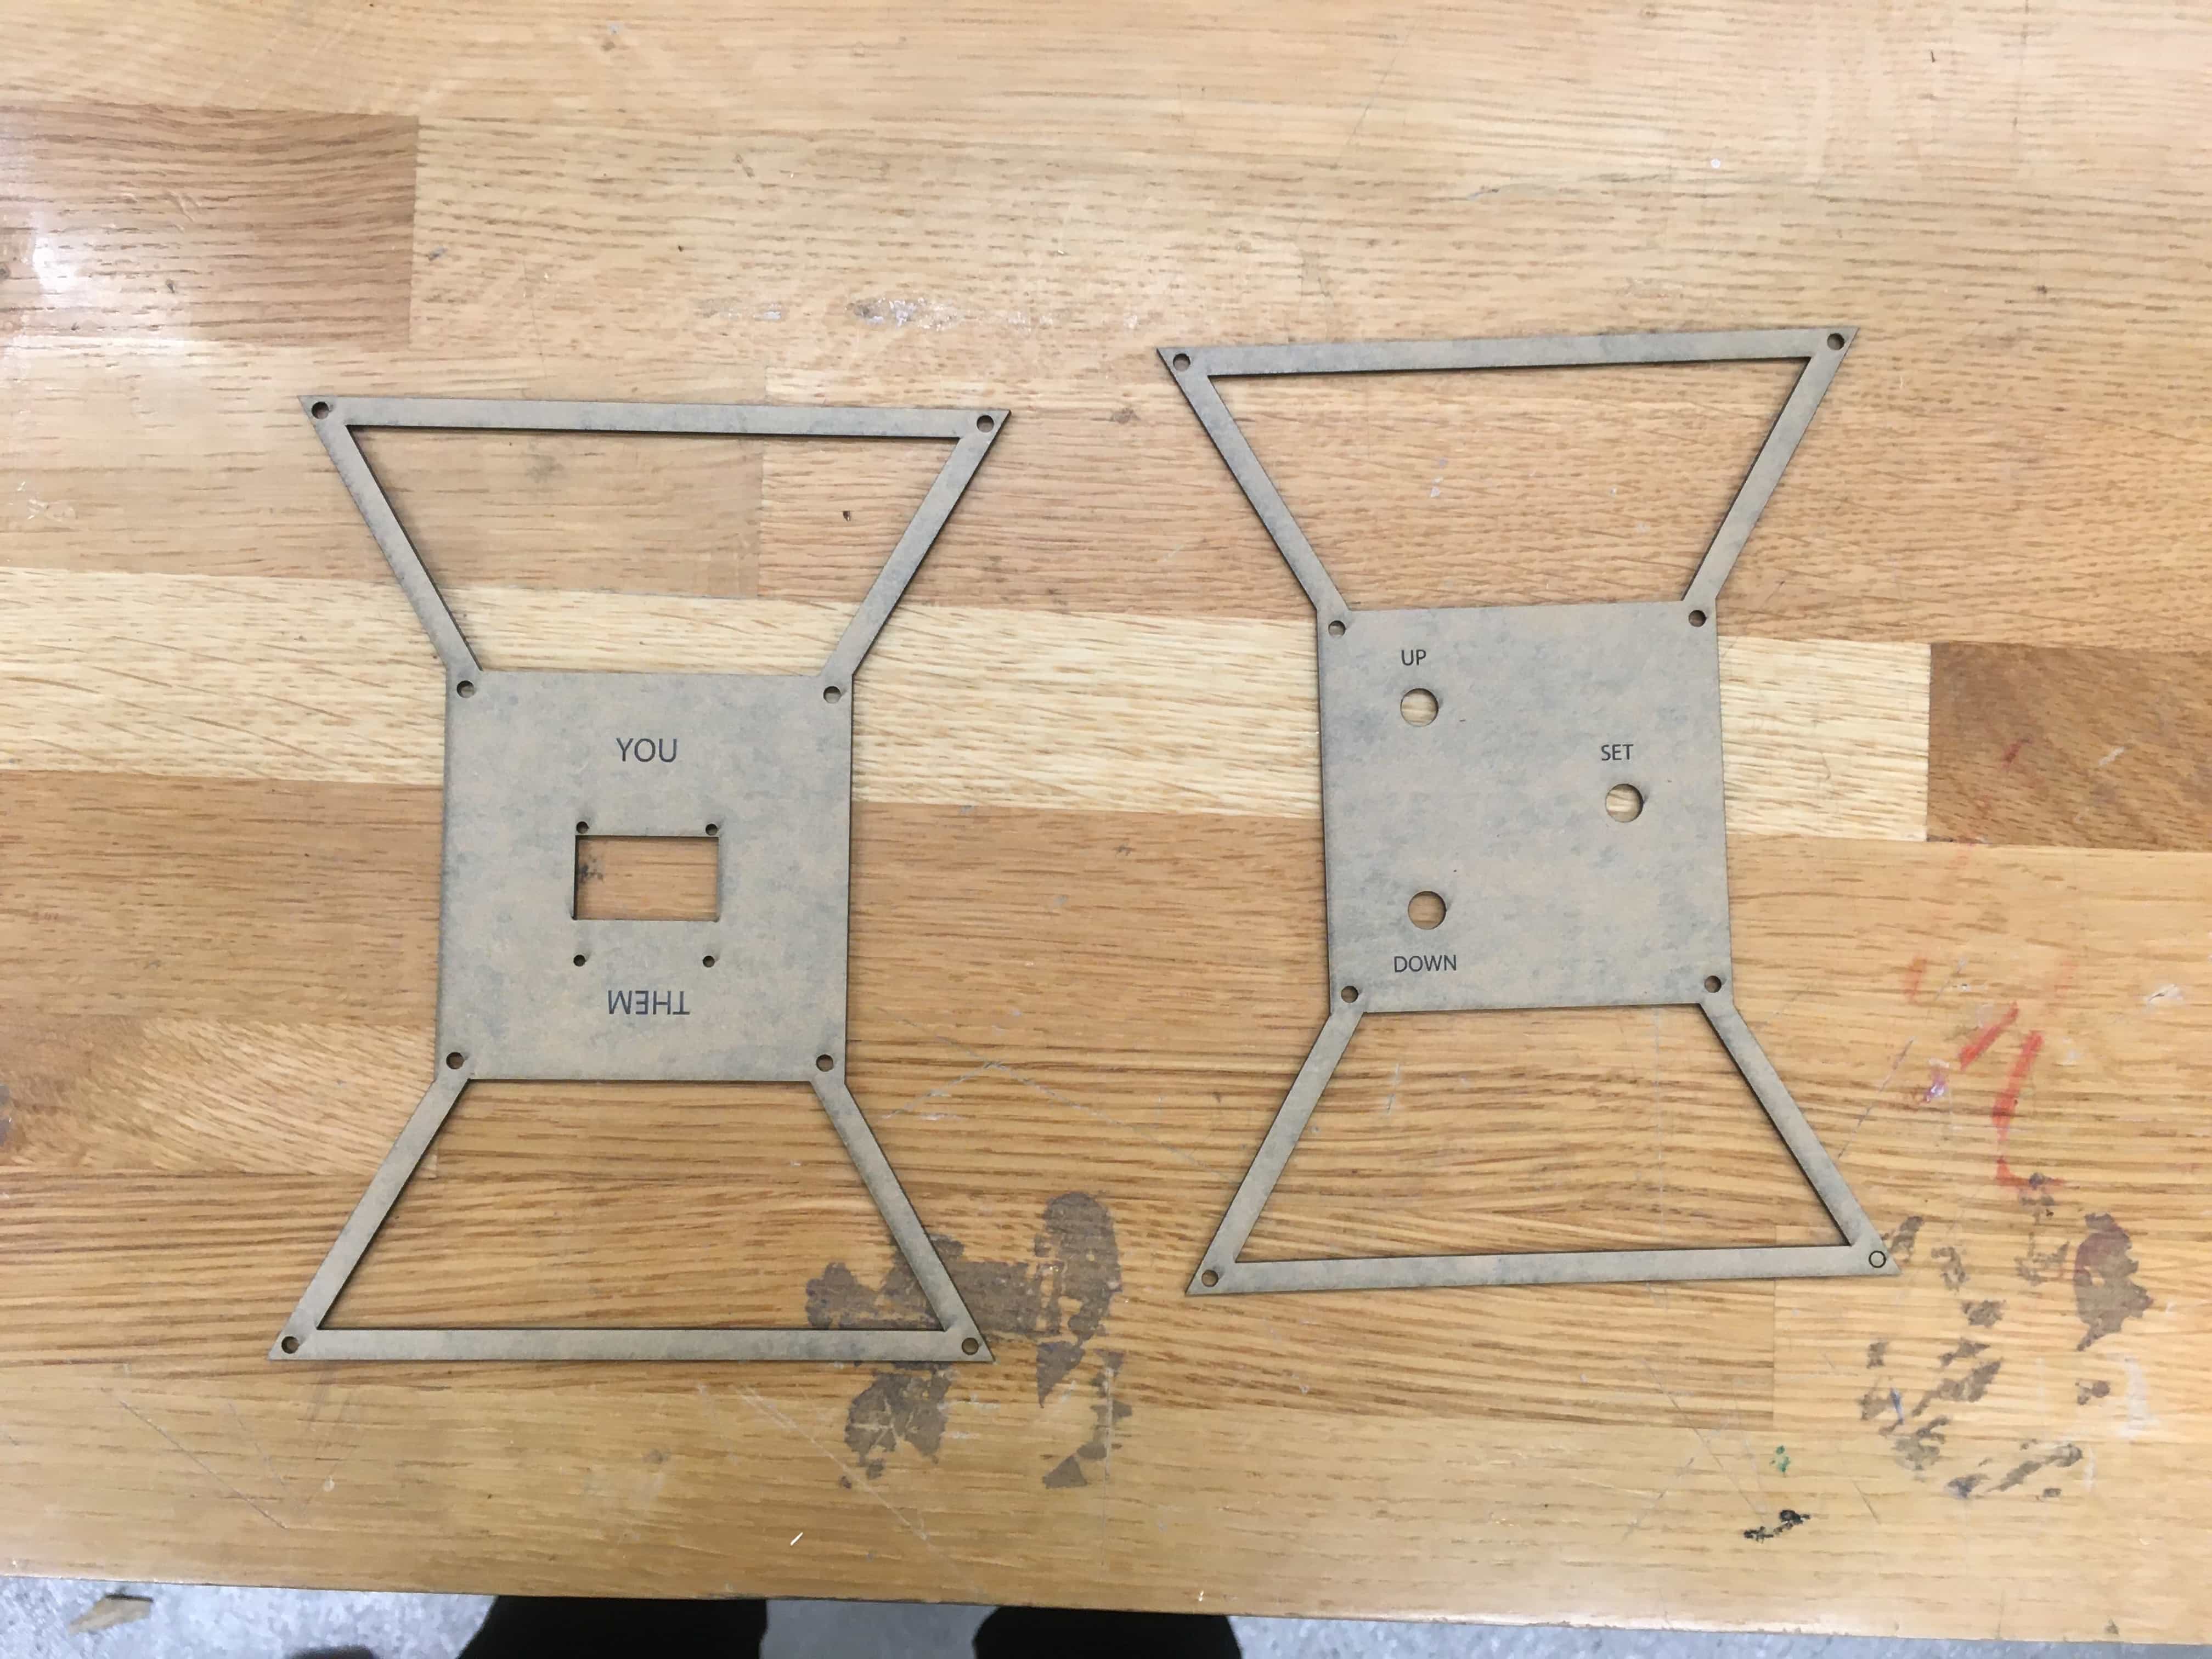
Next, I moved onto making the final enclosure. Using Vector Works I created the shape to laser cut (several versions included).

I cut the first version out of cardboard. I then assembled the pieces and marked the prototype for changes.
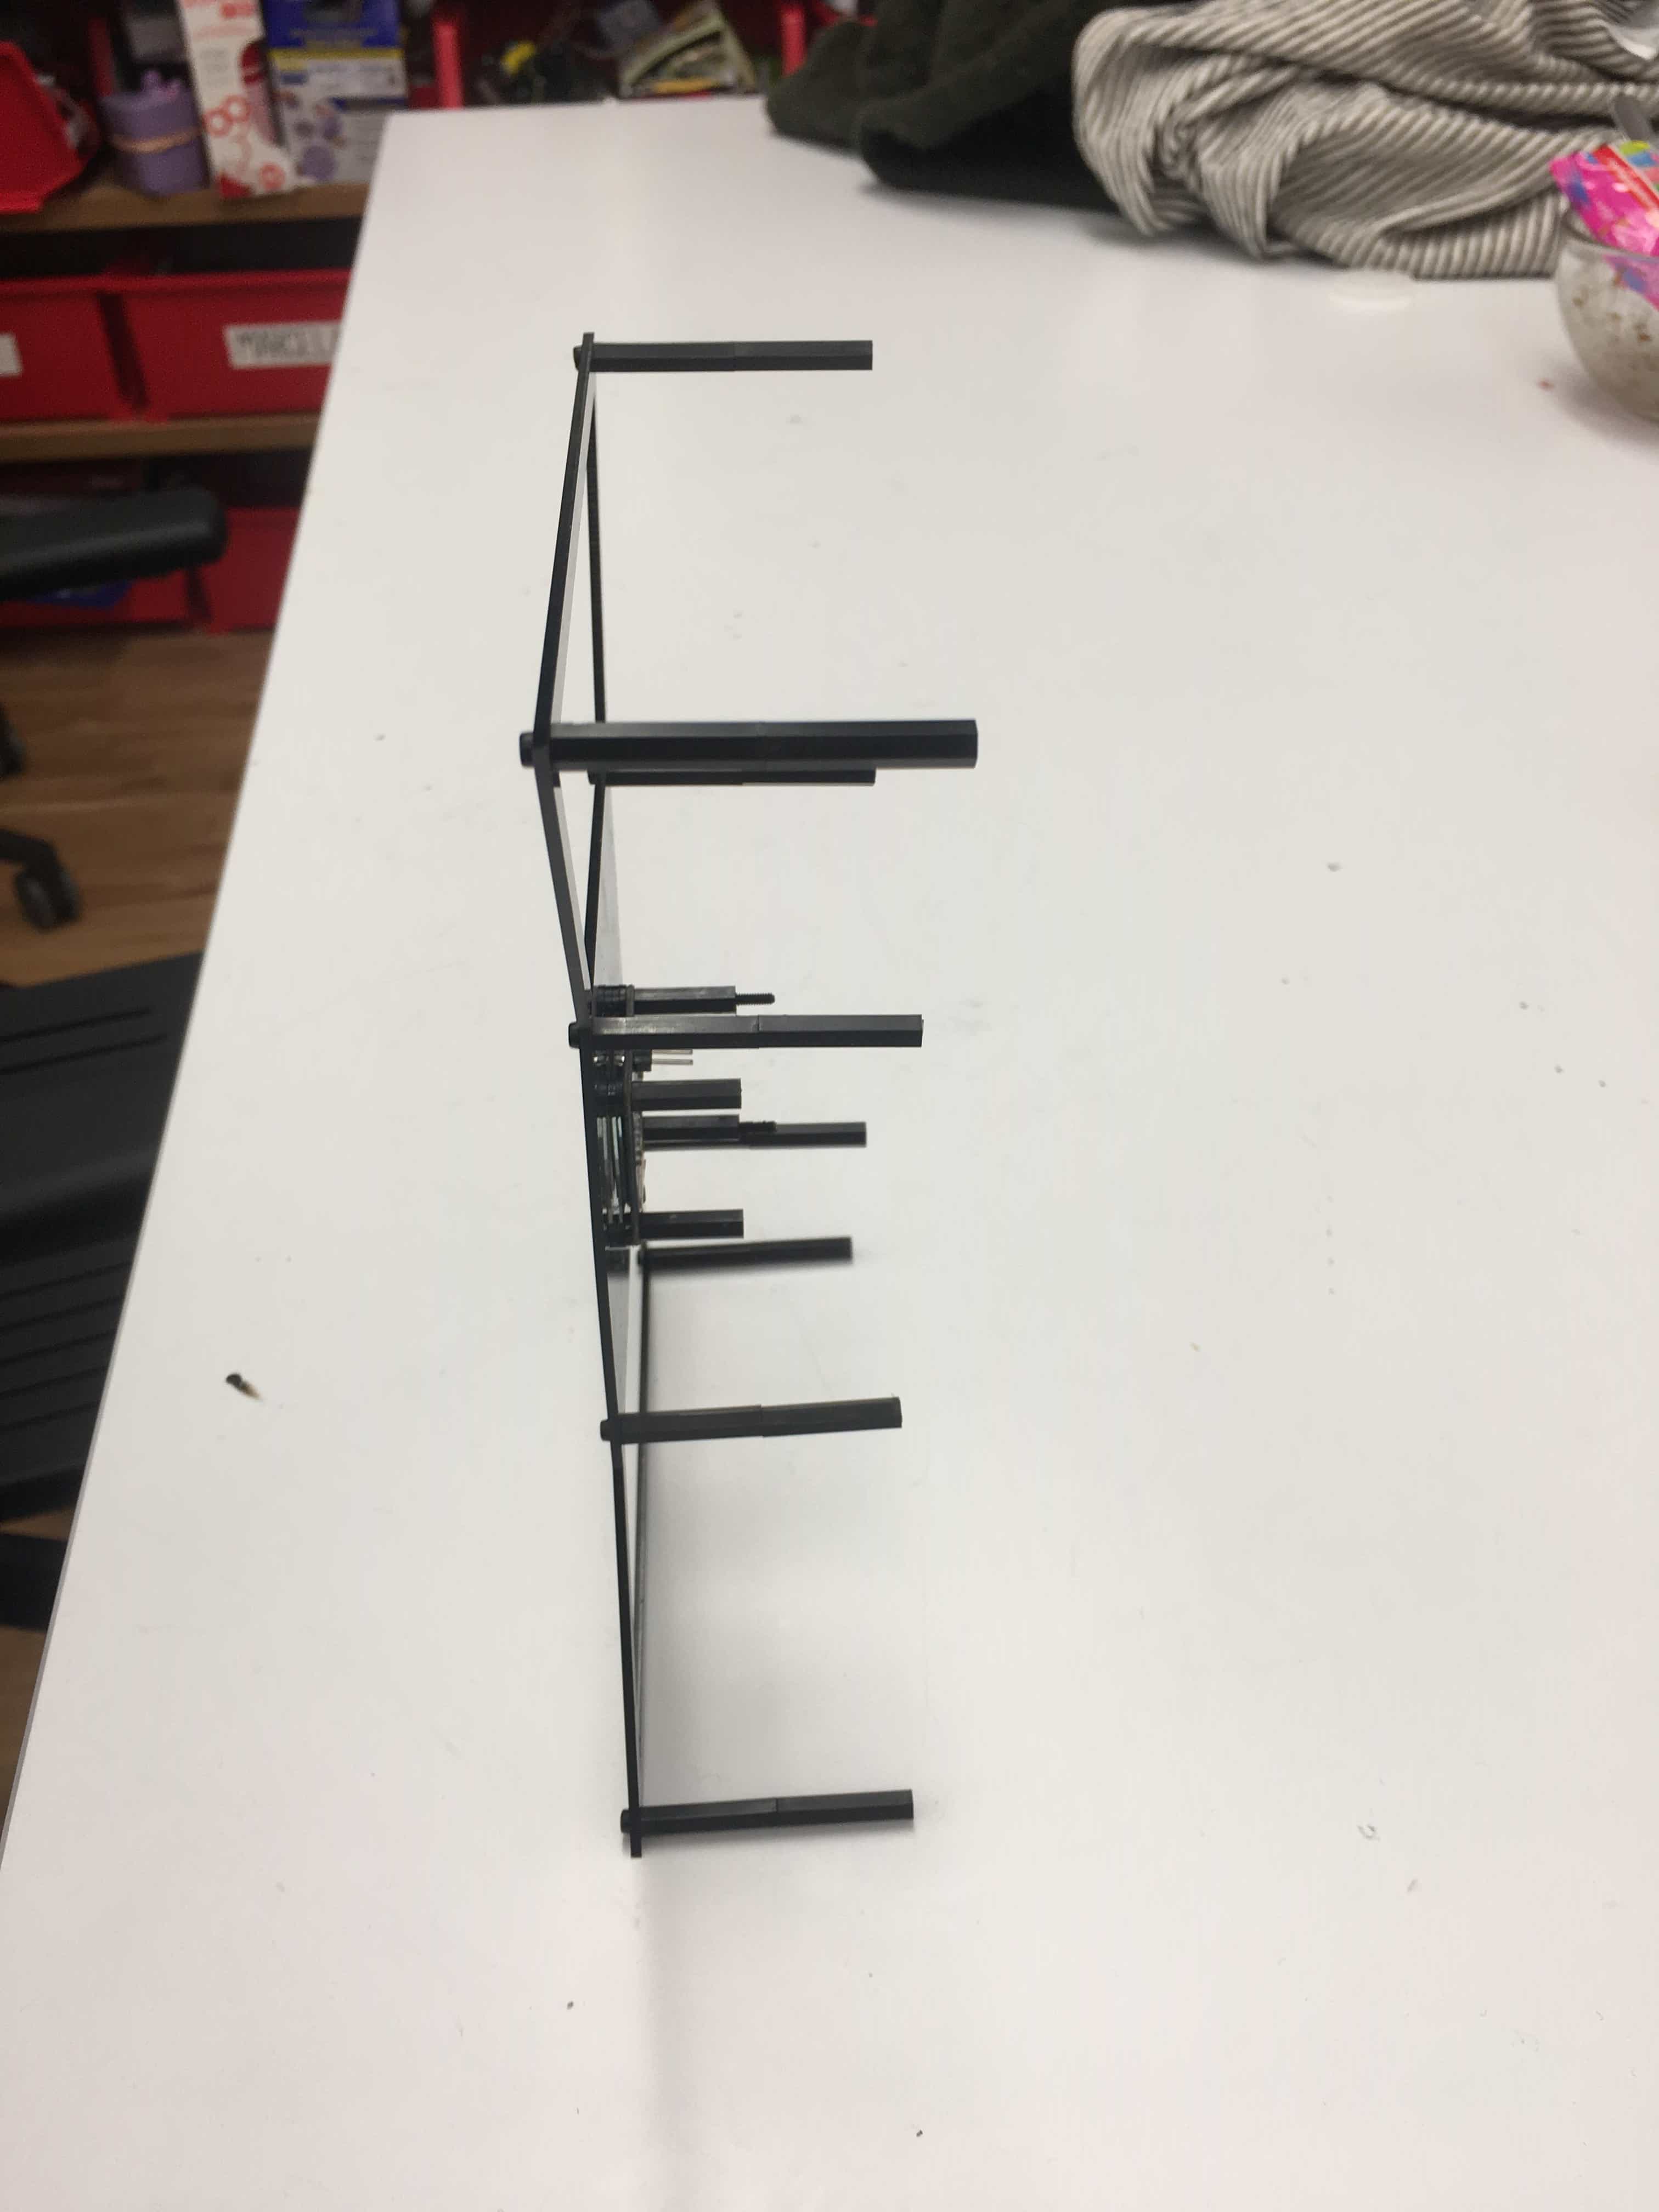
Feeling comfortable with my cardboard prototype I moved on to the final material, 1/8in black acrylic. After cutting I first tested to make sure things fit. Once I confirmed they did, I took the cover of the acrylic and assembled the final piece.
Final Thing⌗
Thoughts & Concerns⌗
In the end, the final clock was pretty much the idea I had in my head. It sits nicely on my desk. It acts as a small reminder of someone not currently present, throughout the day.