Simple Application for Switches and LED Circuits
The Thinking Part⌗
For the assignment, “build a simple application for switches and LED circuits”, I built a switch that is handshake activated. Although, it does require both hands to be wearing metal rings attached to alligator clips attached to a variable power supply…
I was interested in creating something that required two people to interact to turn the LED on. Silly, but the handshake idea came from me looking down at my hands and seeing the ring I always wear.
My ring is gold, so I knew it would conduct electricity. I just needed to make sure I found someone who had a gold or silver ring (friends who are married often have wedding rings made of good metals - for whatever thats worth).
Building a Simple Circuit⌗
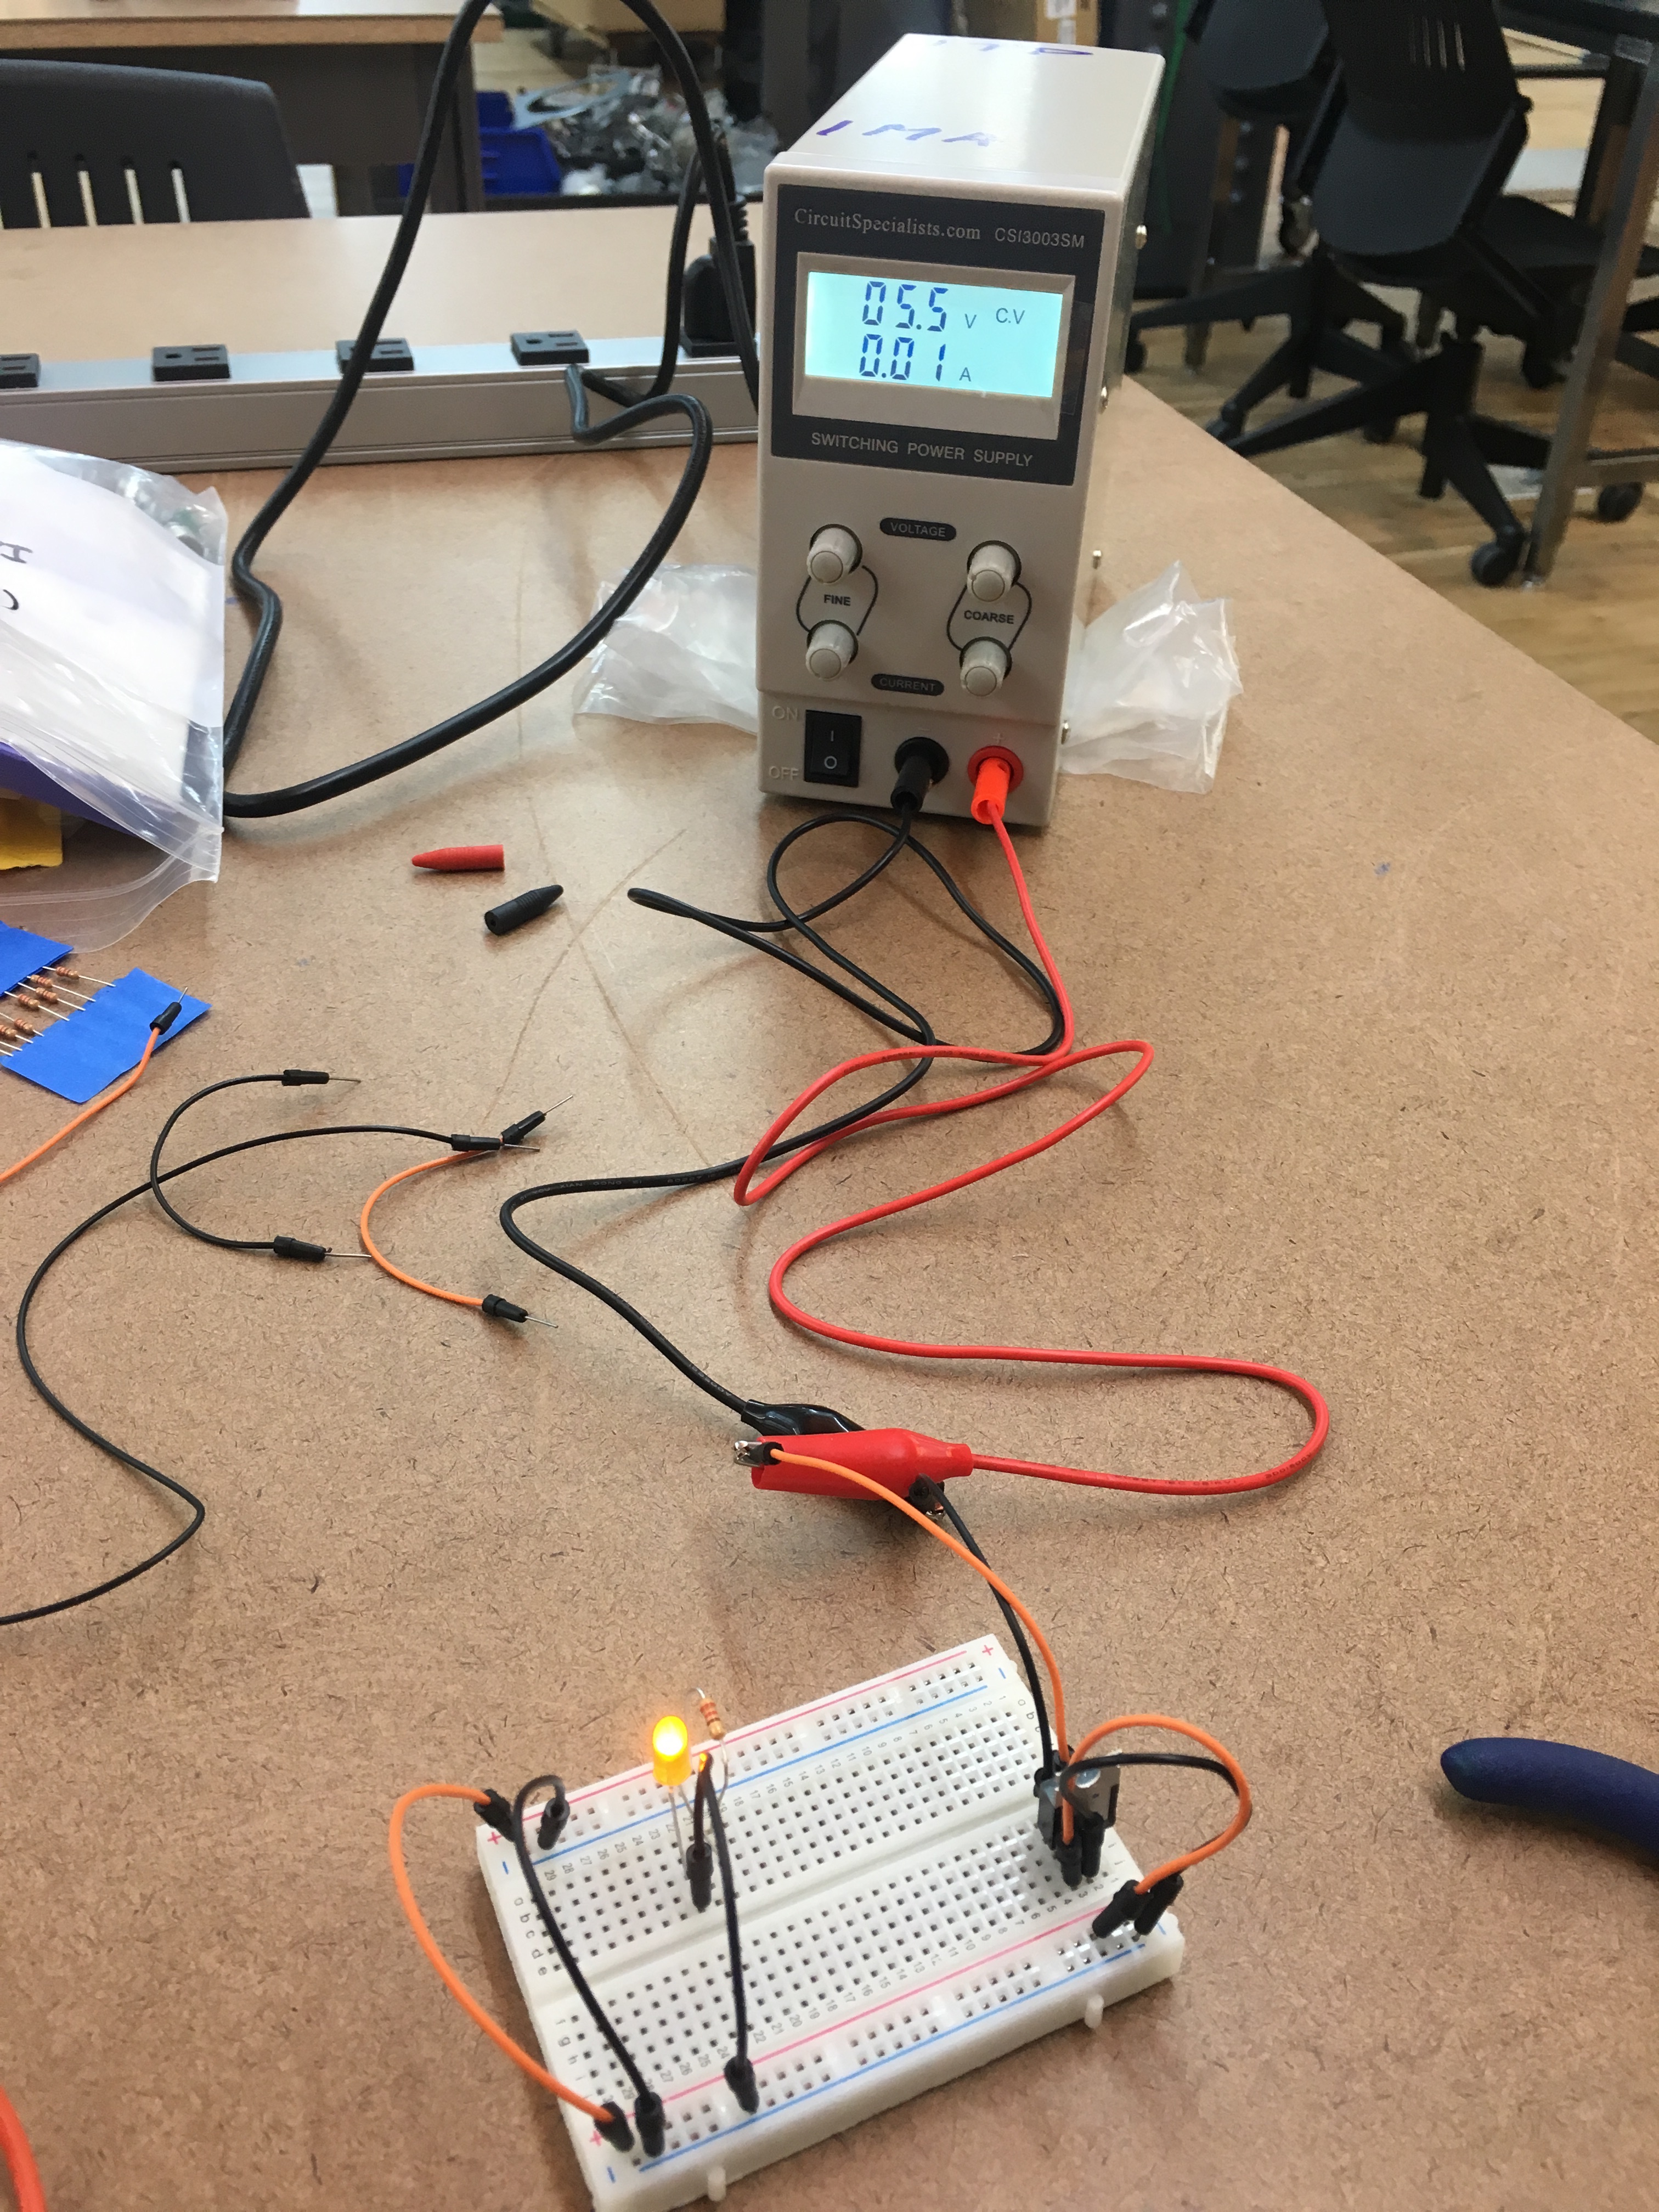
For the most part, building the simple circuit went well. There is one moment worth mentioning.
Important lesson #1: When using the cheap wires that come with breadboards, test them for continuity
It took me forty minutes to realize that the issue was not my wiring, but rather it was a single, evil wire. I have provided a photo of this evil wire so I can be reminded of this lesson.
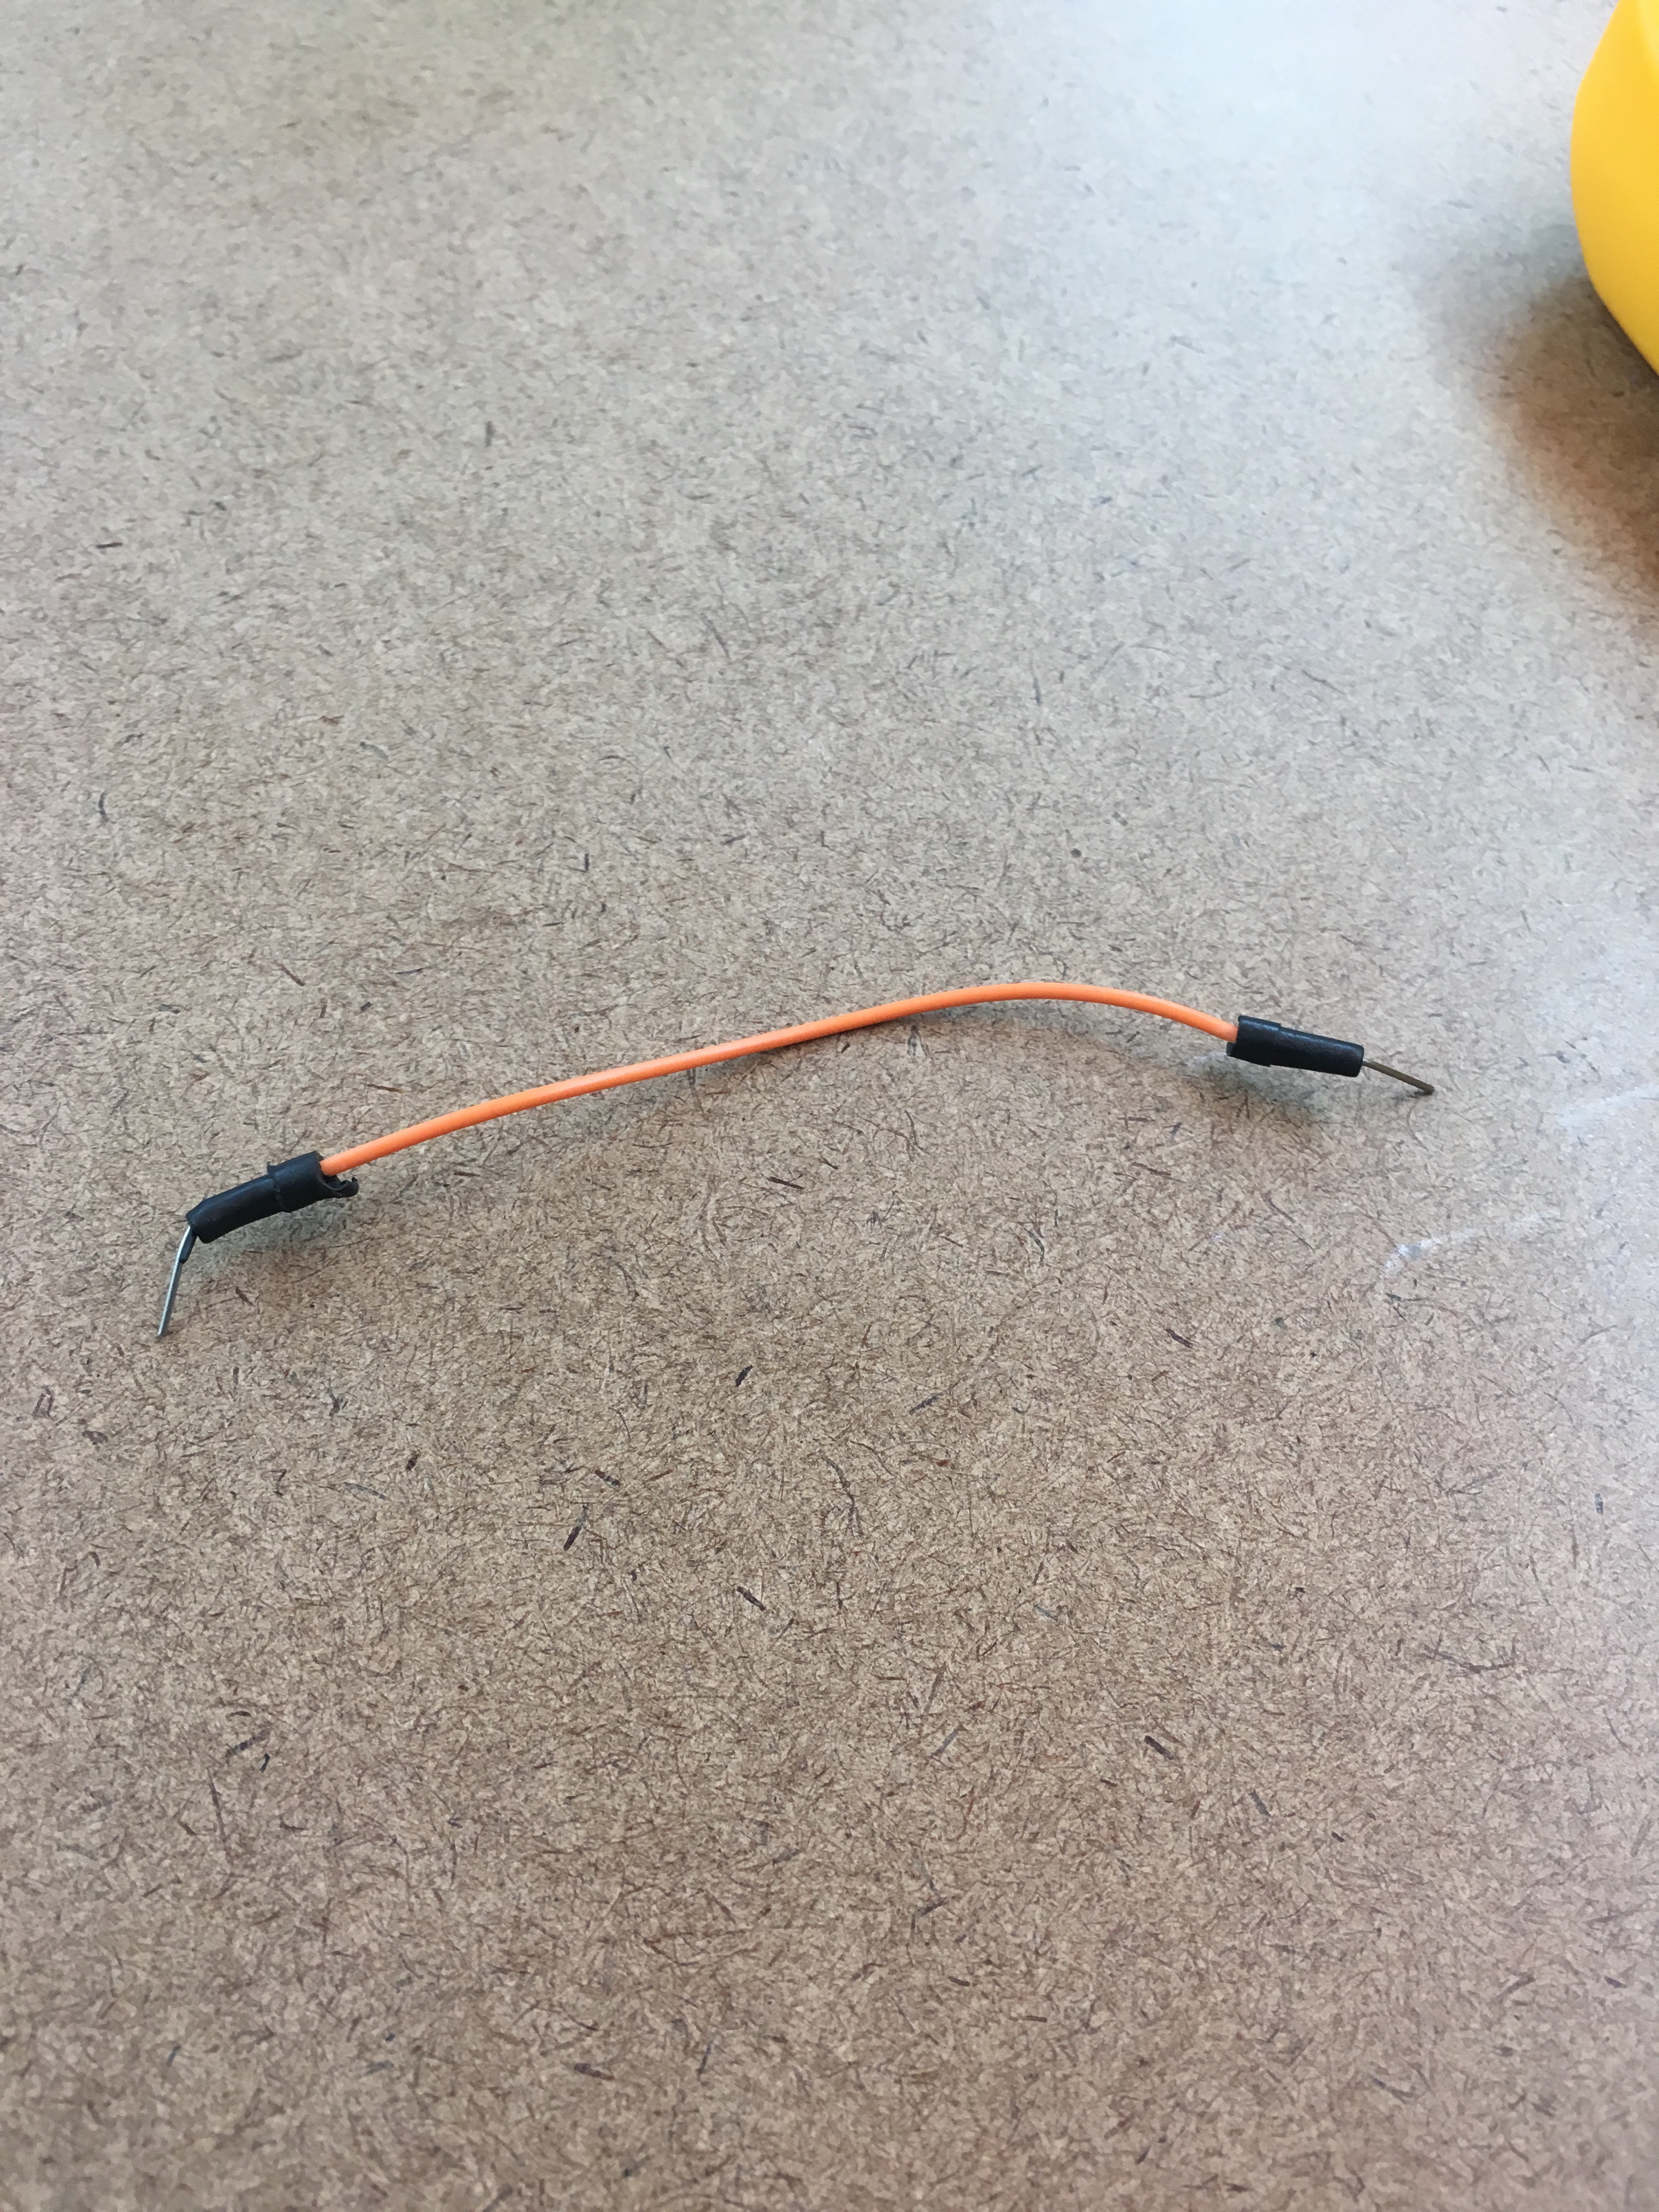
After testing all the wires for continuity, and replacing the evil one, I got the LED to turn on.
Other Simple Circuits⌗
For fun, I tested to other components. A button and a motor.
Button⌗
I added a button in series with the LED.
Here is a very scientific table showing how the button effects the state of the LED:
| Action | LED State |
|---|---|
| Press Button | ON |
| No Press Button | OFF |
And here is the button in action:
Motor⌗
For this, I replaced the LED with a motor and kept the button. The button turns on the motor.
When on, the motor moves and vibrates a bunch when turned on. For fun, I wanted to see if I could make something quickly that moved.
The motor’s plastic encasing has a loop end on the back. I poked that into the small cardboard box the motor came in. When I turned on the motor, the box vibrated and moved a way from me.

The Process of Building - Handshake Activated LED⌗
To create the switch for the handshake, I used the same breadboard setup I had been using for learning basic circuits.
First I build the circuit for just an LED. I added two long wires extending out from the breadboard. This was done using wires that had alligator clips.
Next, I asked my friend Jake, who has a silver ring, if he would help me with my circuit (THANK YOU JAKE).
Then I connected one clip to my ring, and the other clip to Jake’s ring.
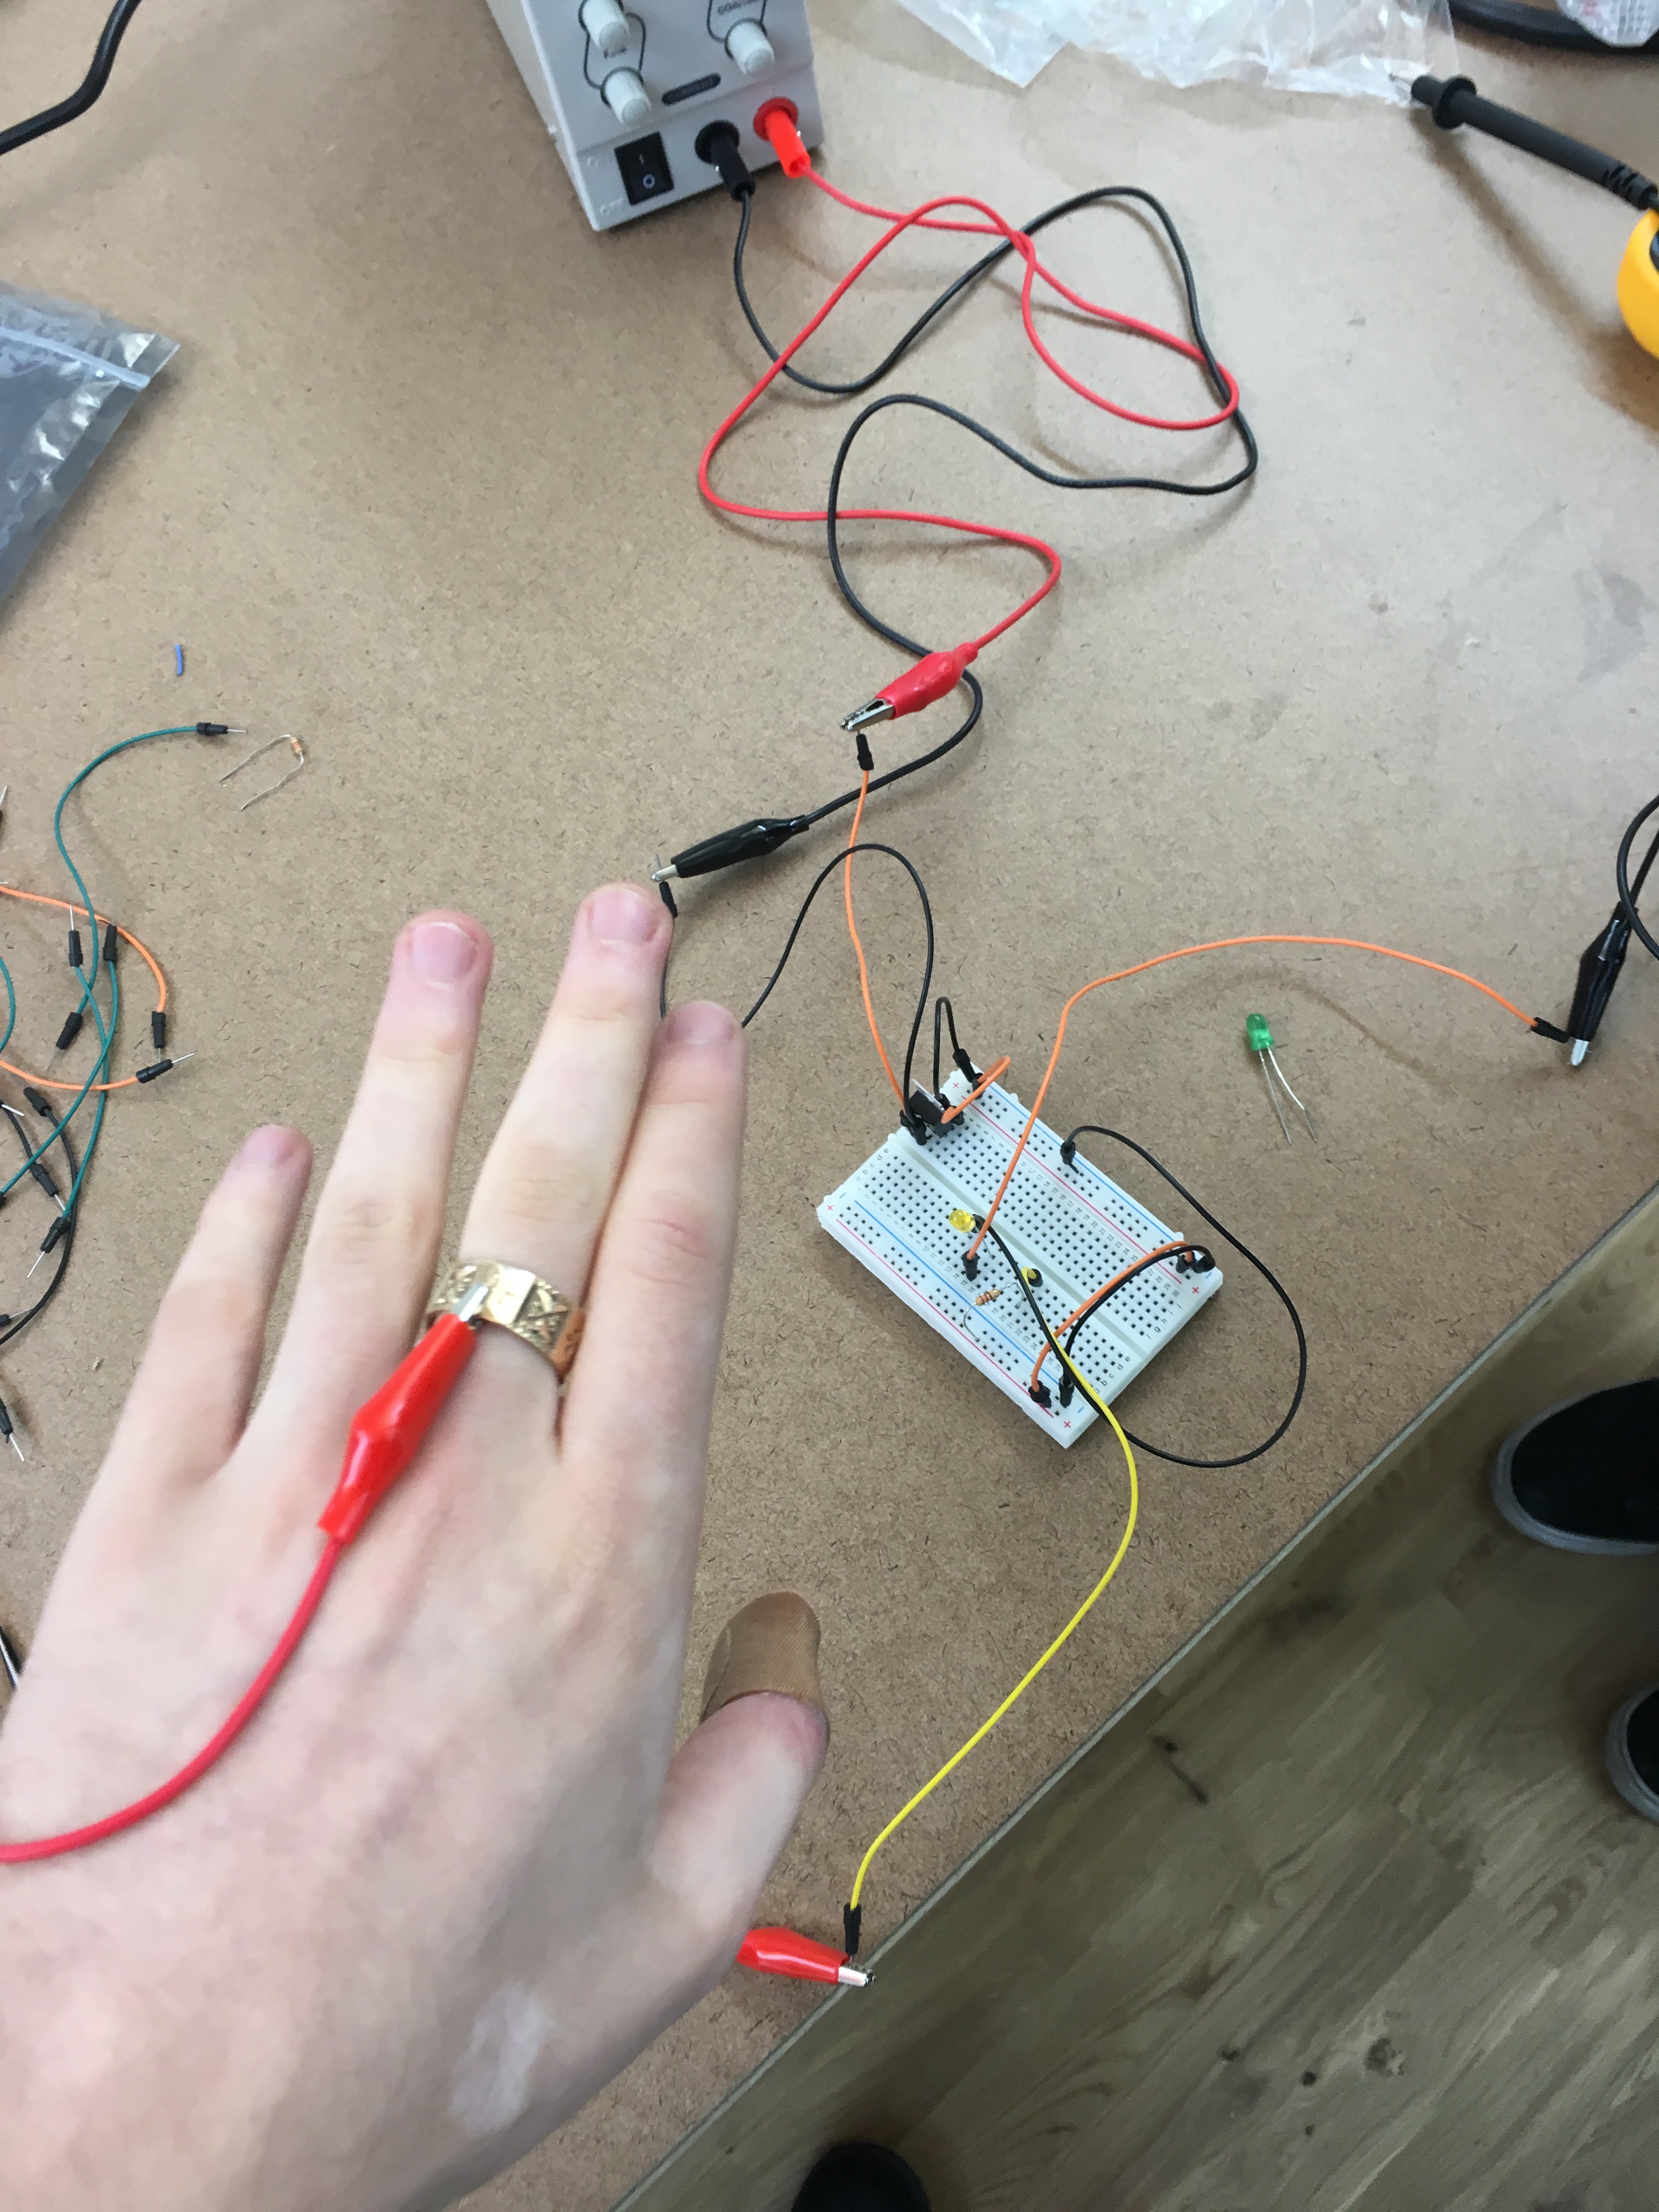
To active the LED, our rings hand to make contact. To do this, Jake and I shook hands (yes - left hands - whatever).
Conclusions⌗
- Test your wires for continuity (worth saying twice)