hiLIGHTer
The Thinking Part⌗
I decided for the project “Make a flashlight”, I would make a flashlight.
I was interested in building an interaction that wasn’t a button. My first idea was to make something that would twist to turn the light on and off. I thought of one small tube in a bigger tube.
I ended up building two lights.
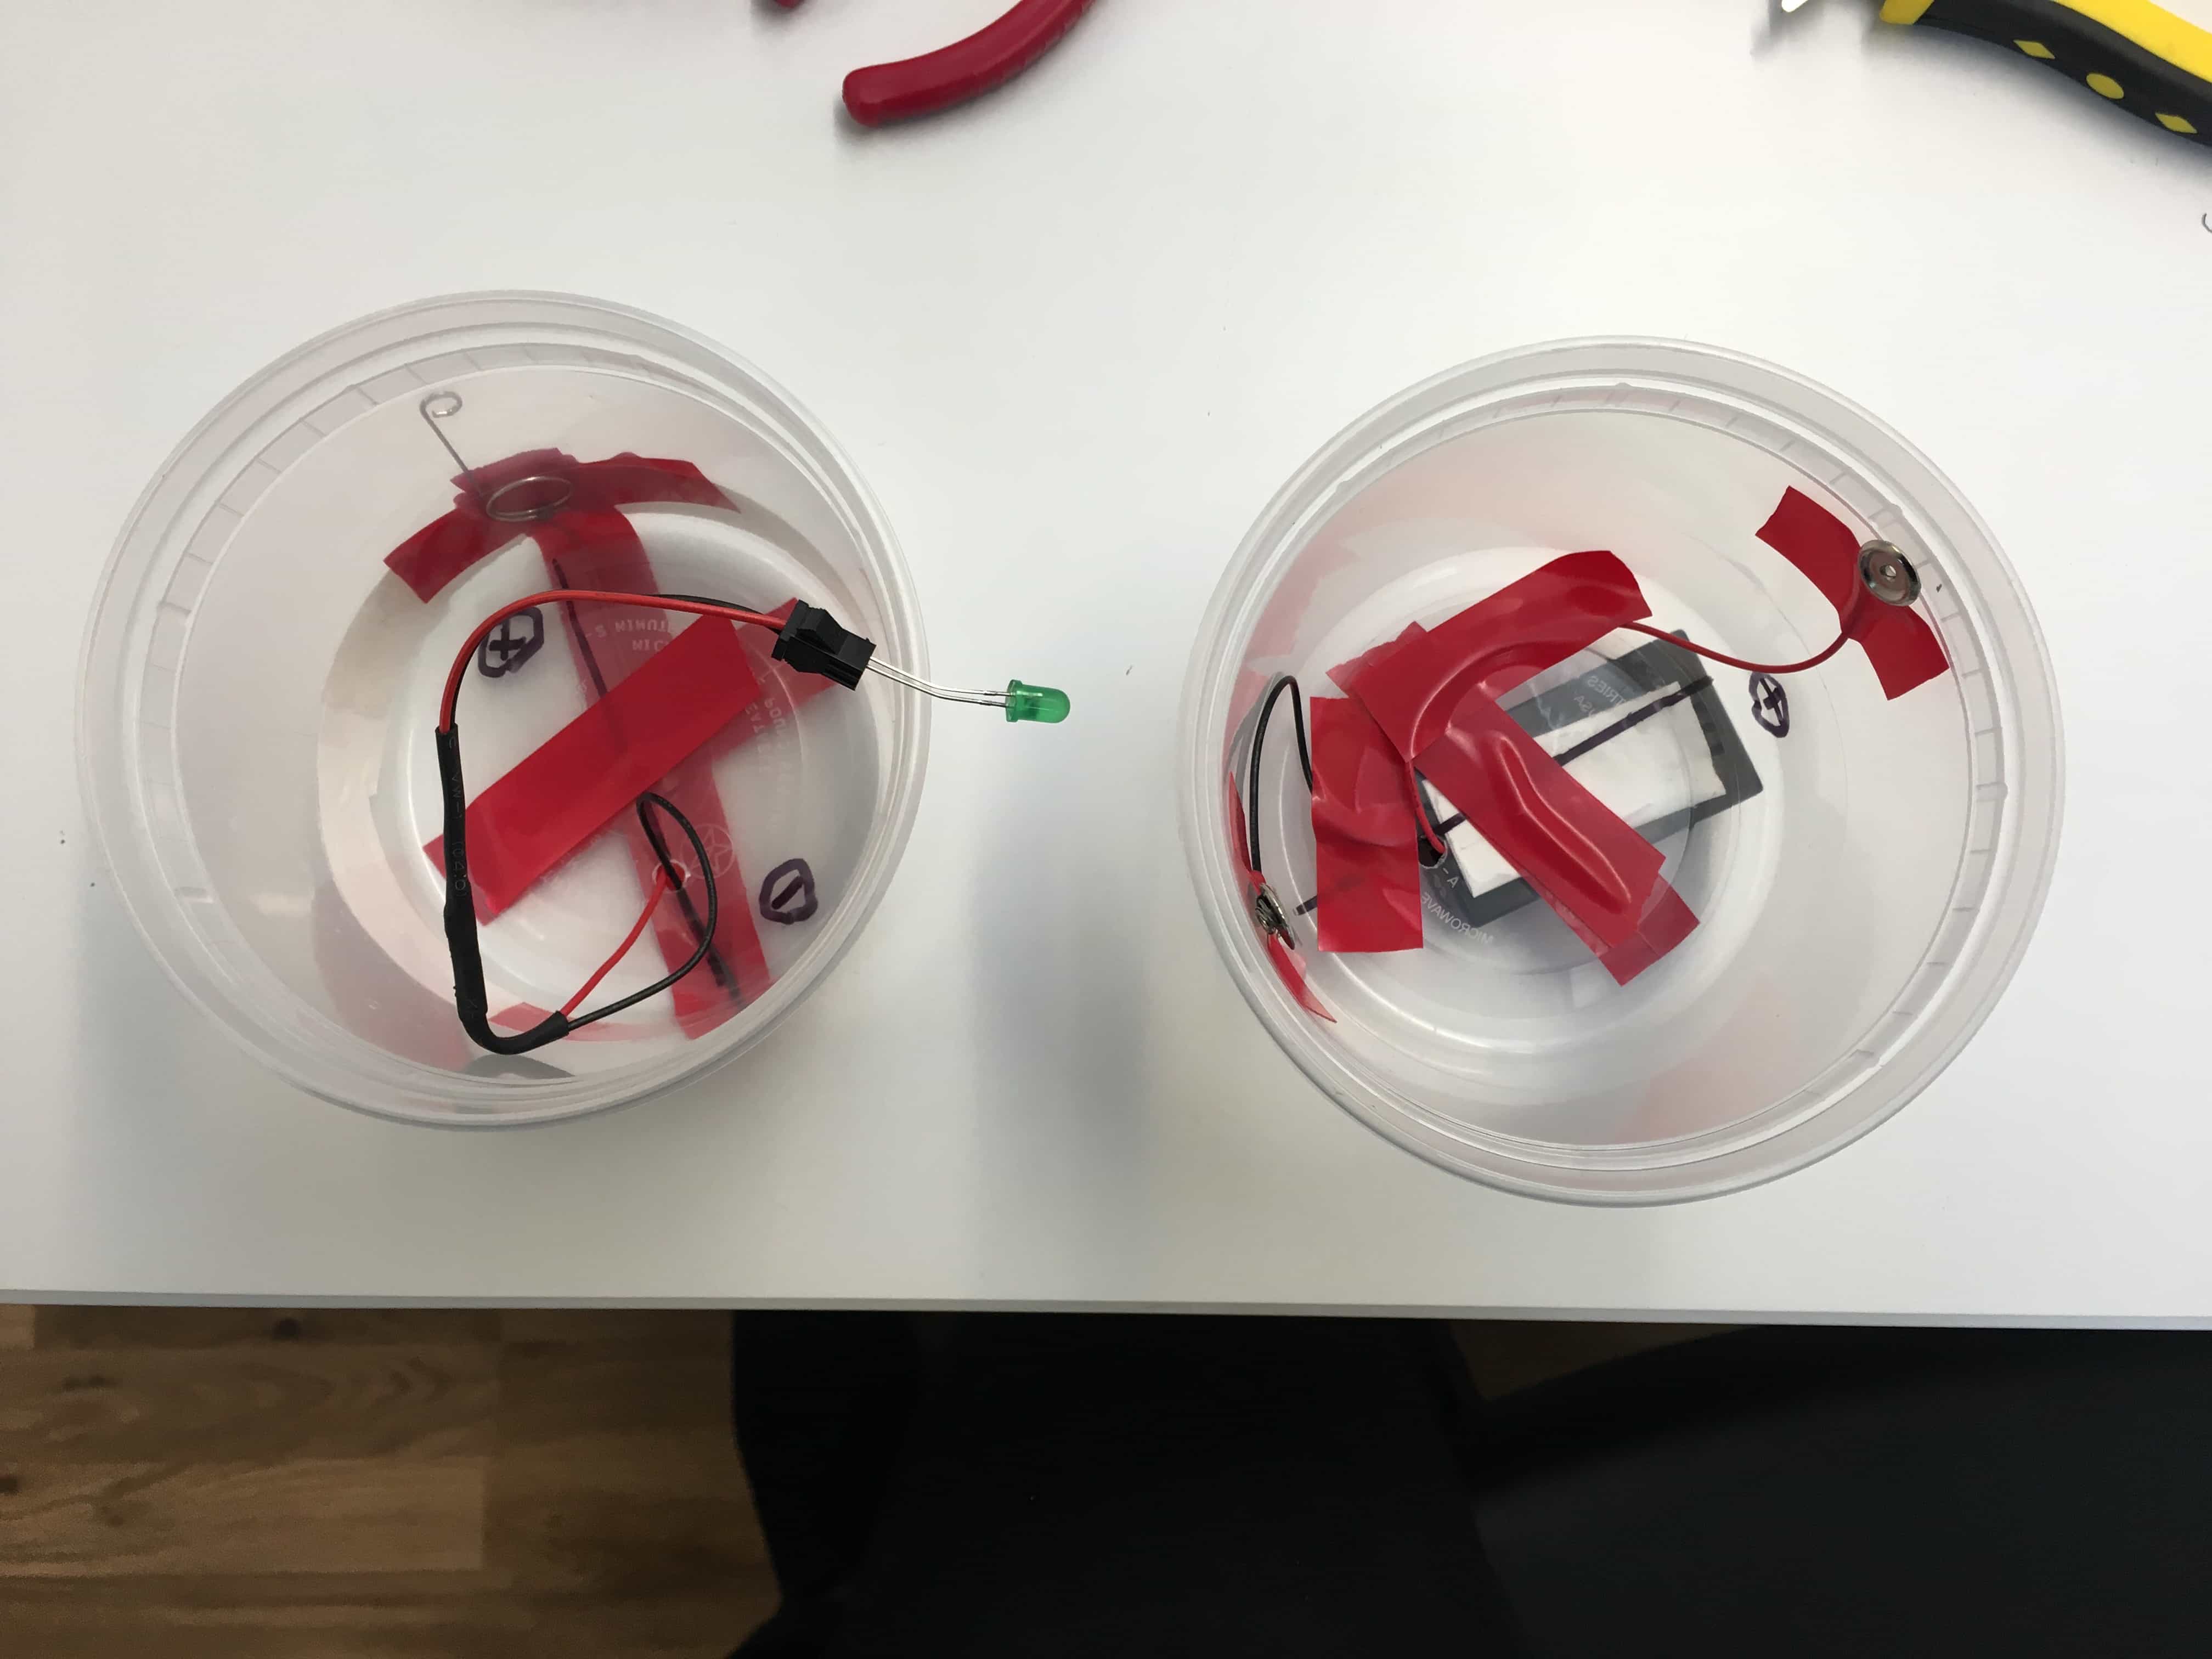
The first light was to test if the twisting mechanism would work. It was made of two plastic quart containers (thank you delivery food) stacked on top of each other. I decided to use plastic quart containers for two reasons:
- They were large and provided a lot of workable surface area
- They were clear so I could easily see if something wasn’t in the correct position
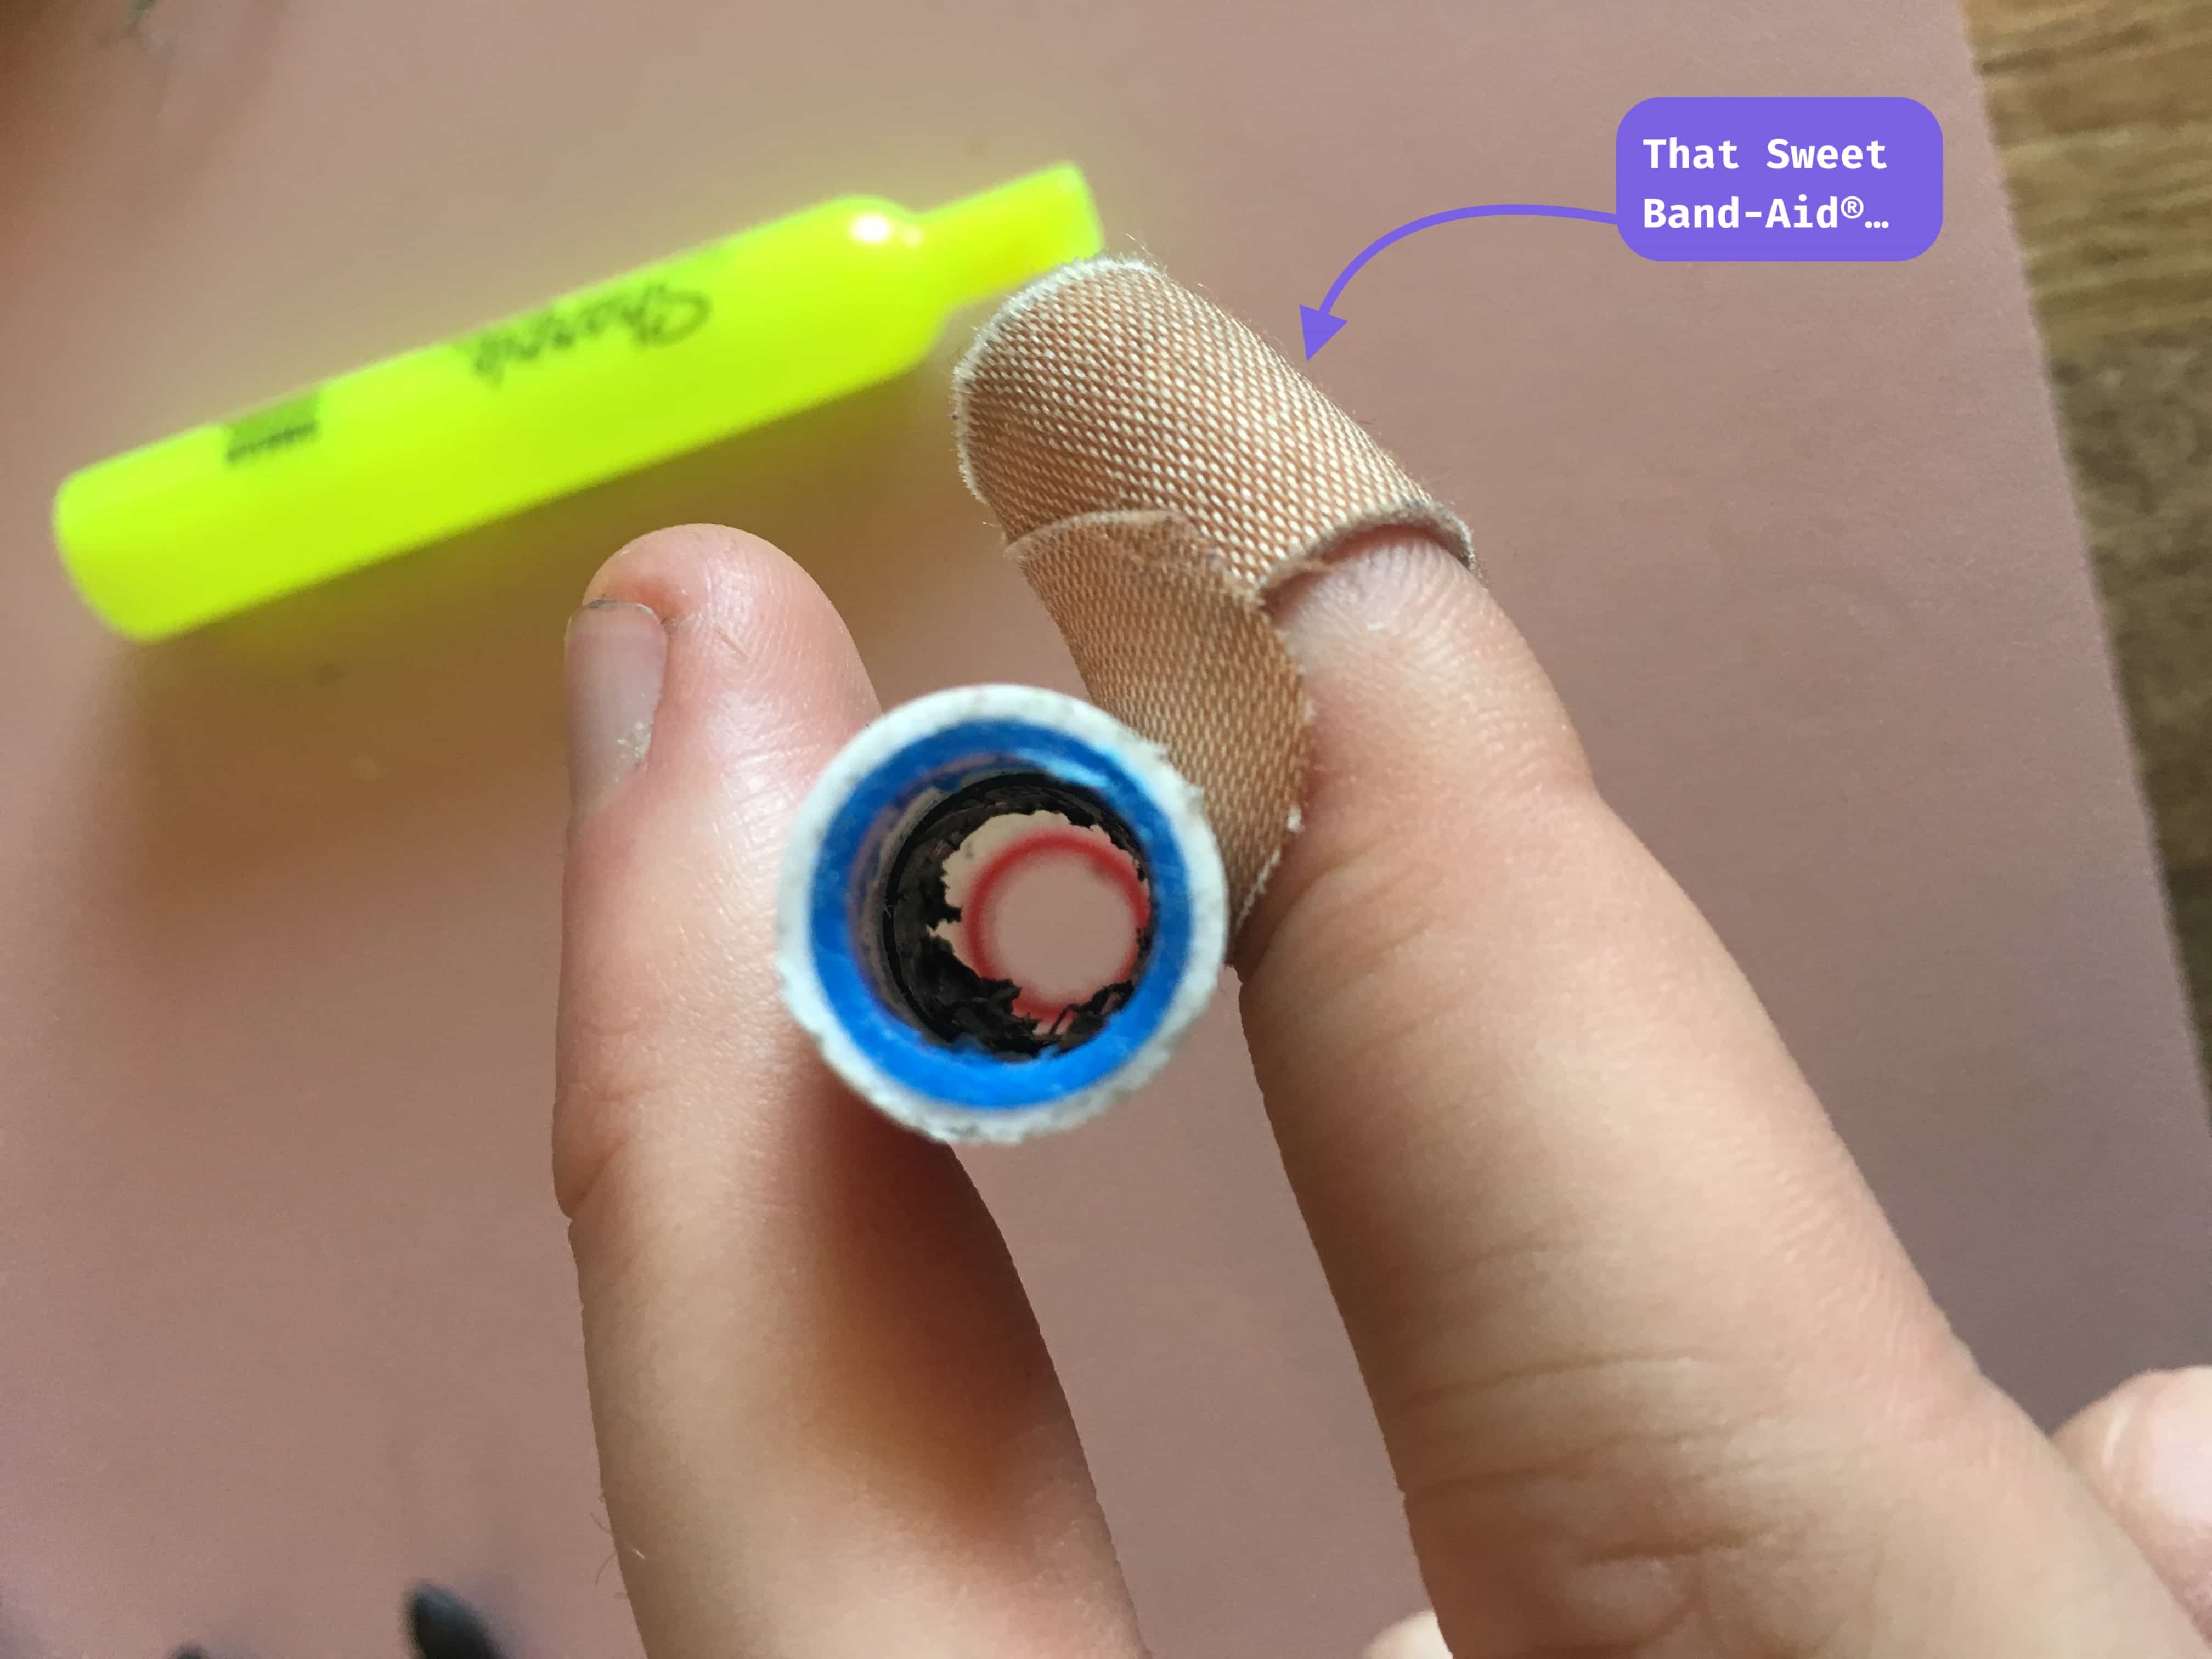
The second light was a “hiLIGHTer”. It’s a highlighter with an LED instead of ink. The idea for this came from walking over to the junk shelf and looking for parts. I saw a highlighter and a marker and thought if I took out the insides of both, the marker would fit into the highlighter body. Turns out - it did.
Drawings⌗
Materials⌗
Quart Containers⌗
- Two plastic quart containers
- AA battery holder
- 2 AA batteries
- Wire socket with loose wires [taken from a found battery holder]
- LED (green)
- Metal contacts (disks and rods) [taken from a found battery holder]

Highlighter⌗
- Yellow highlighter
- Marker (found on free shelf)
- Toothpick
- LED (yellow)
- Paperclips
- 3V Watch Battery
- Metal contacts (rods) [taken from a found battery holder]
Tools⌗
- Drill
- Wire cutter
- Wire striper
- Pliers
- Soldering iron
- Solder
- Electrical Tape
- Hand Saw
- Sandpaper
The Process of Building - Quart Containers⌗
To start, I needed to figure out how to make an LED turn on. I found a battery holder and cut the plug bit off the end. I could put the LED in the plug end and then have the loose wires free to use. I put the LED in the plug, then held the ends of the wires to a AA battery. No luck. I tried a battery pack that held 2 AA batteries. Cool, I can turn a LED on.
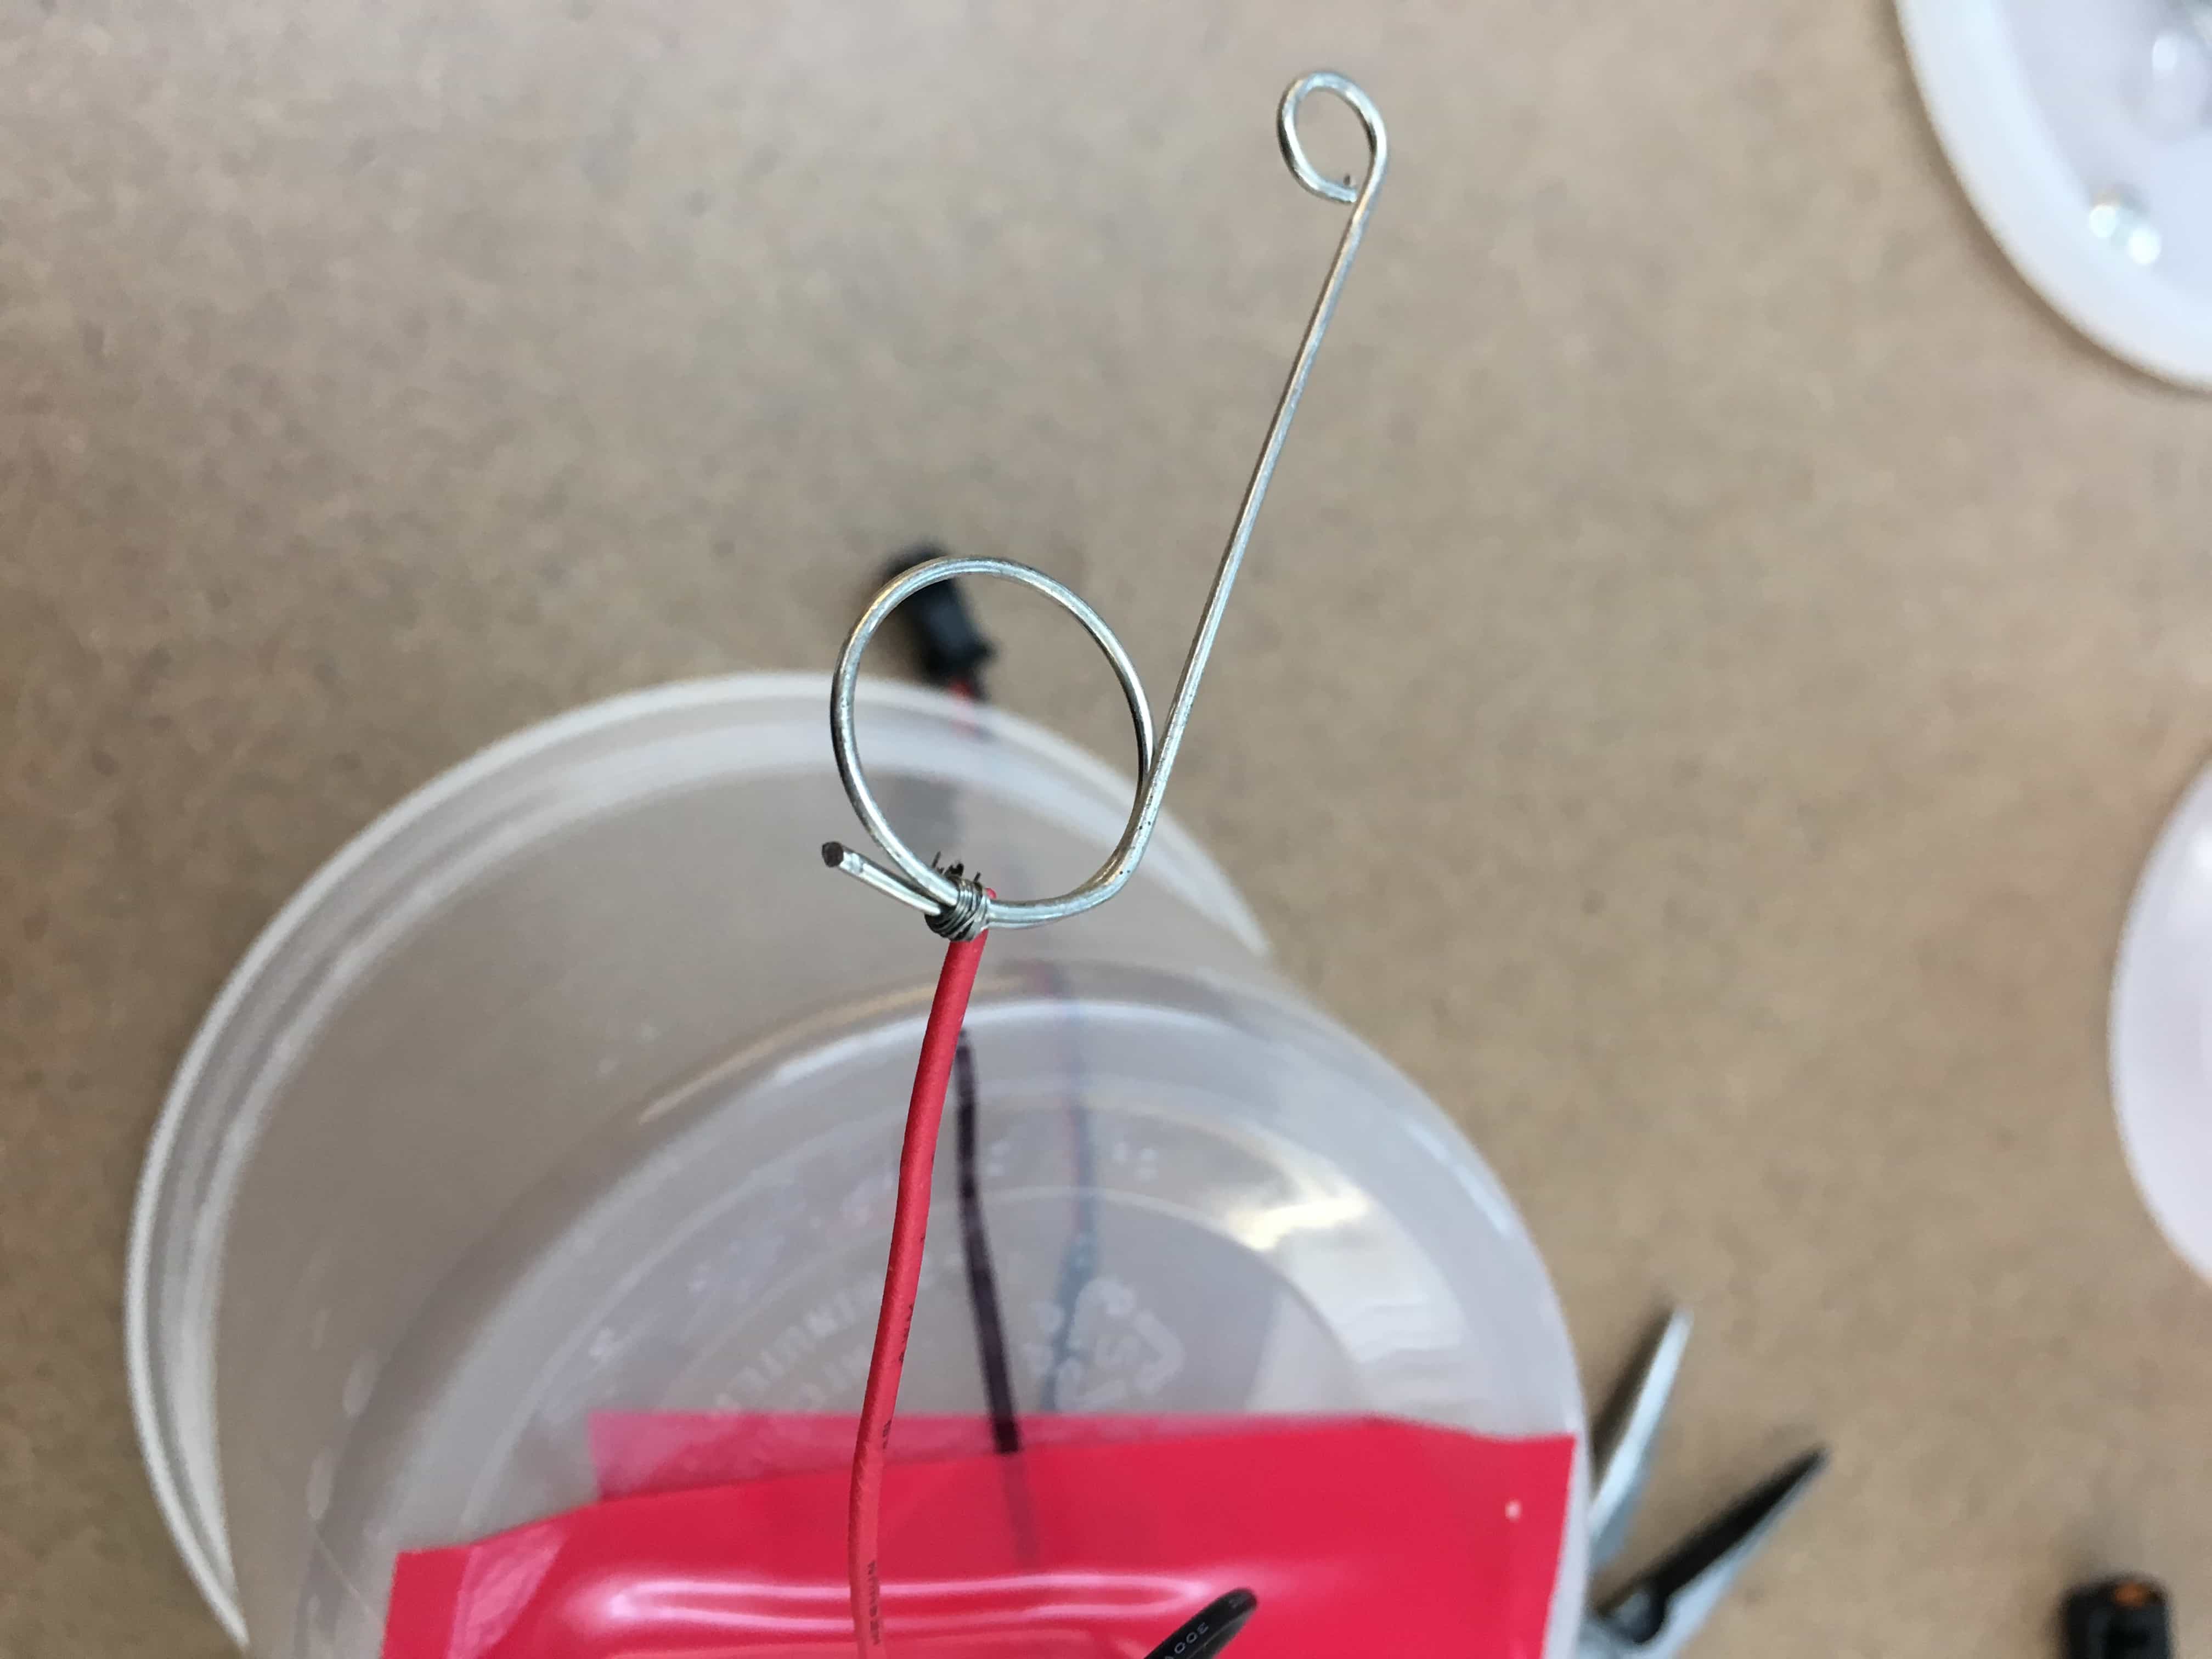
I wanted to test the twisting mechanism with contacts. Using electrical tape, I placed metal discs on the outside of the inner quart container, and metal rods on the inside of the outer container. When twisted, the the metal rods would touch the metal discs.
Next, I needed to actually construct the device.
Important lesson #1: Don’t cut plastic with a knife - it cracks.
After putting tape across the cracks in… both… quart containers, I decided I would use a drill to make the holes. I drilled one hole in the base of each quart container.
Before putting the metal discs and rods back, I needed to connect them to their respective ends. The rods would be connected to the LED, and the discs to the battery. I used a wire stripper to strip about half an inch off the end of each wire. Then with my hands and pliers, I wrapped the wires around their respective contacts.
At some point while wiring everything up, I touched the batteries (they were in the battery holder) and realized they were rather warm. I quickly looked in the quart container and saw that the contacts connected to the batteries where touching. I very very quickly pulled the batteries out.
Important lesson #2: Don’t do work with the batteries in (or any power source connected) - DUH…
After that fun experience, I finished setting up the containers. I placed the container with the batteries on top of the LED container. I twisted the containers and the light went on!
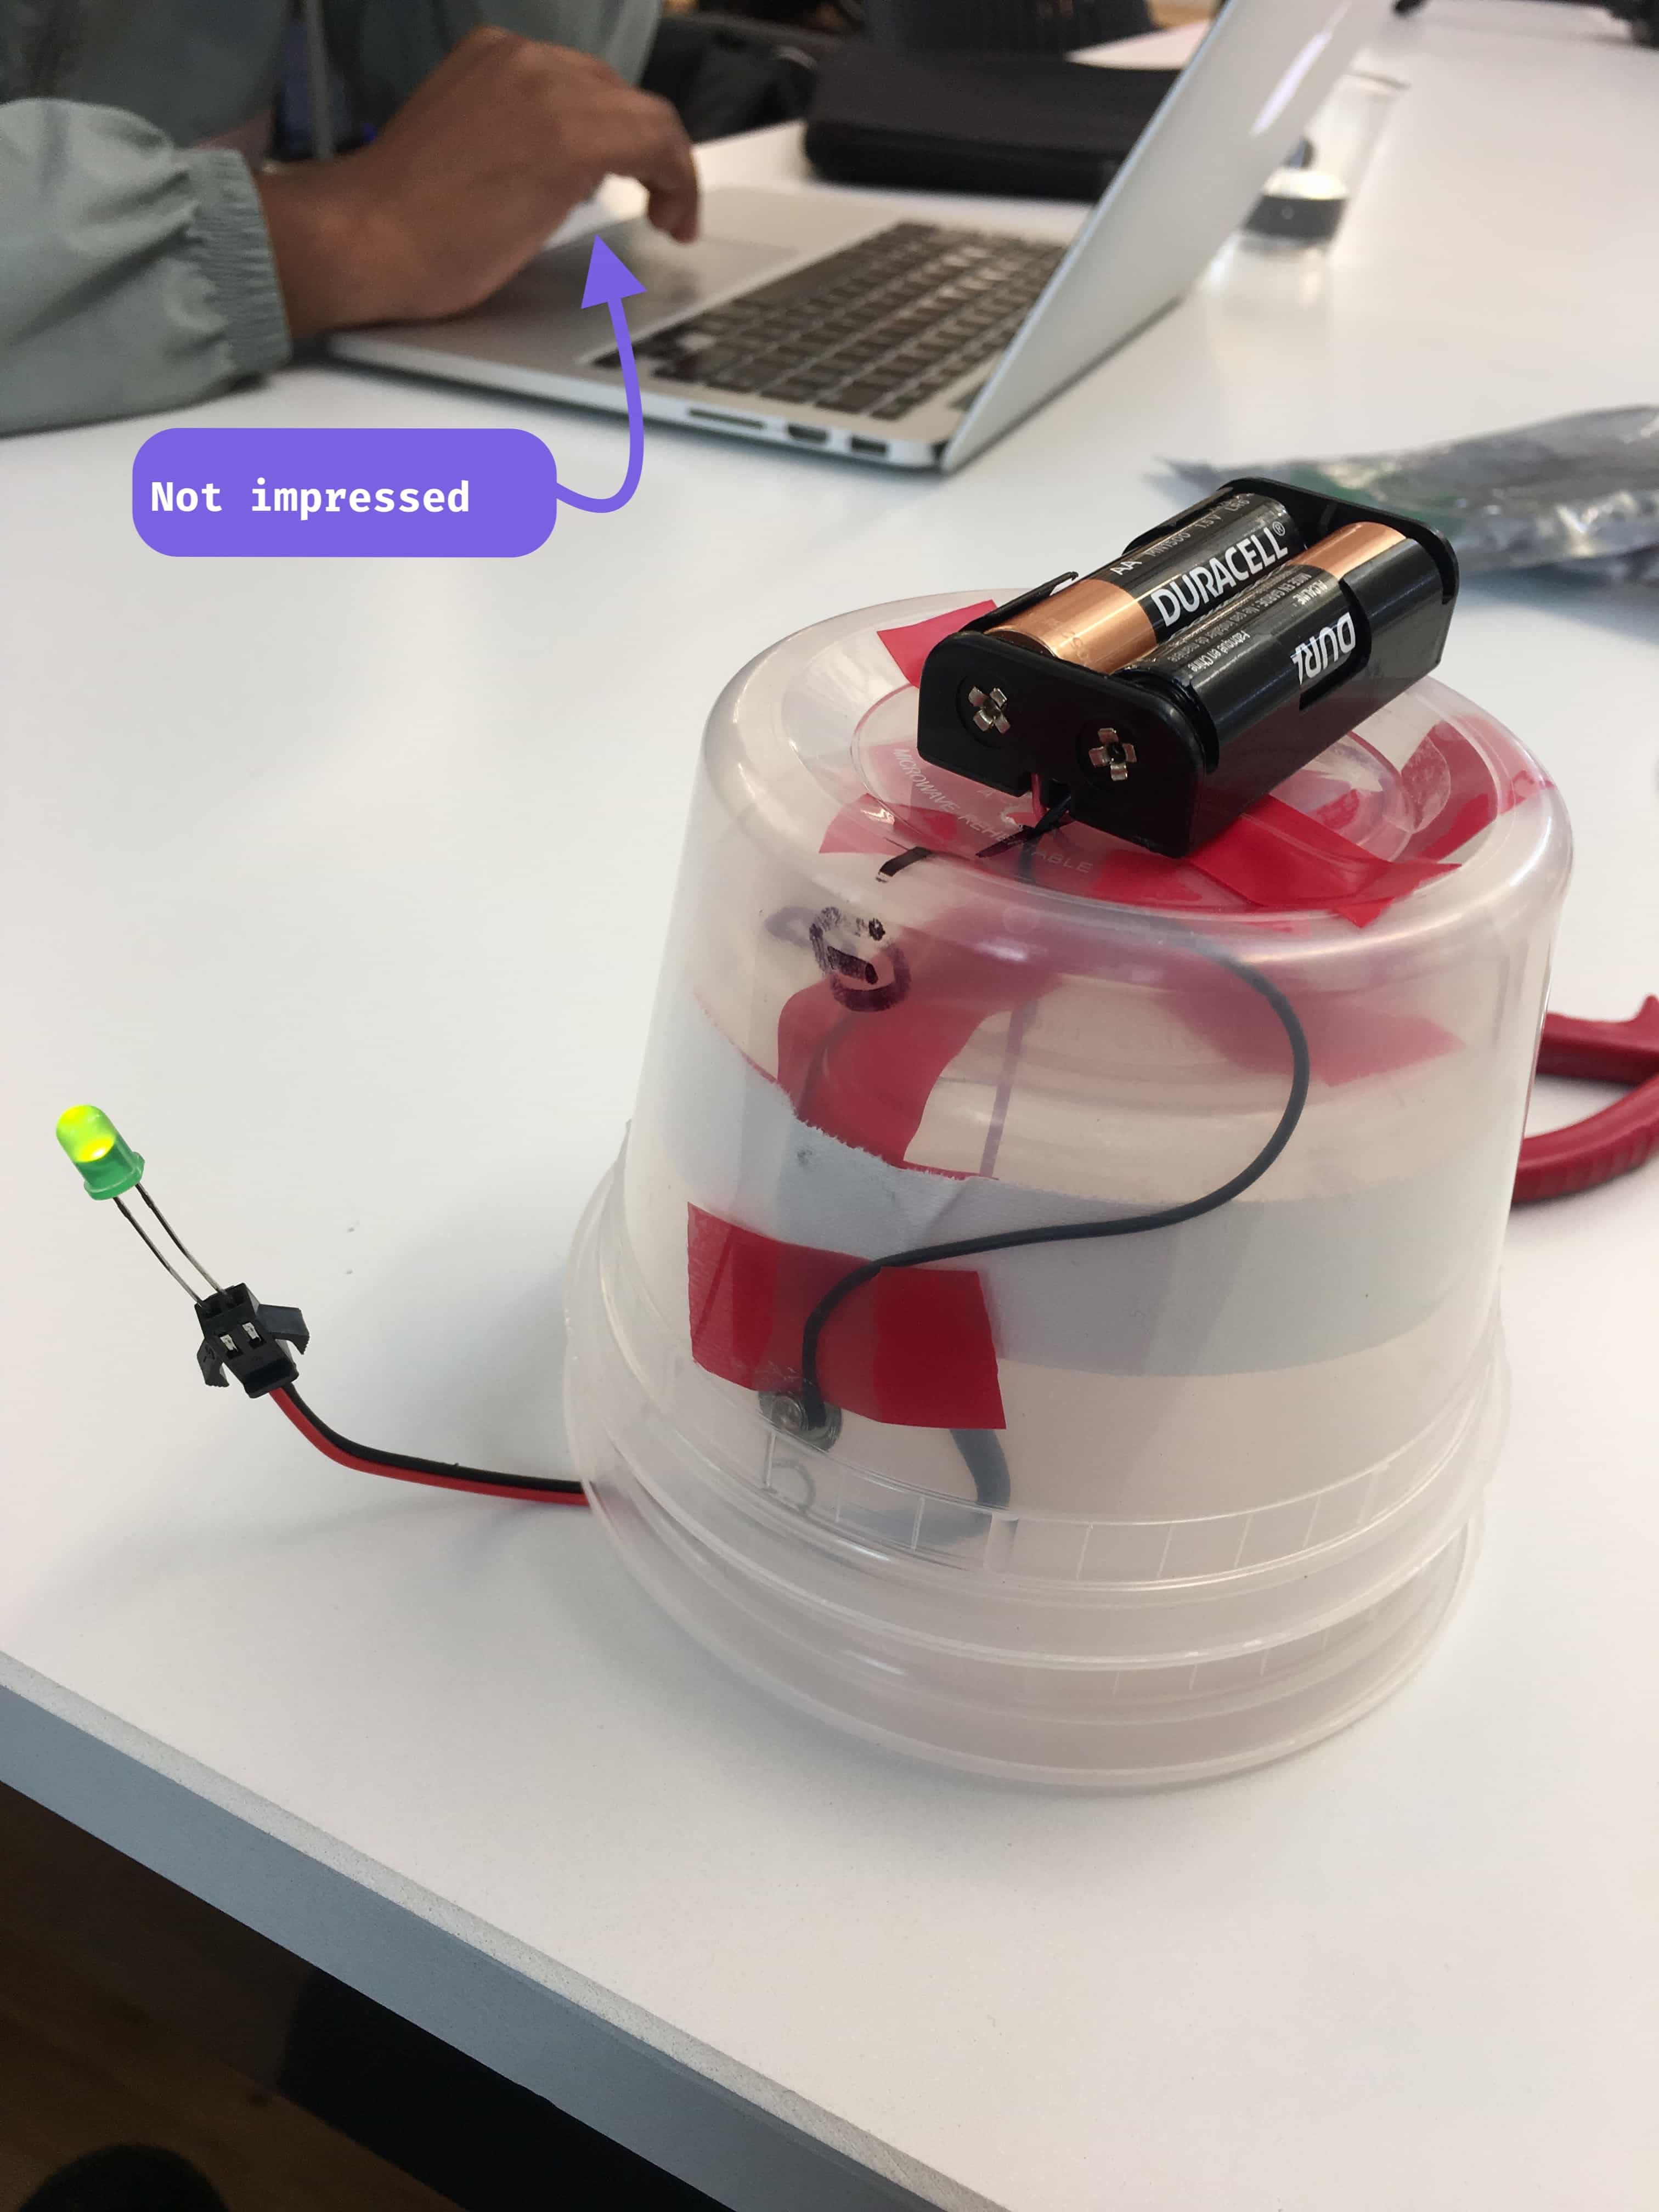
I had successfully prototyped my twist-to-turn-on mechanism.
The Process of Building - hiLIGHTer⌗
Having built a prototype, I moved on to building my “hiLIGHTer”.
First, using pliers, I pulled the highlighter and marker apart. Next, using a hand saw, I cut about 1/4 an inch off each end of the marker. Then, I drilled a hole through the center of the marker. It was a double-sided marker and had a piece of plastic as a divider in the center.
I took the metal rod contact and soldered it to a piece of stiff, red wire about 6 inches long (I did this again with a black wire).
To mount the wires to the marker tube I used a toothpick. I crazy-glued it across the diameter of the marker tube. Then, using pliers and patience, I wrapped each wire once around the toothpick, passing the wire down the inside of the tube. I left the contact ends standing up, on opposite ends of the toothpick.
When the glued had fully hardened, I clipped the end off the toothpick up to marker tube. I used sandpaper to make sure it was flush with the side.
I flipped the marker tube over and, using a hand saw (actually, I used the tiny saw on a Swiss Army knife…) I cut approximately half an inch down the diameter of the marker tube on both sides. I used sandpaper to clean up the edges, and to widen the cut
Now I needed to make the contacts for the battery. I took two paper clips and cut them in half. I then clipped the loose wires at the base of the marker tube down to about an inch. Then stripped the wire 1/4 and inch.
I soldered half a paperclip to each of the loose wire ends. I pulled each wire through a cut. I then wrapped the wire 1/4 90 degrees around the tube. Last, the paperclips were hung over the side of the marker tube so that most of it was inside the tube and the soldered end was outside.
I took a yellow LED and bent the ends of the legs in opposite direction. Then I dropped it through the bottom of the highlighter. I pushed it into the neck of the highlighter until it was snug.
I wrapped the bottom inch of the marker tube with pink (very pink) DuckTape, making sure to cut out the cuts in the marker tube. I drew little “off” and “on” tags onto the bottom of the highlighter and marker tubes.
I then inserted the marker tube, contacts first, into the highlighter, up to the pink tape on the marker. Last, I took a 3V watch battery and placed it into the cut in the marker tube.
Using the battery for grip, when the marker tube is twisted to the “on” position, the the LED turns on.
What I Made⌗
Conclusions⌗
- If you’re not sure how a material will cut, test a scrap piece first
- Taking time to prototype the functionality was really worth it
- Test that the the wires and other systems still work as you assemble them
- Document as you go, not all at the end